You can save money by making your own kitchen cabinets. With the right tools, materials, and free plans, you can create stunning cabinets tailored to your space. Whether you’re a seasoned DIYer or a beginner, you’ll discover valuable insights to help you design and construct the kitchen of your dreams.
Understanding the Basics of Kitchen Cabinet Construction
Before diving into the world of DIY kitchen cabinets, it’s crucial to grasp the fundamental components and styles that make up these essential kitchen elements. Let’s break down the anatomy of kitchen cabinets and explore the various options available to you.
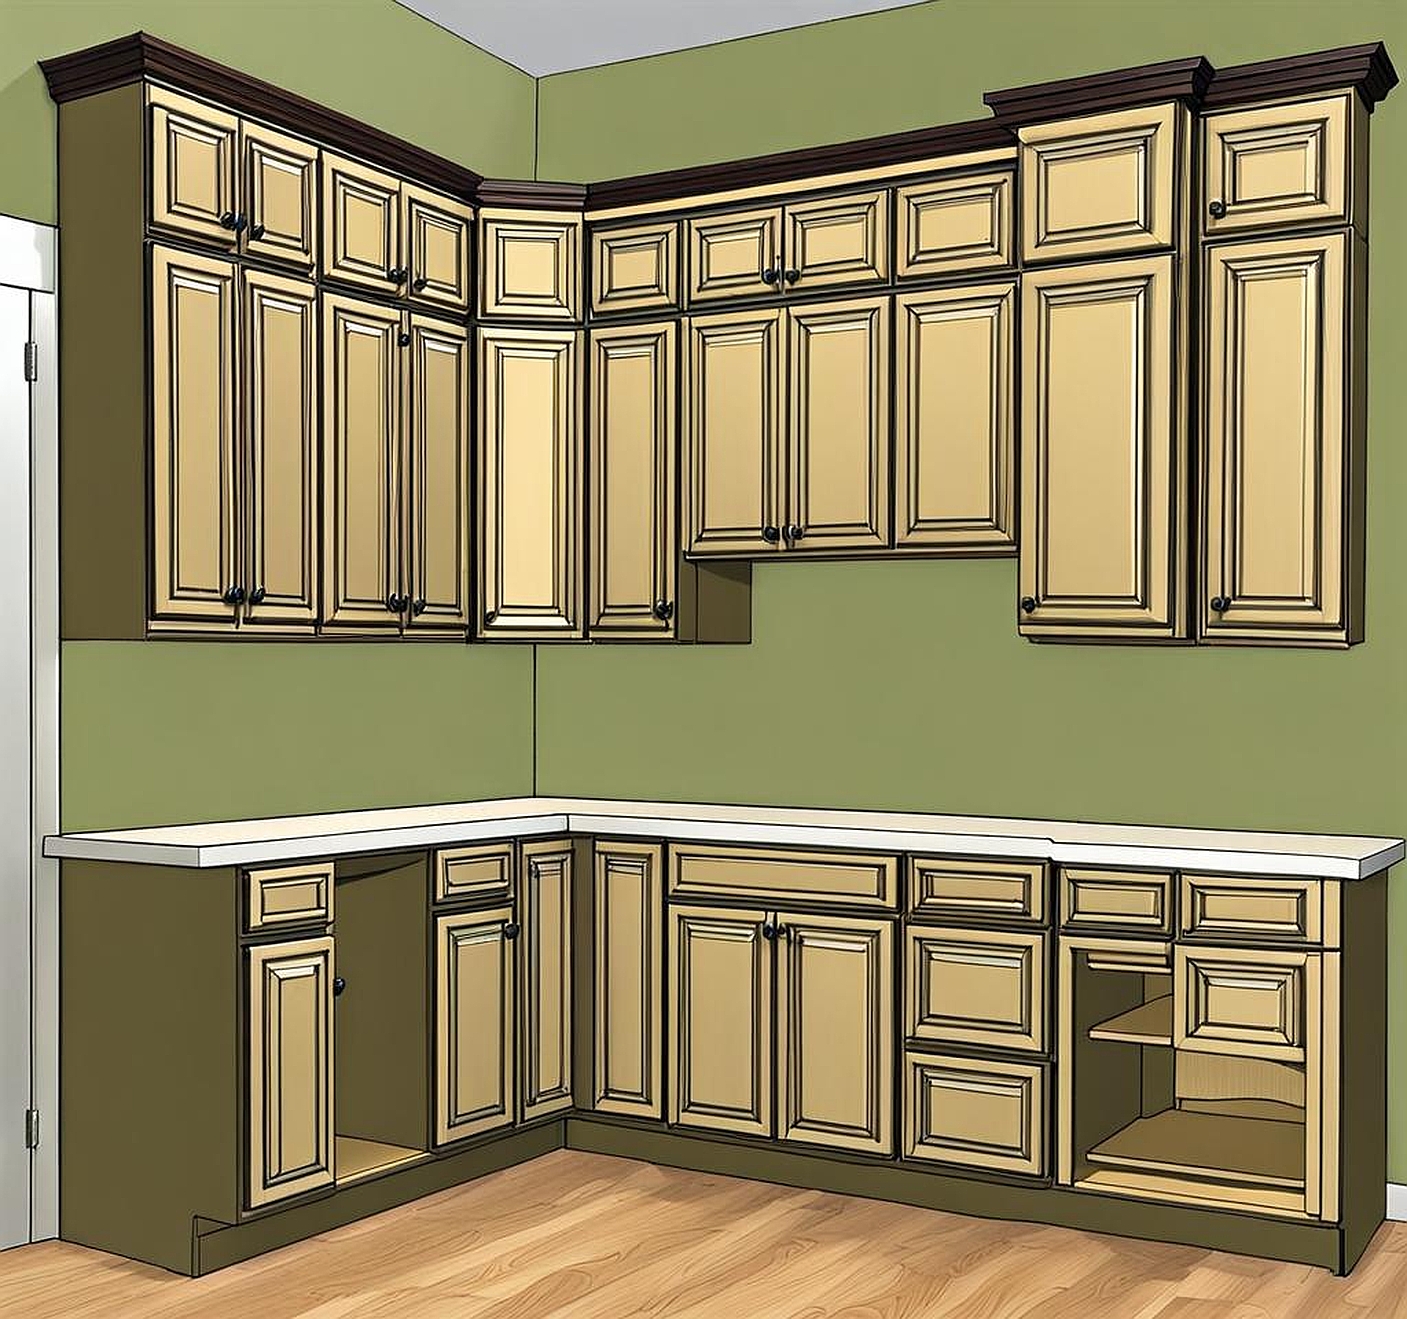
Kitchen cabinets typically consist of a box (or carcass), face frame, drawers, and doors. The box forms the basic structure, while the face frame provides support and a finished look to the cabinet’s front. Drawers and doors are then added to create storage spaces. Understanding these components is key when learning how to build kitchen cabinets from free plans.
When it comes to kitchen cabinet styles, you have several options to choose from. Face frame cabinets are the most common in American kitchens. They feature a frame attached to the front of the cabinet box, providing a traditional look and extra stability. Frameless cabinets, also known as European-style cabinets, lack this front frame and offer a more modern, sleek appearance with slightly more storage space.
Other popular styles include Shaker, which features a five-piece door with a recessed center panel, and flat-panel cabinets that have a minimalist design with smooth, flat doors. Each style has its unique characteristics, so consider your kitchen’s overall design when making your choice.
Now, let’s talk materials. The most common material for DIY kitchen cabinets is plywood. It’s sturdy, relatively inexpensive, and resists warping. Medium-density fiberboard (MDF) is another option, offering a smooth surface ideal for painting. For a more budget-friendly approach, you might consider particle board, though it’s less durable than plywood or MDF.
For the face frame and doors, hardwoods like oak, maple, or cherry are excellent choices. They provide durability and a beautiful natural grain. However, if you’re planning to paint your cabinets, poplar is a more affordable option that takes paint well.
As for tools, you’ll need some basics to get started. A circular saw or table saw is essential for cutting your materials to size. A drill and driver for assembling the cabinets, a kreg jig for creating pocket holes, and a level to ensure everything is straight are also must-haves. Don’t forget about clamps – they’re invaluable when it comes to holding pieces together during assembly.
Understanding these basics will help you navigate free kitchen cabinet plans more effectively and make informed decisions about your project. Remember, the key to successful DIY kitchen cabinets lies in careful planning and execution.
Planning Your Kitchen Cabinet Project
Now that we’ve covered the basics, it’s time to dive into the planning phase of your DIY kitchen cabinet project. This crucial step will set the foundation for a successful build, ensuring your new cabinets fit perfectly and function efficiently in your space.
First things first: accurate measurements are the cornerstone of any successful cabinet build. Start by measuring your kitchen space meticulously. Measure the length of each wall where cabinets will be installed, noting the location of windows, doors, and any obstacles like pipes or electrical outlets. Don’t forget to measure the height from the floor to where you want your upper cabinets to begin.
With your measurements in hand, it’s time to create a layout. This is where free kitchen cabinet design software can be a game-changer. Tools like IKEA’s Kitchen Planner or Lowe’s Virtual Kitchen Designer allow you to input your room dimensions and experiment with different cabinet configurations. These programs often include a variety of cabinet sizes and styles, helping you visualize your space and make informed decisions about your layout.
When designing your layout, consider the kitchen work triangle – the path between your sink, stove, and refrigerator. Aim to keep this triangle compact and unobstructed for efficient cooking and food prep. Also, think about how you use your kitchen. Do you need extra storage for small appliances? Would a pull-out spice rack near the stove be useful? Customizing your cabinet layout to your specific needs is one of the biggest advantages of building your own cabinets.
Next, it’s time to choose your cabinet style. This decision should be influenced by both your personal taste and your kitchen’s overall design. If you have a traditional home, face frame cabinets with raised panel doors might be a good fit. For a more modern space, frameless cabinets with flat panel doors could be the way to go. Remember, your choice of style will impact the free cabinet plans you choose, so keep this in mind as you browse.
Once you’ve settled on a layout and style, it’s time to estimate materials and costs. Most free kitchen cabinet plans will include a materials list, which is a great starting point. However, you’ll need to adjust quantities based on your specific layout. Don’t forget to account for hardware like hinges, drawer slides, and pulls.
When budgeting, remember that building your own cabinets can save you a significant amount compared to buying pre-made ones, but it’s still an investment. High-quality plywood and hardwoods will cost more upfront but will result in more durable cabinets. If you’re working with a tight budget, consider using less expensive materials for the cabinet boxes and investing in quality materials for the visible parts like doors and drawer fronts.
Lastly, don’t forget to plan for the unexpected. Add a 10-15% buffer to your material estimates to account for mistakes or changes in your plan. It’s always better to have a little extra material than to run short in the middle of your project.
By taking the time to plan thoroughly, you’re setting yourself up for success in your DIY kitchen cabinet project. With a solid plan in place, you’re ready to move on to the next exciting step: finding and using free kitchen cabinet plans.
Finding and Using Free Kitchen Cabinet Plans
One of the most exciting aspects of building your own kitchen cabinets is the wealth of free resources available online. From detailed construction plans to design ideas, these free kitchen cabinet plans can guide you through the entire process. But with so many options out there, how do you find and use the right plans for your project?
Let’s start with where to find these free cabinet building plans. Websites like Ana White, BuildSomething, and Popular Woodworking offer a variety of free plans for DIY enthusiasts. These sites often provide step-by-step instructions, cut lists, and even 3D models to help you visualize the finished product. Home improvement retailers like Home Depot and Lowe’s also offer free plans on their websites, often accompanied by material lists that make it easy to purchase everything you need in one go.
When browsing these resources, you’ll find plans for various cabinet styles, from basic base cabinets to more complex designs like corner cabinets or pull-out pantries. Take your time to explore different options and find plans that align with your chosen kitchen cabinet style and layout.
Once you’ve found some potential plans, it’s crucial to evaluate their quality and suitability for your project. Look for plans that provide clear, detailed instructions and precise measurements. High-quality plans should include a comprehensive materials list, cut list, and assembly diagrams. If the plans seem vague or leave out important details, it’s best to look for alternatives.
Consider the skill level required for the plans as well. Some free kitchen cabinet tutorials are designed for beginners, while others assume a certain level of woodworking experience. Be honest about your skills and choose plans that match your abilities to ensure a successful project.
Now, it’s rare to find free cabinet plans that match your kitchen’s exact dimensions. This is where customization comes in. Most plans can be adapted to fit your space with a few simple modifications. Start by comparing the dimensions in the plans to your kitchen measurements. If you need to adjust the width or height of the cabinets, you’ll typically need to modify the dimensions of the cabinet box and face frame.
When customizing plans, it’s helpful to sketch out your modifications on paper first. This allows you to work out any potential issues before you start cutting materials. Remember, it’s often easier to make cabinets slightly smaller rather than larger, as you can always add filler strips to close small gaps.
Reading and interpreting cabinet construction plans can be challenging, especially if you’re new to woodworking. Here are a few tips to help you navigate your chosen plans:
- Start by reading through the entire plan before beginning your project. This will give you a clear overview of the process and help you identify any areas where you might need additional clarification.
- Pay close attention to the cut list. This will tell you exactly what pieces you need to cut from your materials and their dimensions.
- Study the assembly diagrams carefully. These visual aids can be incredibly helpful in understanding how all the pieces fit together.
- Don’t hesitate to reach out to the plan creator if you have questions. Many websites have comment sections or forums where you can ask for clarification.
Remember, free kitchen cabinet guides are meant to be just that – a guide. Feel free to make adjustments based on your preferences or the specific needs of your kitchen. For example, you might decide to add extra shelves for more storage or modify the drawer configuration to better suit your needs.
By taking the time to find the right plans and understanding how to use and customize them, you’re well on your way to creating beautiful, functional kitchen cabinets that perfectly fit your space and style. With your plans in hand, you’re ready to move on to the exciting part – actually building your cabinets!
Now that you’ve got your plans and materials ready, it’s time to roll up your sleeves and start building your kitchen cabinets. This process can be broken down into several key steps, each crucial for creating sturdy, functional cabinets that will stand the test of time.
First, let’s talk about preparing your workspace and materials. A clean, well-organized work area is essential for efficient cabinet building. Set up your tools in a logical order based on your workflow. If possible, dedicate a specific area for cutting, another for assembly, and a third for finishing. This organization will help streamline your process and reduce the chances of mistakes.
Before you start cutting, double-check your materials. Inspect each piece of plywood or lumber for warps, knots, or other defects that could affect your cabinet’s structure or appearance. If you’re using plywood, remember that one side is usually better quality than the other – this “good” side should face outward in your finished cabinet.
Now, let’s dive into constructing the cabinet boxes. These form the basic structure of your cabinets and need to be built with precision. Start by cutting your plywood to size according to your plans. Many DIYers find it helpful to cut all pieces for one cabinet before moving on to assembly.
When assembling the box, use wood glue in addition to screws or nails for added strength. A Kreg jig can be incredibly useful here, allowing you to create strong, hidden joints. Remember to check for square as you assemble each box – even small misalignments can cause issues later when installing doors and drawers.
Once your boxes are assembled, it’s time to add the face frames. These not only provide a finished look to your cabinets but also add structural stability. Cut your face frame pieces (usually from hardwood) according to your plans, then assemble them separately from the box. Once the frame is built, attach it to the front of the cabinet box, ensuring it’s flush on all sides.
Building drawers is the next step in your DIY kitchen cabinet journey. Drawer construction typically involves creating a box with a separate front piece. The box should be slightly smaller than the cabinet opening to allow for smooth operation. Use dovetail joints for the strongest drawers, or opt for simple butt joints secured with glue and screws if you’re a beginner.
For the drawer slides, make sure to follow the manufacturer’s instructions for installation. Full-extension slides are popular as they allow access to the entire drawer, but they can be trickier to install than basic side-mount slides.
Cabinet doors are perhaps the most visible part of your kitchen cabinets, so take extra care here. The construction method will depend on your chosen style. For example, Shaker-style doors involve creating a frame and fitting a panel into it, while slab doors are simpler, consisting of a single piece of wood or MDF.
When it comes to installing your newly built doors and drawers, patience is key. Take the time to align everything properly – this will make a big difference in the final look of your cabinets. Use a spacer stick to ensure consistent gaps between doors and drawers.
Now for the finishing touches. Sand all surfaces thoroughly, progressing from coarser to finer grits for a smooth finish. If you’re painting your cabinets, prime them first for the best results. For a natural wood look, apply your chosen stain followed by several coats of clear protective finish.
Don’t forget about hardware! Install your chosen handles or knobs, making sure they’re aligned consistently across all doors and drawers. This is also the time to install any special features you’ve planned, like pull-out trash bins or spice racks.
Finally, if you’re adding a countertop, ensure your cabinets are level before installation. Use shims if necessary to create a perfectly flat surface for your countertop.
Building your own kitchen cabinets is a big project, but it’s also incredibly rewarding. Take your time, follow your plans closely, and don’t be afraid to step back and reassess if something doesn’t look quite right. With patience and attention to detail, you’ll soon have beautiful, custom cabinets that you built with your own hands – a true point of pride in any kitchen.
