Kitchen islands provide both additional counter space and storage, but their exposed ends can look unfinished. Decorative panels allow you to conceal these ends while adding personality to your kitchen design. From shaker panels to raise panels trimmed in ornate molding, options abound for creating a custom island that reflects your style.
Keep reading to discover popular kitchen island panel styles, tips for selecting and installing them, and clever ideas for enhancing your panels with corbels, brackets, and other embellishments.
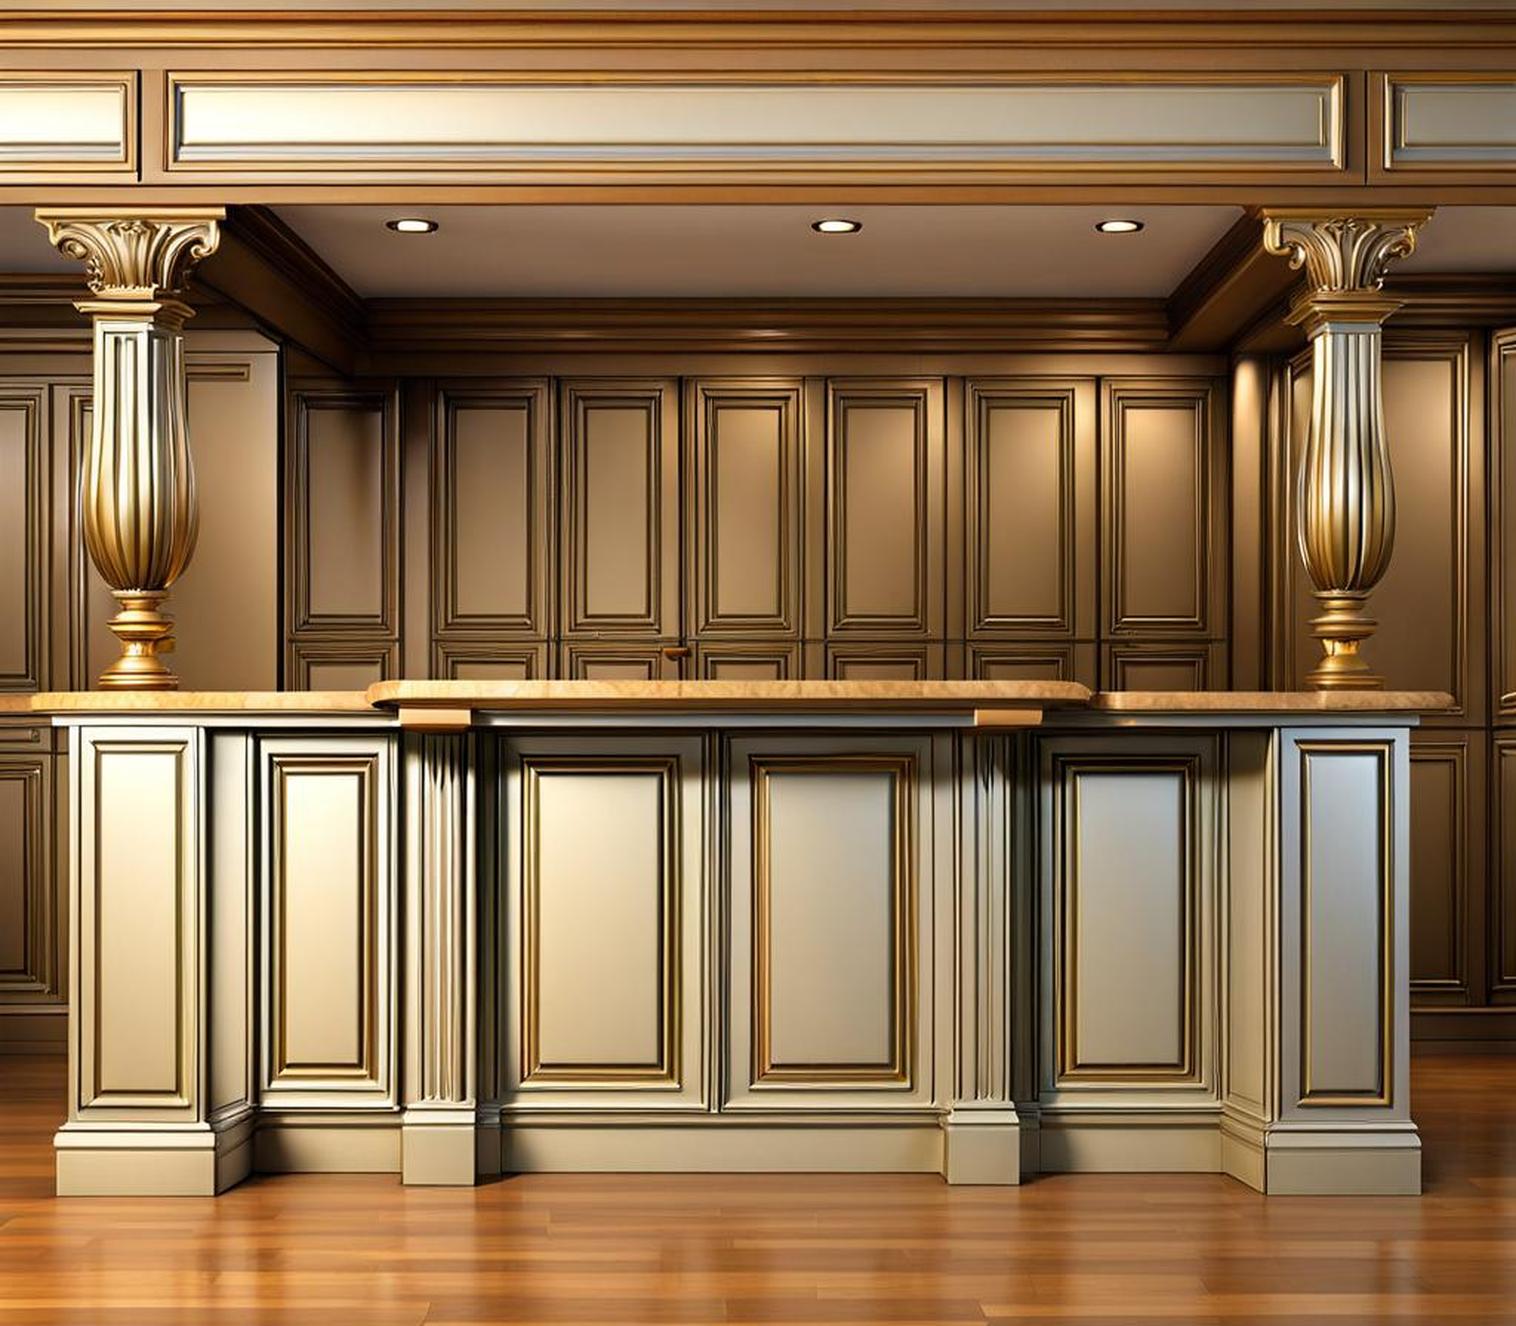
What are Decorative Island Panels?
Decorative panels attach to the sides of kitchen islands, covering exposed ends for a streamlined appearance. Unlike basic end panels designed merely to enclose cabinet ends, decorative island panels contribute visual interest and tie seamlessly into your kitchen decor.
They transform open shelving into built-in cabinetry and upgrade plain slab doors with extra molding, recessed panels, and other decorative details. Your island takes on the look of premium custom cabinetry for a fraction of the cost.
Benefits of Decorative Kitchen Island Panels
Why should you install decorative panels versus traditional panels or leaving your island ends open?
- Provide a polished look – Decorative panels supply a “finished edge” to your island, preventing a jarring, unfinished look.
- Inspire your kitchen design – Special panels allow you to add detailing and features that express your unique style.
- Enhance functionality – Some decorative panels add additional storage space or conceal cords, outlets, etc.
- Affordable customization – Decorative panels offer the look of premium custom cabinetry at reasonable cost.
Difference from Standard Kitchen Island End Panels
Standard end panels are typically basic slab-style flat panels designed just to enclose the ends of a kitchen island. They serve to contain the island’s contents only.
By contrast, decorative panels feature detailed designs like recessed panels and trim, elements like corbels and brackets, customized measurements and edges – upgrades that transform the entire appearance of your island to align to your sense of style.
Popular Styles of Decorative Kitchen Island Panels
The design options for decorative panels is nearly limitless. Most match or coordinate with the style of your existing kitchen cabinets. Here we explore five favorite island end panel styles.
Shaker Panels
The ultimate in simplicity, single slab shaker style panels provide clean lines for a timeless, versatile design. They consist of a flat recessed center panel in either a square or rectangular shape with a surrounding frame.
Shaker panels pair well with both traditional and contemporary kitchen cabinetry styles. Opt to paint, stain, add molding around the panel edges, or keep the clean look as is.
Beadboard
Go coastal with light and breezy white beadboard panels that conjure up images of spacious porches and sunny summer days. Vertical lines give the illusion of additional height in the room. The width of your selection and whether the beadboard extends to the floor or counter is up to you.
Beadboard provides a cottage vibe and works with painted, Shaker-style, or even ornate raised cabinetry. Keep surrounding kitchen elements crisp white and light for the full beachy effect.
Raised Panels with Trim
Perhaps the most versatile decorative panel style, raised panels trimmed with molding infuse traditional elements and depth into any kitchen design. You control the level of detail, from simple raised panels to French country-esque tongue and groove designs.
The frame-and-panel effect works with everything from country kitchens to modern styles. And it’s highly customizable with your choice of panel, trim, and frame profiles.
Paneled Cabinet Doors
Why not move your cabinets doors to the end of your island? Doing so provides symmetry and reinforces your kitchen cabinetry style. For a paneled cabinet door panel, select doors that precisely match the rest of your cabinet set.
Depending on how you attach them, paneled cabinet doors supply accessible storage space. They also allow you easy access to any outlets or additional storage cubbies you wish to incorporate behind the panels.
Mix and Match
Looking to add some punch to your kitchen island design? Mixing and matching different decorative panel styles, colors, or finishes is an excellent option.
Try offsetting sleek raised light wood panels with trim and corbels in your island base color for definition. Or pick a single focal point, like choosing metallic beadboard panels solely on one attention-grabbing end.
Choosing Decorative Panels for Your Kitchen Island
With so many kitchen island panel products and design choices available, deciding what works best for your space can get overwhelming. Follow this systematic approach to select the perfect decorative panels.
Measure Carefully for Perfectly Sized Panels
Like kitchen cabinets, most decorative panels come in standard widths designed to fit typical island dimensions. Measure the exposed ends of your island cabinetry precisely to define the required panel sizes.
Be sure to account for any overlapping of panels onto the island top or counter edges to prevent visible gaps. Our step-by-step guide makes obtaining accurate measurements simple.
Techniques for Measuring Island Ends
- Measure the cabinet end’s width at both the bottom and top. Use the smaller dimension.
- Measure from the underside of the counter overhang to the floor.
- Measure the depth of your cabinet end – the protrusion from the edge of your island top.
- For overlapping panels, add 1-3 inches to the width and depth dimensions as needed to determine your final panel size.
Allow Room for Overlapping Panels
Most homeowners choose panels sized slightly larger than the exact island end dimensions. Doing so allows panels to lap over the top counter edge as well as the cabinet ends.
This conceals any potential gaps and misalignments for the most seamless appearance. Our decorative panel experts typically recommend allowing 1 1/2 inches of overhang.
Selecting Complementary Panel Style
Use your existing cabinet door design and kitchen decor as starting points for choosing a decorative panel style. Here are a few tips to guide your decision process:
- Match cabinet door style – Select panels featuring similar profiles, finishes, etc. Establishing symmetry enhances the custom look.
- Coordinate with kitchen decor – If your style is modern contemporary or traditional, choose panels that align to create a unified look.
- Personalize with corbels or brackets – Adding unique corbels and trim reflects your personality in the space.
Browse design photos to identify panels that appeal to you aesthetically and suit your overall vision for the kitchen.
Consider Easy Installation
As you evaluate kitchen island panel options, factor in installation considerations like complexity, necessary tools, and whether you plan to DIY or hire a contractor.
DIY vs. Hiring a Contractor
For simple flat or shaker panels installed directly into cabinet ends, ambitious DIYers can likely complete the project independently. More complex custom designs are best left to the pros.
Complexity of Custom Panels
Intricately constructed raised panels with trim and molding often require precise measurement and cutting. Skilled woodworkers have the proper tools and expertise to install them seamlessly.
Basic Tools Needed
Typical panel installation requires basic hardware like levels, drills, pry bars, clamps, wood screws or nails, and silicone adhesive. Custom jobs may demand specialty trim tools as well.
Enhancing Kitchen Island Panels
The simplest island panel provides a clean finished look, while accent elements create visual drama. Embrace your inner interior designer with ideas for adding ornamentation!
Add Stylish Embellishments
Consider adorning basic flat or recessed panels with corbels, brackets, molding or trim. These accessories lend dimension while punctuating your design with texture and personality.
Corbels vs. Brackets – What’s the Difference?
Corbels – Typically featured in pairs, corbels provide underlying support while delivering visual interest. They often display intricate carved designs and assist with upholding countertops or overhangs.
Brackets – Brackets can be simple and understated or flashy architectural accents. They are primarily decorative rather than functional in nature when applied to panels.
Placement and Sizing
Locate corbels and brackets at the outer edges of panels or in the corners. Measure carefully, as proper proportion to your cabinetry ensures aesthetic appeal. Large-scale kitchens suit bigger corbels, while delicate profiles suit smaller spaces.
Decorative Trim and Molding
Frame basic recessed panels with wide trim or molding bands. Consider incorporating raised molding, ridges, ledges, or recessed square patterns for rich detail. Contrasting colors in molding and trim pyrography the design.
Accent Lighting Ideas
Spotlights, sconces and under-cabinet lighting pointed at decorative panels dramatically highlight ornamental features. Outlining carved corbels and brackets with light creates striking visual depth.
Special Treatment for Exposed Sides
In addition to concealing cabinet ends, island panels often mount perpendicular to side walls, encasing exposed sides. Treat these areas to matching paneling or create deliberate contrast.
Match Adjoining Cabinetry
Select side panels that coordinate with the room’s cabinet style for cohesion. Envision how patterns and finishes interact before combining differing designs.
Contrast with Different Panel Style
Make your island a focal point by intentionally setting side panels apart. Employ an opposite finish from cabinets or introduce kicks of color for a striking, modern look.
Floating Shelf or Open Wine Rack
Rather than panels, mount corner floating shelves or angular metal wine racks on exposed island sides. This showcases contents while introducing industrial edge.
Tips for Maintaining Island Panels
Follow proper maintenance steps so your decorative panels retain their beauty and function for the lifetime of your kitchen.
Dusting and Cleaning
Over time, grease, dirt, and grime accumulate on any kitchen surface. Routinely dust panels with a dry microfiber cloth to prevent buildup. For cleaning, wipe down with a soft damp cloth and mild detergent if needed.
Polishing Stained Panels
Wood stains tend to fade or grow dull with exposure and contact over years of use. Restore stained decorative panels to their original rich tones using specialty polishing products and a bit of elbow grease.
Sealing Properly During Installation
unfinished wood soaks up moisture, warps, and shows blemishes without a protective seal. Ensure decorative wood panels get properly sanded, primed, and sealed both front and back during the installation process for longevity.
More Kitchen Island Design Ideas
Your decorative panels launch a complete kitchen island makeover. Carry your design concept through to the surrounding elements for a fully upgraded centerpiece.
Two-Tone Color Schemes
Boldly paint, stain or glaze your island’s base cabinets a different tone than wall cabinetry. For a more subtle look, limit to a single focal end by applying two finishes to one island.
Contrasting Countertops
Quartz, butcher block, stone – seamlessly extending countertops around your entire island perimeter maintains flow. But there’s visual interest in choosing a separate countertop surface solely for island space.
Statement-Making Hardware
Update cabinet knobs and pulls to coordinate with new decorative panels, or make them shine as self-contained works of art. Options abound, from faceted crystals to wrought forged bronze masterpieces.
A kitchen island with seating accommodates guests, kids doing homework, and casual meals on busy weeknights. Tuck counter height stools beneath for convenience. Or install banquette seating for a cozy dining experience.
You’re fully equipped to create a show stopping kitchen island with this comprehensive guide. Which dreamy designs are already swirling through your imagination?
