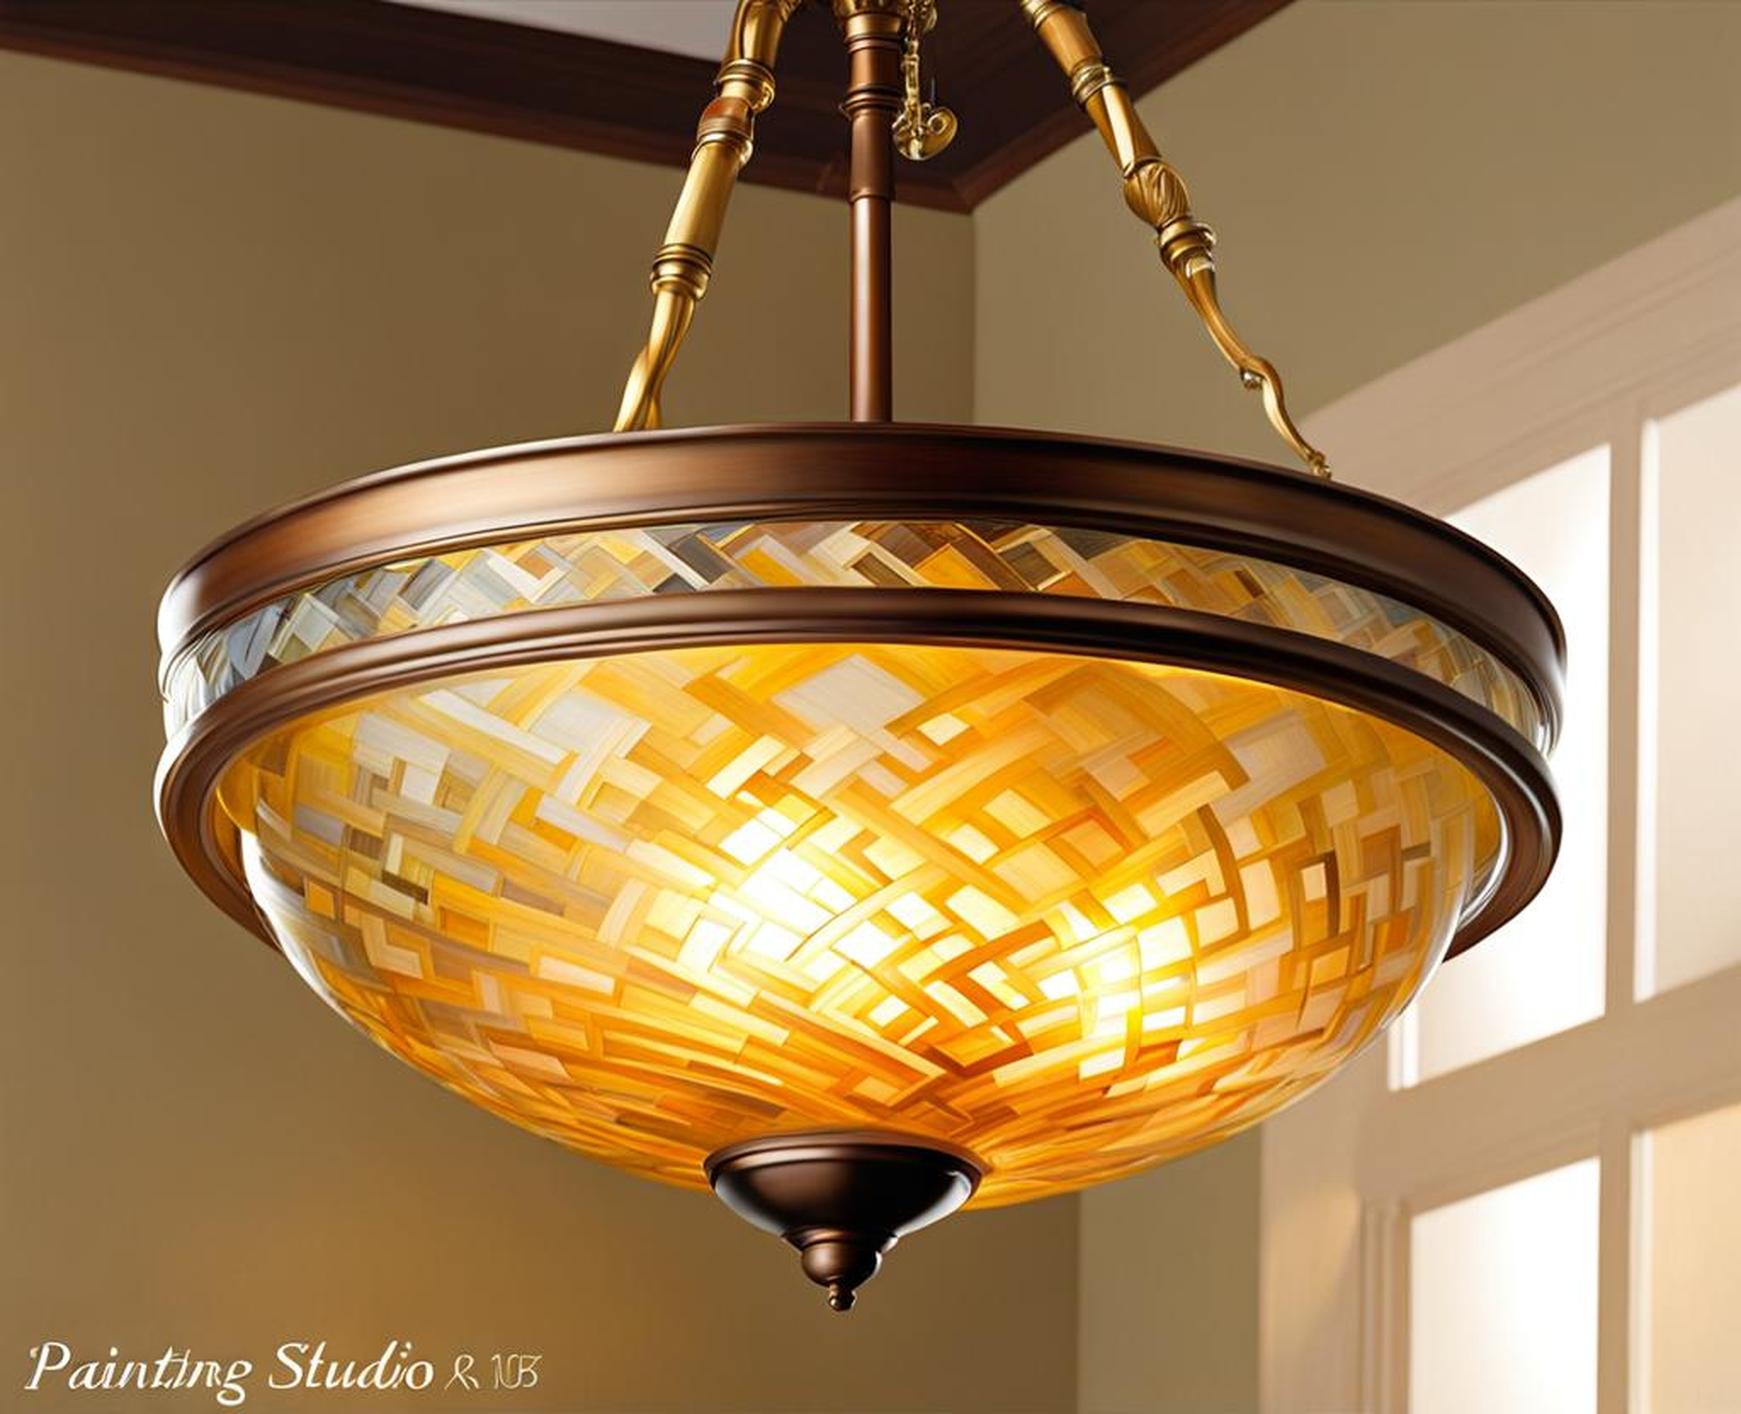
Drab lighting can make any room seem dull and outdated. Yet quality fixtures often come with designer price tags, leaving budget-conscious homeowners frustrated. Transforming existing glass light fixtures through DIY painting opens up inexpensive options for custom looks. With some supplies, effort, and our tips, you can easily revive dreary lighting on a budget.
Below we detail every step for painting glass light shades and achieving professional results. Follow our guidance on paint types, prepping properly, painting techniques, and more. We also cover common questions to ensure your painted glass fixtures look great for years.

Choosing Paint for Glass Surfaces
The type of paint used for a glass lighting project must bond well and withstand heat and humidity. Some options to consider:
- Acrylic craft paints stick to smooth surfaces like glass.
- Spray paints evenly coat fixtures of various shapes.
- Specialized glass paint resists fading and yellowing.
- Glass stains enhance fixtures with translucent tinted color.
Take project plans and placement into account. Indoor and outdoor settings demand different levels of durability. Environmental factors like sunlight and moisture will also affect paint longevity.
Considering Durability
How often do you want to repaint your lighting? While all glass paints handle heat well, some hold up better over time:
| Paint Type | Durability |
| Standard acrylic craft paint | 1-2 years |
| Enamel spray paint | 3-4 years |
| Glass paint | 4+ years |
Consider spending a bit more for a long-lasting glass paint formulated to bond to slick surfaces. This prevents frequent redoing of your lighting projects.
Preparing the Glass Surface
Proper prep lays the foundation for painted glass fixtures that wow. Thoroughly clean each light cover inside and out with glass cleaner. Then lightly sand surfaces to roughen them up a bit and help paint grab hold.
Next, use tack cloth to remove all dust before priming. Taking time now prevents paint bubbling or peeling later on. Take fixtures apart fully and prep each component needing color.
Protecting Your Work Area
Once fixtures come down, protect floors, walls, counters, and other surfaces from accidental drips and spills during painting projects.
- Use painter’s tape to cover baseboards, ceiling edges, tile, and wallpaper.
- Drop cloths or plastic sheets shield carpets and floors.
- Place painted pieces on elevated wire racks as they dry.
Avoid working in open breezy spaces outdoors. Windblown debris sticks quickly to tacky unfinished paint jobs. Paint indoors or in garages for best results.
Priming Glass for Better Paint Adhesion
Primers help paint stick to slick non-porous surfaces like glass. They key into glossy substrates better than paint alone. Allow primer coats to dry completely per manufacturer guidelines before painting.
If using a glass paint formulated for adhesion, priming may not be essential. Check paint directions to confirm–skipping this step speeds up painting projects.
Painting Technique for Flawless Glass Fixtures
Once primed, fixtures are ready for their color transformation. Work in a dust-free space with adequate airflow. Ventilation ensures humidity doesn’t hinder drying and curing. Use these tips for pro-level results:
- Apply paint generously but avoid thick, heavy coats that drip. Thin applications dry quicker.
- Fully dry each light coat before adding another. Rushing the process ruins paint jobs.
- Lightly sand glossy areas between coats as needed so additional paint layers grab.
- Add coats gradually until achieving desired coverage and color intensity.
Take your time–rushing through painting steps leaves fixtures looking amateur. Gentle handling keeps decorative details crisp after coatings dry.
Clear Top Coats Enhance Durability
Once base color coats cure 24-48 hours, applying 1-2 clear top coats protects paint. Glossy top coats also lend fixtures a smooth polished glass-like look. Opt for spray clear coats–brush applications leave visible stroke marks ruining the sleek finish.
Curing and Drying Painted Glass Fixtures
Oils from fingers easily smudge tacky paint so avoid excess handling until paints fully dry and cure. Drying happens quickly, but curing takes longer. Allow 1-2 days for curing where paints become scratch and chip resistant.
Speed drying with portable fans circulating air around painted projects. Work in low humidity environments. High moisture prolongs curing by days.
Avoid Touch-ups Causing Imperfections
When paint smears or surfaces get dusty between coats, avoid touch-ups. Touching up medium areas surrounded by dried paint is obvious after clear coating. Instead, wet sand flawed sections, wipe clean, and recoat entire pieces.
Achieving Smooth Factory-Made Finishes
For sleek professional finishes, opt for spray paints over brushes. After curing, gently sand glossy surfaces to smooth out any texture or debris bumps with fine 400-600 grit sandpaper. Dust off and apply a final clear top coat for glass-like perfection.
Safety First!
Painting requires proper precautions for safety:
- Paint in well-ventilated spaces to limit inhaling fumes.
- Use respirator masks when spray painting.
- Wear gloves and eye protection.
- Keep projects away from children and pets.
Put safety first and exercise common sense for best results free of health issues or accidents.
What type of paint adheres directly to glass?
Specialized glass paint avoids needing separate primer coats. Otherwise, standard craft acrylics and spray paints stick well with proper prep and primer.
How do I get smooth painted finishes on textured glass?
For textured glass, opt for spray paints and clear coat for smoothness. If brush painting, gently sand paint between coats helps hide texture.
How long does painted glassware last?
With quality paint and proper curing, expect 1-4 years before needing fresh coats. Glass paints formulated especially for slick surfaces last upwards of 5 years.
Revitalize faded lighting affordably with custom spray painted glass fixtures. Proper techniques and paints yield professional designer looks lighting up any room with personality and style.
