The art of laying tile can transform a room. This intricate tile design layout adds depth, dimension, and sophistication to floors and walls alike. Whether you’re a seasoned pro or a DIY enthusiast, tackling a herringbone tile installation project requires precision, patience, and the right techniques. From selecting the perfect tiles to applying the final touches, we’ve got you covered. Let’s dive into the world of herringbone tile patterns and discover how to create a timeless, eye-catching feature in your home.
Understanding Herringbone Tile Patterns and Their Appeal
Herringbone tile patterns have been gracing interiors for centuries, and their popularity shows no signs of waning. This classic tile layout style derives its name from its resemblance to the bones of a herring fish, creating a visually striking zigzag pattern that can make any space feel more dynamic and luxurious.
The beauty of herringbone tile design lies in its versatility. You can use it with various materials, from ceramic and porcelain to natural stone and even wood-look tiles. The pattern works wonderfully in both traditional and contemporary settings, making it a go-to choice for designers and homeowners alike.
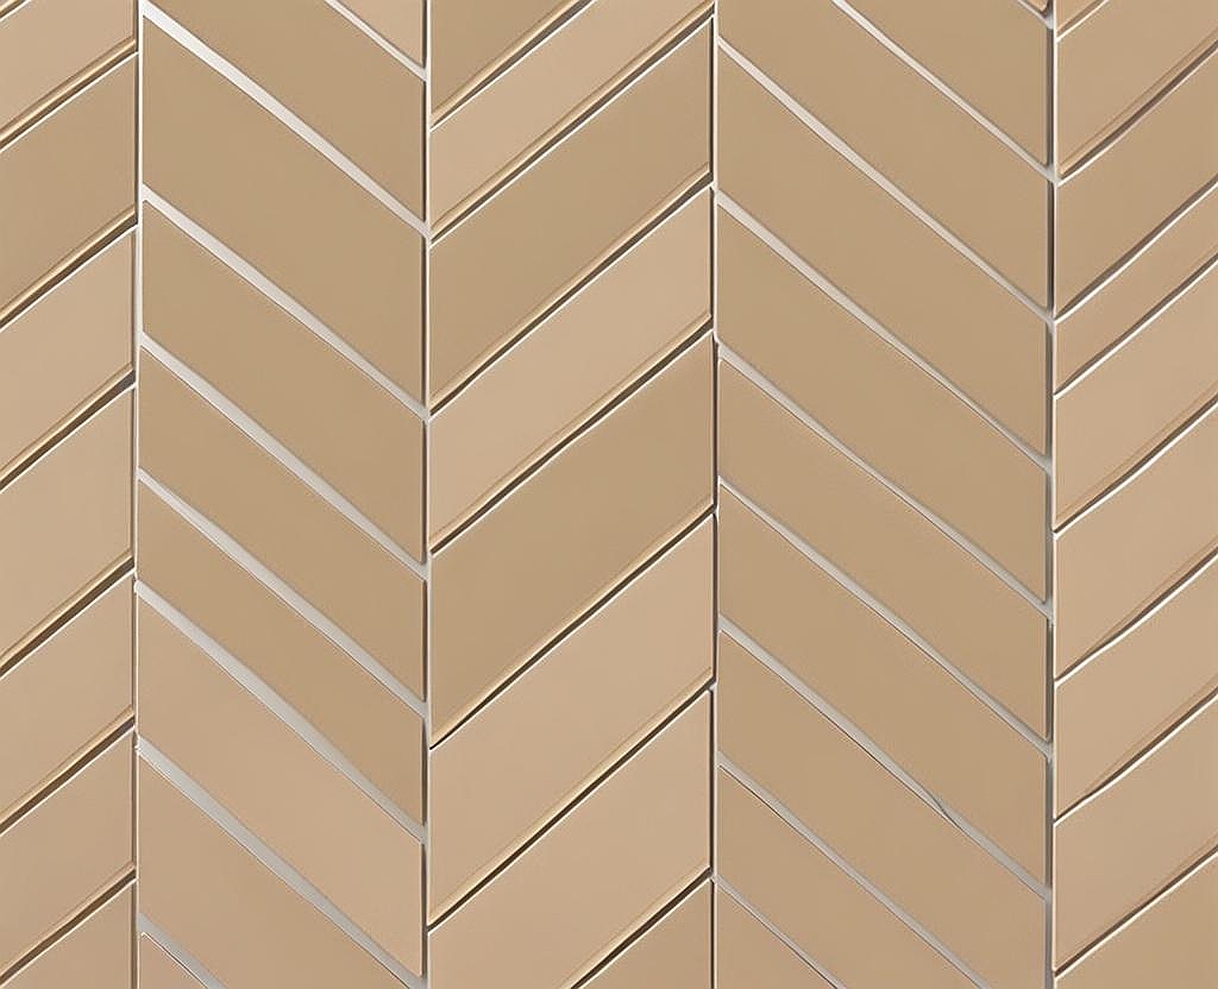
One of the key aspects of achieving a successful herringbone tile flooring is understanding the geometry behind it. The pattern is created by laying rectangular tiles at a 45-degree angle to each other, forming a series of ‘V’ shapes. This arrangement can make a room appear larger and more spacious, as the eye is drawn along the zigzag lines.
When planning your herringbone tile installation, consider the size of your tiles carefully. Larger tiles will create a bold, dramatic effect, while smaller tiles offer a more delicate, intricate look. You can also play with color variations to create unique designs within the herringbone pattern, such as using contrasting colors for a statement look or subtle tonal variations for a more sophisticated approach.
It’s worth noting that while herringbone patterns are stunning, they can be more challenging to install than standard tile layouts. The angled cuts and precise alignment required demand attention to detail and careful planning. However, with the right preparation and technique, even beginners can achieve professional-looking results.
Essential Tools and Materials for Laying Herringbone Tile
Before we dive into the nitty-gritty of how to lay herringbone tile, let’s gather all the necessary tools and materials. Having everything at hand will make the tile installation process smoother and more efficient. Here’s what you’ll need:
- Tiles (ensure you have about 10% extra for cuts and mistakes)
- Tile adhesive or mortar
- Grout
- Tile spacers
- Notched trowel
- Tile cutter or wet saw
- Grout float
- Sponge and bucket
- Level
- Measuring tape
- Chalk line
- Safety gear (goggles, gloves, knee pads)
When selecting your tiles, remember that the success of your herringbone pattern tile project largely depends on the quality and consistency of your tiles. Opt for tiles that are uniform in size and shape to ensure a seamless pattern. If you’re new to tile laying methods, you might want to choose a more forgiving material like ceramic or porcelain, which are easier to cut and work with compared to natural stone.
Your choice of adhesive is crucial for a lasting installation. For most interior projects, a pre-mixed tile adhesive will suffice. However, if you’re tiling a high-moisture area or working with larger, heavier tiles, you might need to use a more robust mortar mix. Always check the manufacturer’s recommendations for your specific tile type and installation location.
Grout comes in various colors and types. Sanded grout is typically used for wider grout lines (1/8 inch or more), while unsanded grout is better for narrower gaps. Choose a grout color that complements your tiles – it can either blend in for a seamless look or contrast to highlight the herringbone pattern.
Investing in quality tools can make a significant difference in your tile setting techniques. A good tile cutter or wet saw is essential for achieving clean, precise cuts, especially important in a herringbone layout where many tiles will need to be cut at 45-degree angles. A reliable level and measuring tape are also crucial for maintaining the accuracy of your pattern.
Preparing the Surface and Planning Your Herringbone Layout
Proper preparation is the cornerstone of successful herringbone tile installation. The first step in your journey of how to lay herringbone tile is ensuring your surface is clean, level, and ready for tiling. Start by thoroughly cleaning the area, removing any dust, debris, or old adhesive. If you’re working on a concrete floor, fill any cracks or holes with a suitable patching compound and allow it to dry completely.
For wooden subfloors, check for any loose boards and secure them. You may need to install a layer of cement backer board to provide a stable surface for tiling. This extra step is particularly important in areas prone to moisture, like bathrooms or kitchens.
Once your surface is prepped, it’s time to plan your herringbone tile layout. This step is crucial and can make or break your project. Here’s how to approach it:
- Find the center point of your room by measuring and marking the midpoint of each wall, then snapping chalk lines to create an ‘X’ in the center of the room.
- From this center point, lay out your tiles in a dry run of the herringbone pattern. This will help you visualize the final look and make any necessary adjustments.
- Pay attention to how the pattern meets the edges of the room. You may need to shift your starting point slightly to avoid tiny cuts at the edges, which can look unprofessional.
- Once you’re happy with the layout, use additional chalk lines to mark key reference points. These will guide you during the actual installation.
Remember, the key to a stunning herringbone tile design is precision. Take your time with this planning stage – it’s much easier to make adjustments now than after the tiles are set!
If you’re new to tile laying methods, you might find it helpful to create a template. Cut a piece of cardboard to the size of your tiles and use it to practice the pattern. This can give you a better sense of how the tiles will fit together and where cuts will be needed.
Step-by-Step Guide: How to Lay Herringbone Tile
Now that we’ve covered the prep work, let’s dive into the actual process of laying herringbone tile. This step-by-step guide will walk you through the tile installation techniques needed to create a beautiful herringbone pattern.
1. Start at the Center: Begin at the center point you established during the planning phase. Apply your tile adhesive to a small area using your notched trowel. Work in manageable sections to prevent the adhesive from drying before you can set the tiles.
2. Lay the First Tiles: Place your first two tiles at a 90-degree angle to each other, forming an ‘L’ shape. These initial tiles will set the pattern for the entire installation, so take extra care to ensure they’re perfectly positioned.
3. Continue the Pattern: Build out from your initial ‘L’, adding tiles to create the characteristic ‘V’ shape of the herringbone pattern. Use tile spacers to maintain consistent gaps between tiles.
4. Cut Tiles as Needed: As you approach walls or obstacles, you’ll need to cut tiles to fit. Measure carefully and use your tile cutter or wet saw to make precise cuts. Remember, in a herringbone pattern, many of these cuts will be at 45-degree angles.
5. Check for Level: Regularly check that your tiles are level as you go. Use a level tool to ensure everything is even, and make adjustments as necessary by adding or removing adhesive.
6. Continue to the Edges: Work your way outwards from the center, maintaining the pattern consistency. Pay extra attention to how the pattern meets the room’s edges.
7. Allow for Drying Time: Once all tiles are in place, allow the adhesive to dry completely. This usually takes 24-48 hours, but check your adhesive’s instructions for specific timing.
| Step | Action | Key Points |
|---|---|---|
| 1 | Apply adhesive | Work in small sections |
| 2 | Lay first tiles | Form ‘L’ shape at center |
| 3 | Continue pattern | Use spacers for consistency |
| 4 | Cut tiles as needed | Measure carefully, cut precisely |
| 5 | Check for level | Adjust adhesive if necessary |
Remember, patience is key when laying herringbone tile. This intricate pattern requires more time and attention than standard tile layouts, but the results are well worth the effort. If you find yourself getting frustrated, take a break and come back with fresh eyes. It’s better to work slowly and accurately than to rush and make mistakes that will be visible in the finished product.
You’ve successfully laid your herringbone tile – congratulations! But we’re not quite done yet. The finishing touches of grouting and sealing are crucial for both the appearance and longevity of your tiled surface. Let’s walk through these final steps to complete your herringbone tile installation.
Grouting:
- Prepare the Grout: Mix your grout according to the manufacturer’s instructions. If you’re using a pre-mixed grout, give it a good stir before use.
- Apply the Grout: Using your grout float, spread the grout diagonally across the tiles, ensuring it fills all the gaps between tiles. Work in small sections to prevent the grout from drying too quickly.
- Remove Excess: Once the grout has been worked into all the joints, use your grout float at a 90-degree angle to remove excess grout from the tile surfaces.
- Clean the Tiles: After about 15-30 minutes (or according to your grout’s instructions), use a damp sponge to clean any remaining grout haze from the tile surfaces. Rinse your sponge frequently and change the water as needed.
- Final Clean: Once the grout has fully dried (usually 24 hours), use a clean, dry cloth to buff away any remaining haze and reveal the full beauty of your herringbone tile pattern.
Sealing:
Sealing is an optional but recommended step, especially for natural stone tiles or in high-moisture areas. Here’s how to do it:
- Choose the Right Sealer: Select a sealer appropriate for your tile type and the room’s conditions.
- Clean the Surface: Ensure your tiled surface is completely clean and dry before applying sealer.
- Apply the Sealer: Following the product instructions, apply the sealer evenly across the tiled surface. Pay special attention to the grout lines.
- Allow to Dry: Let the sealer dry completely. Some sealers may require multiple coats for maximum protection.
With these finishing touches complete, your herringbone tile project is done! Step back and admire your handiwork. The intricate pattern you’ve created will add a touch of elegance and sophistication to your space for years to come.
Remember, maintaining your herringbone tile is key to preserving its beauty. Regular cleaning with appropriate products will keep your tiles looking fresh and vibrant. For natural stone tiles, you may need to reseal periodically to maintain protection.
Laying herringbone tile may seem daunting at first, but with careful planning, the right tools, and a bit of patience, you can achieve professional-looking results. Whether you’re tiling a kitchen backsplash, a bathroom floor, or a feature wall, this classic pattern is sure to make a lasting impression. Happy tiling!
