Measuring an undermount sink accurately is crucial for a successful kitchen renovation. Whether you’re a DIY enthusiast or working with a professional installer, understanding the nuances of sink size measurement is key to achieving a flawless installation. We’ll cover everything from basic measurements to advanced techniques, helping you navigate the complexities of undermount sink measuring with confidence.
Understanding Undermount Sinks and Their Measurement Challenges
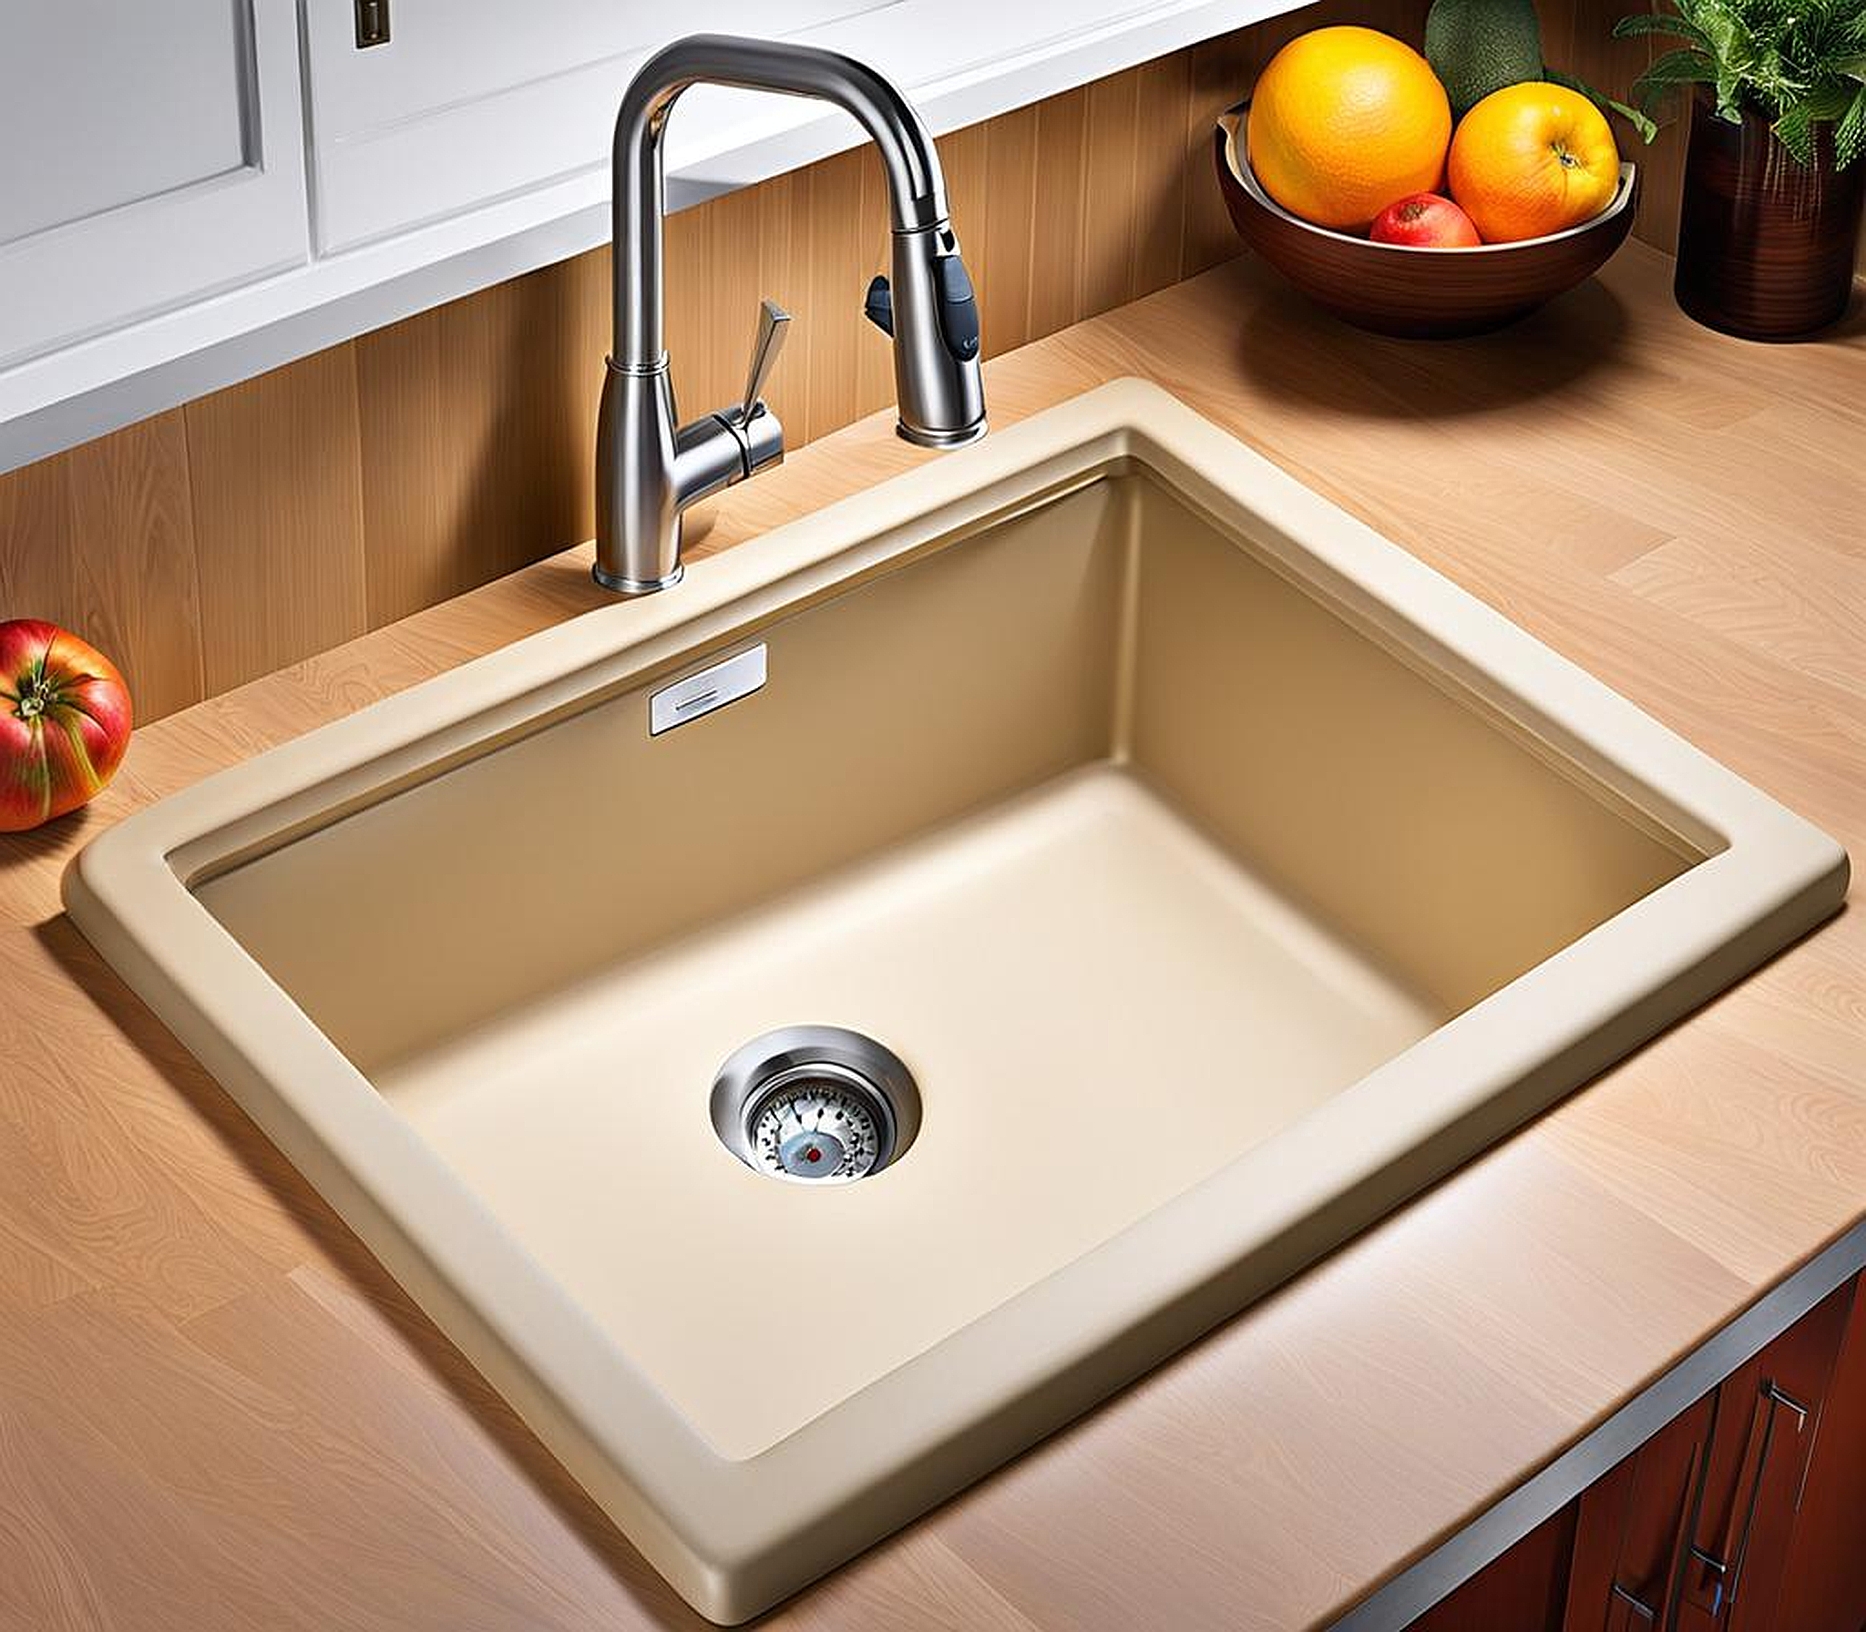
Undermount sinks are a popular choice for modern kitchens, offering a sleek and seamless look. Unlike top-mount sinks, these are installed beneath the countertop, creating a smooth transition from counter to sink. This unique installation method presents specific challenges when it comes to measuring.
The primary characteristic of an undermount sink is its invisible rim, which sits below the counter surface. This design feature not only enhances aesthetics but also makes cleaning easier, as there’s no lip to collect debris. However, it also means that accurate measurements are crucial for a proper fit.
When measuring undermount sinks, precision is key. Even a small error can lead to significant problems during installation. You’ll need to consider not just the sink’s dimensions, but also how it will interact with the countertop edge and support system.
Common challenges in measuring undermount sinks include:
- Accounting for the countertop overhang or reveal
- Ensuring adequate support for the sink’s weight
- Aligning the sink with cabinet doors and drawers
- Accommodating plumbing fixtures and garbage disposals
To tackle these challenges, you’ll need the right tools. Here’s what you should have on hand:
- A flexible tape measure
- A straight edge or ruler
- A pencil and paper for recording measurements
- A level to ensure accurate horizontal measurements
- A camera or smartphone for taking reference photos
With these tools and a clear understanding of the task at hand, you’re ready to begin the measuring process. Remember, taking your time and double-checking your measurements will save you headaches down the line.
Step-by-Step Guide to Measuring an Undermount Sink
Now that we’ve covered the basics, let’s dive into the step-by-step process of how to measure undermount sink dimensions. This guide will ensure you capture all the necessary measurements for a perfect fit.
First, prepare the countertop and sink area. Clear away any items and clean the surface thoroughly. If you’re replacing an existing sink, remove it carefully to access the cutout area.
Next, let’s tackle the main dimensions:
1. Length: Measure from the left inner edge to the right inner edge of the sink cutout. For accuracy, take this measurement at both the front and back of the opening, as it may not be perfectly square.
2. Width: Measure from the front inner edge to the back inner edge. Again, take this measurement on both sides of the opening.
3. Depth: This is the distance from the top of the countertop to the bottom of the sink. If you’re measuring an existing sink, you’ll need to account for the thickness of the countertop material.
When measuring sink sizes, it’s crucial to consider the reveal style. The reveal is the amount of sink edge visible below the countertop. There are three main types:
- Positive reveal: The countertop edge stops short of the sink edge, exposing a small portion of the sink’s rim.
- Negative reveal: The countertop extends slightly over the sink edge, covering the rim completely.
- Zero reveal: The countertop edge aligns perfectly with the sink edge.
Your chosen reveal style will affect your measurements and the final look of your installation. For a positive reveal, you’ll need to add about 1/8 inch to your cutout measurements. For a negative reveal, subtract about 1/8 inch.
Don’t forget to account for faucet and drain placement. Measure the distance from the back of the sink to the faucet holes, and note the location of the drain. These measurements will help ensure your new sink is compatible with your existing or planned fixtures.
By following this sink installation guide, you’ll have all the necessary measurements to select and install your undermount sink confidently. Remember, it’s always better to measure twice and cut once!
Advanced Measurement Techniques for Various Undermount Sink Styles
As we delve deeper into the world of undermount sink measuring, it’s important to recognize that not all sinks are created equal. Different styles and configurations require specific measurement techniques to ensure a perfect fit. Let’s explore some advanced methods for measuring various undermount sink styles.
Single Bowl vs. Double Bowl Undermount Sinks
When measuring sink sizes for single bowl undermount sinks, the process is relatively straightforward. You’ll follow the basic length, width, and depth measurements we discussed earlier. However, double bowl sinks require a bit more attention to detail:
- Measure each bowl separately, noting individual dimensions
- Record the width of the divider between the bowls
- Measure the total length across both bowls, including the divider
- Check if the bowls are symmetrical or if one is larger than the other
These additional measurements will help you find a replacement sink that matches your current configuration or ensure your new double bowl sink fits perfectly in your planned cutout.
Unique Shapes: Round, Oval, and Custom-Designed Sinks
Not all undermount sinks are rectangular. For round or oval sinks, you’ll need to adjust your measuring technique:
- For round sinks, measure the diameter at its widest point
- For oval sinks, measure both the length and width at the widest points
- For custom shapes, consider creating a template (more on this later)
Remember, these unique shapes may require special consideration for countertop cutting and support systems.
Cabinet Size and Support Requirements
Undermount sink measuring isn’t just about the sink itself; you need to consider the cabinet it will sit in. Measure the interior width of your sink base cabinet to ensure compatibility. Typically, your sink should be about 3 inches smaller than the cabinet interior.
Also, consider the depth of your cabinet when choosing your sink. Deep sinks may require modifications to accommodate plumbing or a garbage disposal.
Measuring for Sink Accessories and Add-ons
Modern undermount sinks often come with various accessories like cutting boards, colanders, or drying racks. If you plan to use these, you’ll need to measure to ensure they’ll fit:
- Measure the interior length and width of the sink at its rim
- Check the depth from the rim to the bottom of the sink
- Note any ledges or grooves designed for accessory placement
These advanced measurement techniques will help you navigate the complexities of various undermount sink styles. By taking these detailed measurements, you’re setting yourself up for a smooth and successful sink installation process.
Now that you’ve mastered the art of measuring undermount sinks, it’s time to put those measurements to use. Proper utilization of your carefully collected data is crucial for a successful undermount sink installation. Let’s explore how to ensure accuracy every step of the way.
Creating a Paper or Cardboard Template
One of the most effective ways to visualize your new sink’s fit is by creating a template. This step is especially useful for uniquely shaped sinks or when you’re making significant changes to your kitchen layout. Here’s how to do it:
- Trace the outline of your sink onto paper or cardboard using your measurements
- Cut out the template and place it on your countertop or in your cabinet
- Check for any potential issues with fit or clearance
This visual aid can help you catch any measurement errors before they become costly mistakes during installation.
Double-checking Measurements Against Manufacturer Specifications
Before finalizing your sink purchase, compare your measurements to the manufacturer’s specifications. Look for these key points:
- Overall sink dimensions (length, width, depth)
- Bowl dimensions for multi-bowl sinks
- Minimum cabinet size requirements
- Drain location and size
If there are discrepancies, don’t hesitate to remeasure or contact the manufacturer for clarification. It’s better to resolve any issues before the sink arrives.
Accounting for Sink Mounting Clips and Adhesives
Undermount sinks require special mounting hardware. When planning your installation, consider:
- The space needed for mounting clips
- Clearance for applying adhesives or sealants
- Any reinforcement required for your countertop material
These factors may affect your final measurements and the overall fit of your sink.
Communicating Measurements to Installers or Contractors
If you’re working with professionals for your undermount sink installation, clear communication is key. Provide them with:
- A detailed sketch with all measurements clearly labeled
- Photos of your current setup and any unique features
- Information about your chosen reveal style
- Details about your countertop material and thickness
The more information you can provide, the smoother the installation process will be.
Remember, accurate undermount sink measuring is the foundation of a successful installation. By following this comprehensive guide, you’ve equipped yourself with the knowledge to tackle this crucial step in your kitchen renovation. Whether you’re replacing an existing sink or installing a new one, these techniques will ensure your undermount sink fits perfectly and functions beautifully for years to come.
As you embark on your sink installation journey, keep this guide handy. Refer back to it whenever you need a refresher on how to measure undermount sink dimensions or navigate the complexities of sink size measurement. With patience, precision, and the right approach, you’ll achieve the kitchen of your dreams, complete with a perfectly fitted undermount sink.
