Are you looking to give your kitchen a fresh new look but aren’t ready for a full remodel? Updating your cabinetry with a new stain color can transform the entire space. The right stain can enhance the natural beauty of the wood while adding richness and depth to your kitchen’s aesthetic. With so many options to choose from, selecting the perfect cabinet stain may feel overwhelming. But armed with the right information, you can confidently choose a stain color and finish that will make your kitchen cabinets shine.
Staining cabinets allows you to highlight the natural wood grain while painting provides opaque, uniform coverage. Both offer advantages, so weigh your options carefully during the planning process. Follow our guide to master the art of staining and discover the limitless possibilities for your kitchen.
Prepare Your Cabinets for Staining
Before applying any type of finish, proper prep work is crucial for successful results. Here are the key steps:
- Clean cabinets thoroughly with a degreasing cleaner to remove any residue.
- Lightly sand cabinet surfaces using 120-150 grit sandpaper to scuff up the finish.
- Fill any holes, cracks, or imperfections with wood filler and let dry completely.
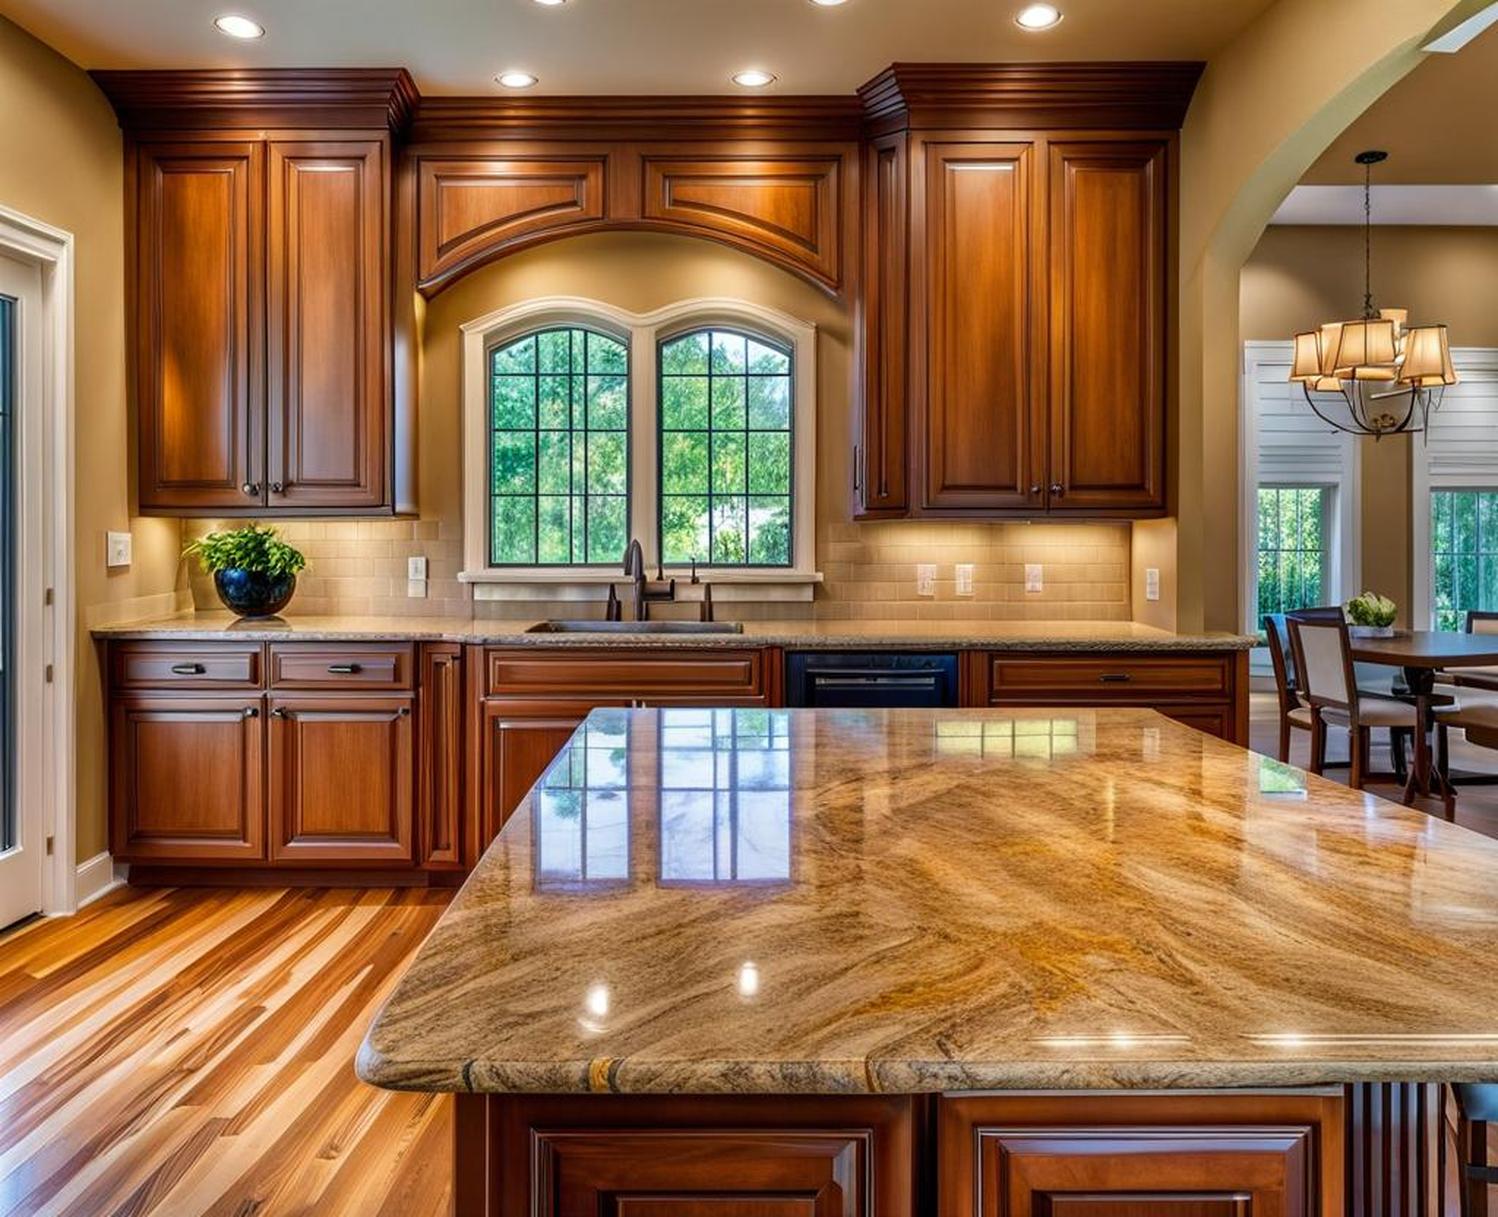
- Test your selected gel stain color on an inconspicuous spot to confirm you like the tone.
- Wipe down cabinets with a tack cloth to remove dust before staining.
Proper prep removes contaminants that can cause staining challenges. It also allows for maximum adhesion and smooth, even stain penetration.
Selecting the Right Stain Type
With myriad options on the market, it can be difficult to select the best stain type for your kitchen cabinets. Consider the characteristics of different stains to choose your ideal finish.
Oil-Based Stains
Traditional oil-based stains have been popular for years thanks to their penetrating properties and rich color options. Oil stains soak deep into wood pores to accentuate grain. Popular picks like Minwax, Varathane, and Watco offer oil-based stains in a wide spectrum of colors from neutrals to bold hues.
Pros:
- Deep penetration into wood pores
- Wide range of color choices
Cons:
- Long dry time between coats
- Strong odor during application
- Need mineral spirits for cleanup
Water-Based Stains
Water-based stains have grown in popularity thanks to their low odor and easy soap and water cleanup. While color options are more limited than oil, water-based stains excel at highlighting the natural wood grain with a beautiful semi-transparent finish.
Pros:
- Low odor
- Fast drying time
- Easy water cleanup
Cons:
- Less color selection
- Lower penetration into wood
Gel Stains
Gel stains have a thicker, gel-like consistency that clings to surfaces rather than absorbing deeply. The dense pigments provide rich, opaque color consistency. Gel stains are ideal for vertical surfaces like cabinets and furniture.
Pros:
- Delivers consistent, opaque color
- Beginner-friendly formula
Cons:
- Sits on wood surface rather than penetrating
- May require several coats for full coverage
Stain Considerations
Keep the following factors in mind when selecting your cabinet stain:
- Wood species – Match the stain to your cabinet’s wood type for ideal absorption.
- Desired transparency – Gel and oil stains showcase wood grain while paint provides opaque coverage.
- Application – Consider your skill level. Gel stains tend to be most novice-friendly.
Choosing Your Stain Color
With your stain type selected, now comes the fun part – picking the perfect color! Consider the following when selecting your shade:
- Order samples – Have stain color samples mailed to your home to test in your space.
- Hardware and fixtures – Coordinate with existing metals and finishes for a cohesive look.
- Countertops – Match or complement your countertop and backsplash materials.
- Lighting – View samples in both natural and artificial light.
- Current color – Hold samples next to cabinets to compare.
Rich, warm stained finishes pair beautifully with granite, marble, or butcher block counters. For a contemporary vibe, try pairing painted white cabinets with sleek quartz or concrete countertops. The stain or paint color you choose can elevate your entire kitchen’s aesthetic.
Stain Application Tips
Once you’ve selected the perfect color, proper application techniques will ensure stunning results. Follow these best practices during the staining process:
- Work in a well-ventilated area and wear protective gear.
- Use a high-quality natural bristle brush for smooth application.
- Maintain a “wet edge” as you apply stain in sections.
- Always brush along the direction of the wood grain for an even coat.
- Remove excess stain with a rag to prevent blotches and drips.
- Allow proper drying time between coats as specified by the manufacturer.
Rushing the staining process can lead to an uneven, blotchy finish. Take your time and take care to apply the stain in thin, even layers for professional looking results.
Achieving an Even Stain
For attractive cabinets that look like they were professionally finished, you’ll need an evenly stained surface. Here are some tips to get flawless results:
- Sand cabinets to a uniform smoothness so stain absorbs evenly.
- Apply a pre-stain conditioner so the wood accepts stain uniformly.
- Opt for a gel stain for thicker, more consistent pigment coverage.
- Work in small sections, stopping at corners or edges for natural breaks.
- Maintain the same brushing motion and technique over the entire surface area.
An even finish requires patience and attention to detail. Avoid stopping mid-panel, which can create overlap marks. When done properly, your cabinets will look like works of art!
Caring for Your Stained Cabinets
To keep your stained cabinets looking like new for years to come, proper care and maintenance are key:
- Allow finish to cure completely for several weeks before regular use.
- Clean stained cabinets with a soft cloth and mild soap and water.
- Apply a thin coat of paste wax to stained surfaces every 1-2 years.
- Touch up worn areas as needed to maintain your finish.
Avoid harsh cleaners or abrasive pads, which can damage the stain over time. Simple care will maintain the rich, flawless finish you worked so hard to achieve.
The right cabinet stain has the power to transform the look, feel, and functionality of your kitchen. With proper planning and preparation, even novice DIYers can select a stain that protects their cabinets while enhancing their natural beauty. Remember to consider the wood type, desired transparency, and your color scheme. Test samples first and take your time applying. With the perfect stain, your outdated kitchen will look refreshed, timeless and stunning in no time.
Reviving kitchen cabinets with a fresh coat of stain can breathe new life into your home without the need for a full renovation. Arm yourself with the knowledge of stain types, colors, and application techniques for picture-perfect results. With a little time and care, you can choose the ideal stain to make your kitchen cabinets shine.
