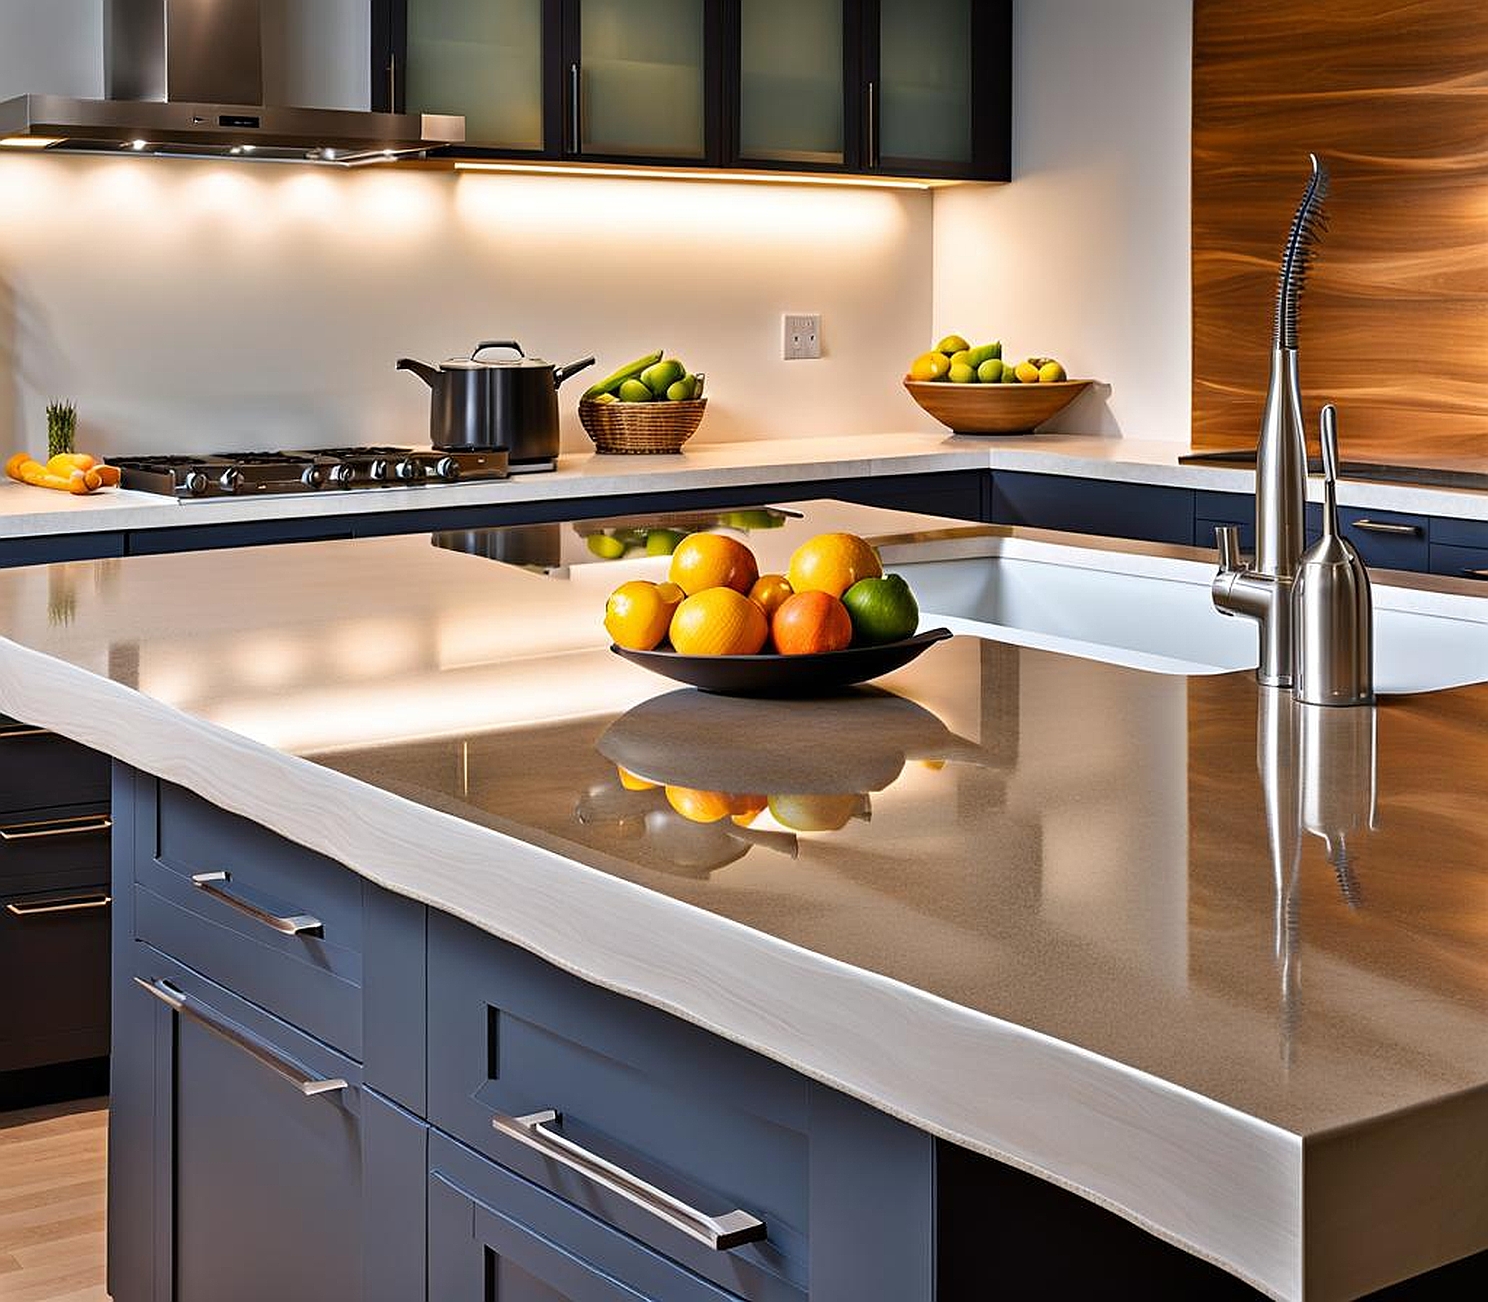
Updating your kitchen doesn’t always require a complete overhaul. If you’re wondering, “Can you paint kitchen countertops?” the answer is a resounding yes! Painting laminate kitchen countertops is an affordable and creative way to refresh your space. With the right techniques and materials, you can transform dull surfaces into stunning focal points. Let’s dive into the process of painting kitchen countertops and discover how a simple paintbrush can breathe new life into your culinary haven.
Can You Really Paint Kitchen Countertops? Understanding the Process
Many homeowners are surprised to learn that painting kitchen countertops is indeed possible. Whether you’re dealing with laminate, granite, or other surfaces, there’s a way to refinish kitchen countertops with paint. The key lies in proper preparation and using the right products.
Painting laminate countertops is particularly popular due to its cost-effectiveness. Laminate countertop paint has come a long way, offering durability and a wide range of finishes. From matte to glossy, and even faux stone appearances, the possibilities are endless when you decide to paint kitchen surfaces.
But before you grab that paintbrush, it’s crucial to understand that this isn’t your typical painting project. Kitchen countertop paint needs to withstand daily wear and tear, resist moisture, and hold up against heat. That’s why specialized products exist for this purpose.
Here’s what you need to know about the process:
- Preparation is key: Cleaning, sanding, and priming are non-negotiable steps.
- Choose the right paint: Not all paints are suitable for kitchen surfaces.
- Apply multiple thin coats: This ensures better adhesion and a more durable finish.
- Seal the deal: A tough topcoat is essential for longevity.
When considering whether to paint granite countertops or other stone surfaces, remember that the process might differ slightly. Granite countertop paint is formulated to adhere to non-porous surfaces and often requires specific primers.
By understanding these basics, you’re already on your way to successfully painting your kitchen countertops. Let’s move on to the crucial preparation phase.
Preparing Your Laminate Kitchen Countertops for Painting
Proper preparation is the foundation of a successful kitchen countertop refinish. Skipping this step can lead to peeling paint and a disappointing outcome. Here’s how to get your laminate countertops ready for their makeover:
First, thoroughly clean the surface. Use a degreaser to remove any built-up grime, cooking oils, and general kitchen residue. This step is crucial because paint won’t adhere properly to a dirty surface. After cleaning, rinse the countertops with clean water and dry them completely.
Next, it’s time to sand. Sanding creates a slightly rough surface that helps the paint bond better. Use medium-grit sandpaper and go over the entire countertop, paying special attention to any glossy areas. The goal isn’t to remove the laminate but to scuff it up enough for paint adhesion.
After sanding, wipe away all the dust with a tack cloth. Any leftover particles can create bumps in your paint job. Now, apply painter’s tape around the edges of your countertop where it meets the backsplash or sink. This will ensure clean lines and protect areas you don’t want to paint.
The final preparation step is priming. Choose a primer specifically designed for laminate surfaces. Apply it evenly with a foam roller for a smooth finish. Let the primer dry completely according to the manufacturer’s instructions. Some primers might require light sanding between coats for optimal results.
Remember, the effort you put into preparation will directly impact the quality and longevity of your painted countertops. Take your time with these steps, and you’ll set yourself up for success.
Choosing the Right Paint and Tools for Kitchen Countertop Refinishing
Selecting the appropriate paint and tools is crucial when you’re about to paint kitchen countertops. The right choices can make the difference between a professional-looking finish and a DIY disaster.
Let’s start with the paint. When it comes to kitchen countertop paint, you need a product that’s specifically formulated for high-use surfaces. Look for paints labeled as “countertop paint” or “cabinet and countertop paint.” These are designed to withstand the unique challenges of kitchen surfaces, including heat, moisture, and frequent cleaning.
For laminate countertop paint, epoxy-based products are often recommended. They provide a hard, durable finish that can mimic the look of stone or other high-end materials. If you’re planning to paint granite countertops, there are specialized paints available that adhere well to non-porous surfaces.
Color choice is another important factor. While you might be tempted to go bold, consider how the color will impact the overall look of your kitchen. Neutral tones often work best for countertops, as they provide a versatile backdrop for your decor and are less likely to show wear over time.
Now, let’s talk tools. While this article focuses on using a paintbrush, you might want to consider a combination of tools for the best results:
- Foam rollers: Great for applying primer and base coats evenly
- High-quality paintbrushes: Essential for cutting in around edges and creating texture
- Paint trays: To hold your paint and make application easier
- Sandpaper: For preparation and between coats if needed
- Protective gear: Gloves, eye protection, and a mask are must-haves
Don’t forget about the importance of good lighting. Adequate lighting will help you spot any missed spots or imperfections as you work.
By choosing the right paint and tools, you’re setting yourself up for a successful kitchen countertop refinish. With these essentials in hand, you’re ready to move on to the actual painting process.
Step-by-Step Guide: How to Paint Laminate Kitchen Countertops with a Paintbrush
Now that you’ve prepared your surface and gathered your materials, it’s time to dive into the actual process of painting your laminate kitchen countertops. Follow these steps carefully for the best results:
1. Start with the edges: Using your paintbrush, carefully paint the edges of the countertop. This technique, known as “cutting in,” ensures neat lines and coverage in hard-to-reach areas.
2. Apply the first coat: Once the edges are done, use a foam roller to apply the first coat of paint to the main surface. Work in small sections, rolling in one direction to maintain an even finish. Allow this coat to dry completely according to the paint manufacturer’s instructions.
3. Sand lightly: Once dry, lightly sand the surface with fine-grit sandpaper. This step helps to smooth out any imperfections and prepares the surface for the next coat. Wipe away any dust with a tack cloth.
4. Apply subsequent coats: Repeat the process of painting and sanding for at least two more coats. Each coat should be thin and even. Remember, multiple thin coats are better than one thick coat.
5. Create texture (optional): If you want to mimic the look of stone or add interest to your countertops, you can use your paintbrush to create texture in the final coat. Dab the brush gently on the wet paint to create a stippled effect.
6. Allow to cure: Once you’ve applied your final coat, let the paint cure for the time specified by the manufacturer. This could be anywhere from a few days to a week.
7. Apply sealant: To protect your newly painted countertops, apply a clear, food-safe epoxy sealant. This will help your paint job withstand daily use and cleaning.
Throughout this process, patience is key. Rushing between coats or not allowing adequate drying time can lead to a less durable finish. Take your time, and you’ll be rewarded with beautiful, refreshed kitchen countertops.
Remember, while a paintbrush is excellent for detail work and creating texture, using a combination of brush and roller often yields the best results when painting larger surfaces like countertops.
After you’ve successfully painted your kitchen countertops, proper maintenance is crucial to ensure their longevity and keep them looking fresh. Here are some tips to help you care for your newly refinished kitchen surfaces:
1. Allow full curing: Even though the paint may feel dry to the touch, it needs time to fully cure. Avoid placing heavy objects or subjecting the countertops to moisture for at least a week after painting.
2. Use gentle cleaning methods: Once cured, clean your painted countertops with mild, non-abrasive cleaners. Avoid harsh chemicals or scrubbing pads that could damage the paint surface.
3. Protect from heat: While many kitchen countertop paints are heat-resistant, it’s best to use trivets or hot pads under hot pots and pans to prevent damage.
4. Avoid cutting directly on the surface: Use cutting boards to protect your painted countertops from knife marks and scratches.
5. Address spills promptly: Wipe up spills as soon as they occur to prevent staining or damage to the paint finish.
6. Regular inspection: Periodically check your countertops for any chips or wear. Small touch-ups can prevent larger issues down the line.
7. Reapply sealant: Depending on use, you may need to reapply a clear sealant every year or two to maintain protection.
By following these care instructions, your painted kitchen countertops can remain beautiful and functional for years to come. Remember, while painting is a great way to refresh your kitchen surfaces, it’s not a permanent solution. Be prepared to repaint or touch up as needed, especially in high-use areas.
Painting your kitchen countertops can be a rewarding DIY project that dramatically changes the look of your kitchen without the cost of a full renovation. Whether you’re painting laminate countertops or refinishing other kitchen surfaces, the key is in the preparation, using the right materials, and proper maintenance.
With patience and attention to detail, you can achieve professional-looking results that will make you proud every time you enter your kitchen. So go ahead, pick up that paintbrush, and give your kitchen the refresh it deserves!
