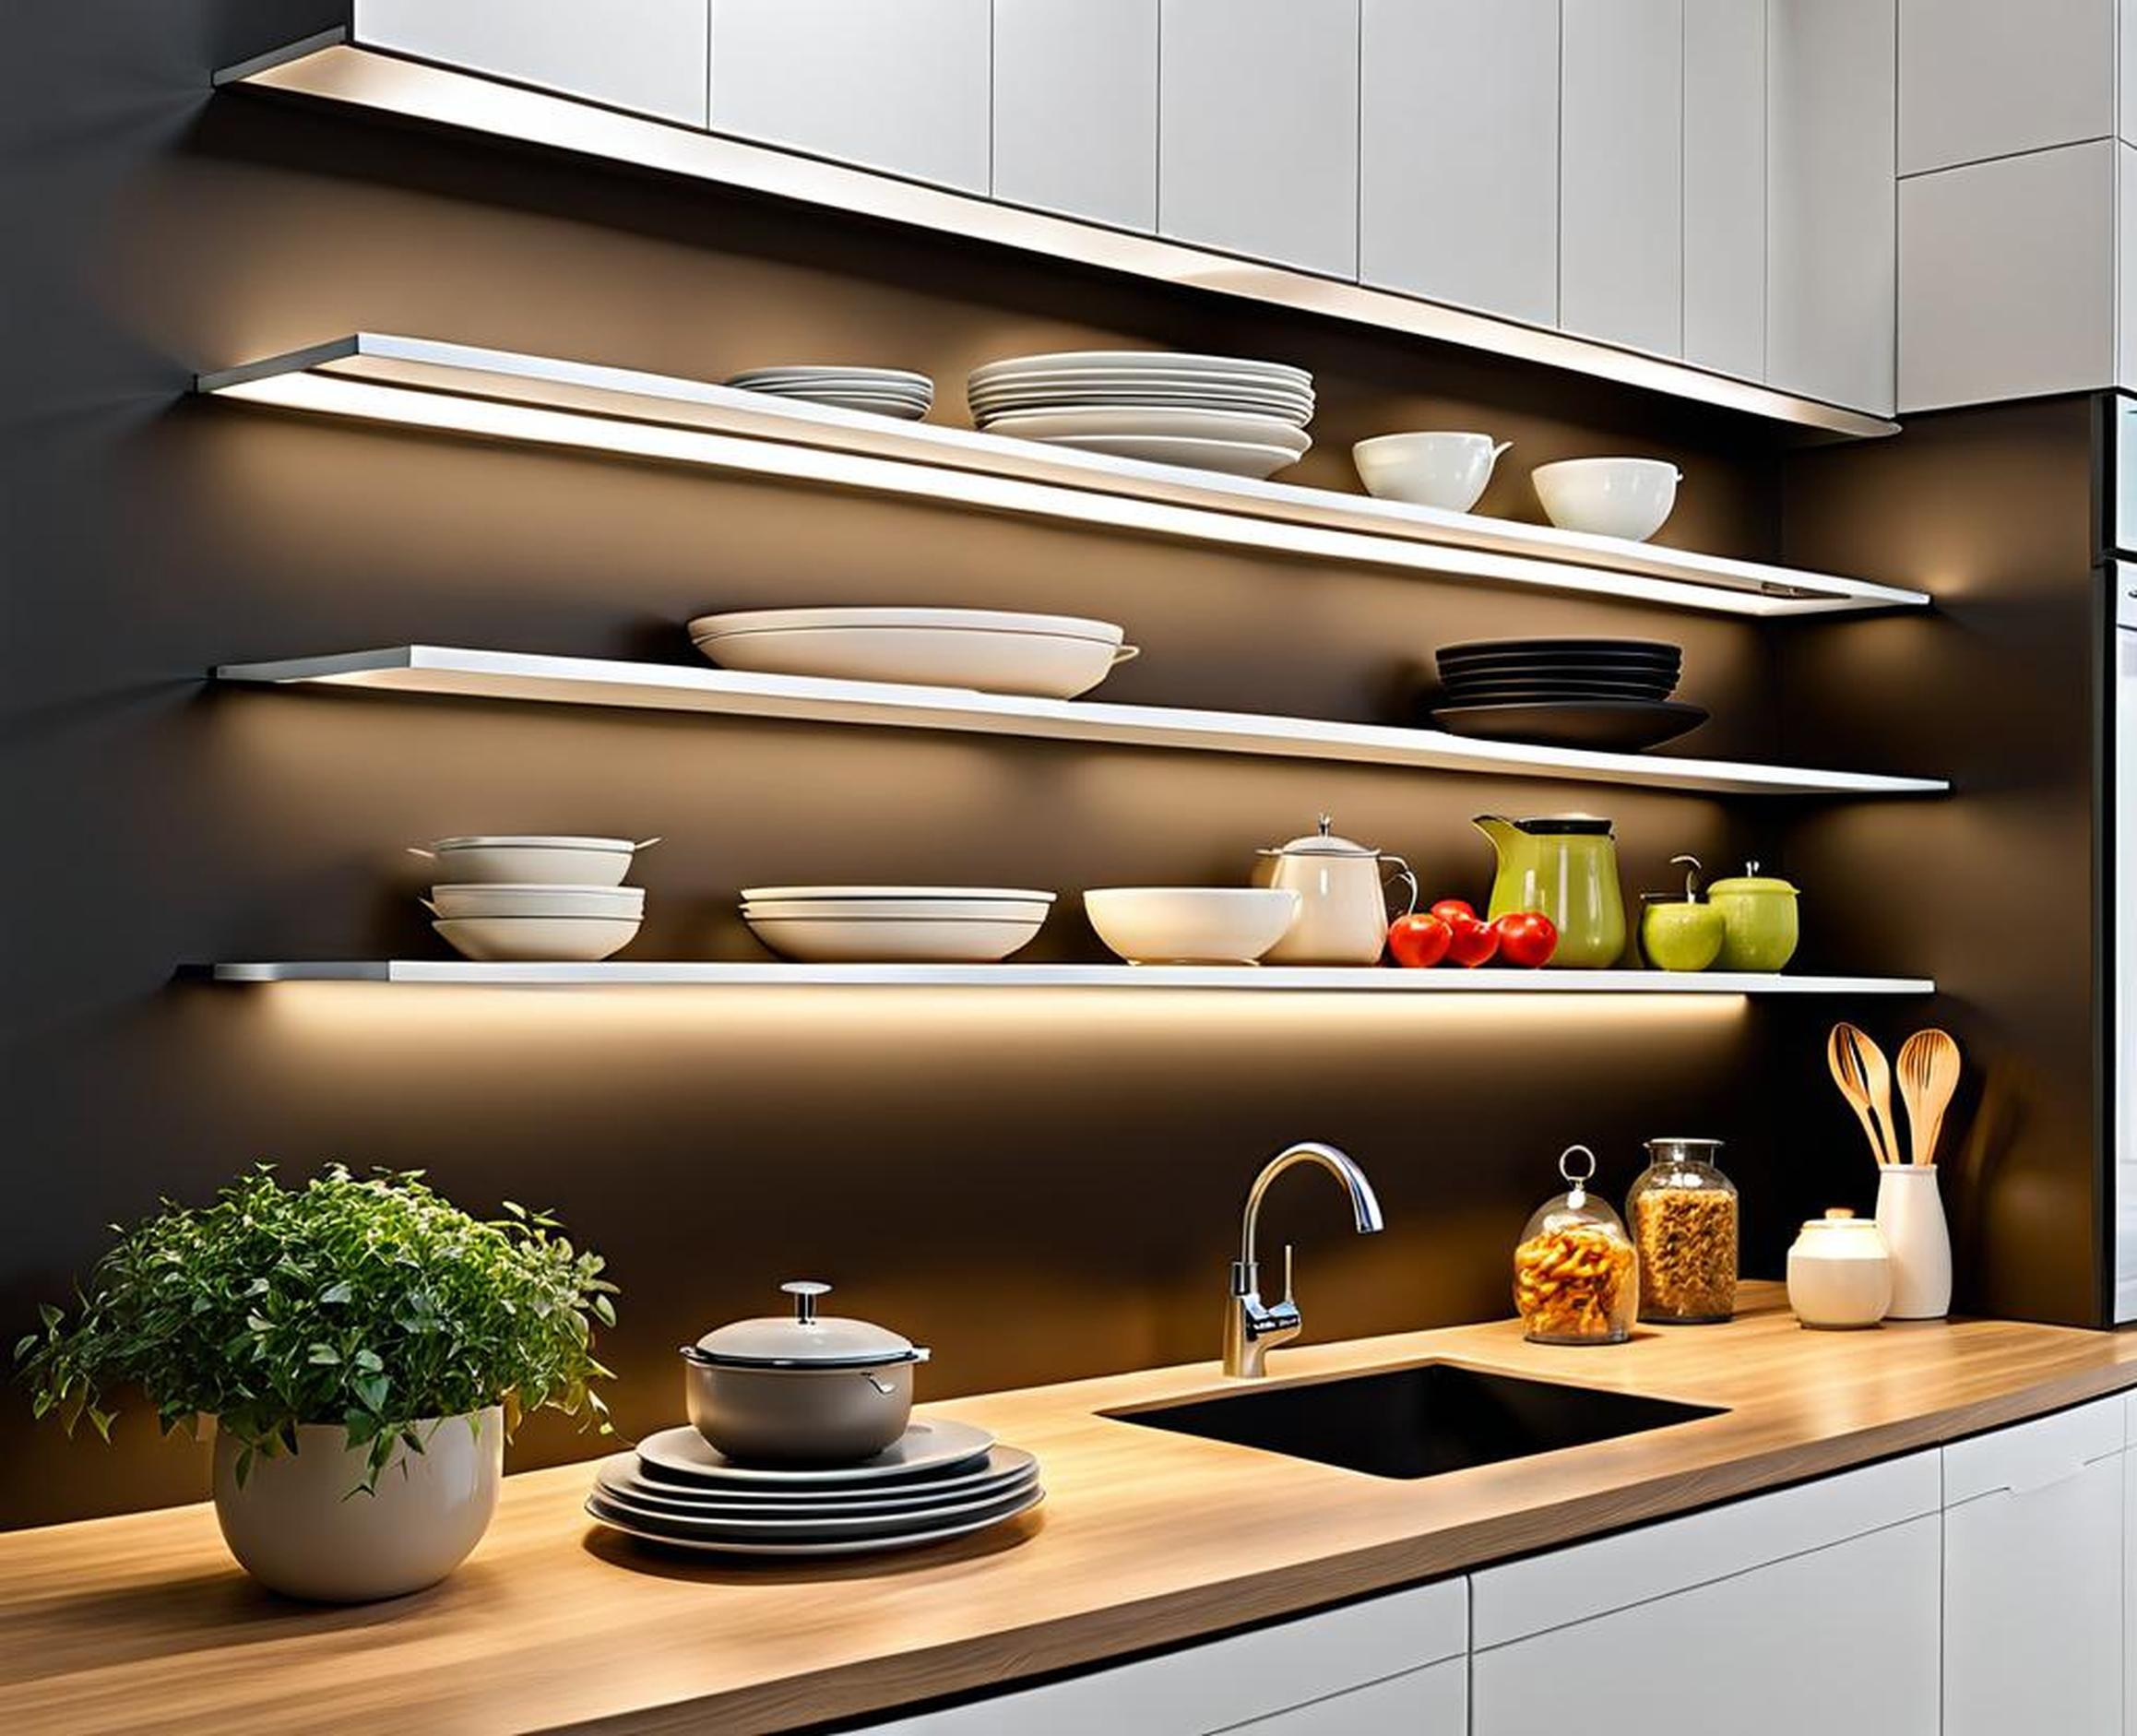
Floating shelves are an increasingly popular way to add stylish, open storage to kitchen walls. But nailing the right floating shelf height for your space is key to getting the most functional and visually appealing outcome.
Read on for pro tips to help you install shelf heights tailored to your precise storage, weight, and style needs.
Measure Your Kitchen Dimensions
The first step to configuring the best floating shelf heights is to take some key measurements of your existing kitchen layout. This allows you to customize the shelves to fit properly within your current space.
Measure from Countertop to Ceiling
Use a tape measure to gauge the vertical distance between your countertop or upper cabinets to the ceiling. This establishes the maximum height you have to work with in positioning the shelves.
Be sure to note areas with soffits or drops in ceiling height to account for those when planning shelf placement.

Consider Typical User Heights
The average countertop height is 36 inches. But if your kitchen counters or cabinets are set higher or lower, make note of their exact height as well.
Additionally, consider the range of heights of people frequently using the kitchen. Ideally, shelves should be positioned within comfortable reach for all users.
| Average Female Height | 5′ 4″ |
| Average Male Height | 5′ 9″ |
Account for Height of Existing Cabinets and Appliances
Factor in the height and position of surrounding cabinets, appliances, lighting fixtures or vent hoods. Floating shelves should be clear of those elements, with a few extra inches of breathing room.
Assess Kitchen Function and Weight Concerns
Floating shelves come in a variety of materials, sizes, and weight limits. So the intended use of your new shelves should inform positioning and configuration.
Functionality Determines Optimal Height
- If shelves will primarily provide storage , lower heights around 16 inches may be most practical for easy access to items.
- If shelves are mainly for display of decorative items, installing them slightly higher on the wall makes sense visually.
Weight Capacity Varies by Material
Maximum weight tolerances range quite a bit:
- Glass floating shelves = 15-20 lbs
- Acrylic floating shelves = 20-30 lbs
- Solid wood or metal brackets = 30-50+ lbs
Lower Shelf = More Weight Distribution
Placing heavier items on lower shelves also helps stabilization and reduces stress on the mounting hardware.
Calculate Optimal Floating Shelf Heights
Now that you have your measurements and functional considerations in mind, it’s time to settle on the sweet spot for your shelves.
General Height Guidelines
Use these starting points when configuring your shelf layout:
- Bottom floating shelf = 13 to 18 inches above countertop
- 12 to 16 vertical inches between lower and upper shelves
Adjust Based on Your Dimensions
Tweak suggested heights up or down based on your ceiling height, typical user height, and surrounding cabinetry or appliances.
Choose Material to Suit Weight Needs
Select floating shelf brackets and surfaces rated for the approximate cumulative weight of items you’ll display.
- Lighter items = glass or acrylic shelf material
- Heavier items = solid wood shelves
- Very heavy items = solid wood AND metal brackets
Add Visual Interest with Creative Configurations
Beyond determining basic shelf heights, you can make your new floating shelves stand out with unique placements and bold designs.
Stacked Floating Shelves
Go vertical with two or three shelves in a column. Mix up materials, colors and proportions for dimension.
Mix Materials, Sizes and Shelf Heights
Birch wood, black metal and tempered glass shelves aligned asymmetrically on the wall amp up the modern cool factor.
Incorporate Decorative Brackets
Floating shelves don’t have to blend in. Make the brackets part of the design with carved wood corbels or sleek chrome posts.
Stagger Shelves at Angles
Go for dynamic diagonals rather than straight horizontal lines. Overlapping angled shelves make a statement.
Installation Tips and Tricks
Once you’ve sketched plans for your customized floating shelves, it’s go time! Use proper techniques to safely and securely mount your shelves.
Ensure Proper Anchor Choice for Wall Type
- Drywall anchors for drywall or plaster walls
- Concrete anchors for concrete or brick
- Wood screws for mounting directly into wall studs
Use a Stud Finder
Locate studs for strength, use anchors if between studs. Shelves holding heavier items especially need stud mounting.
Verify Shelves are Level
A small level tool is a must for this. Unlevel shelves annoy every tidy homeowner!
Follow All Safety Guidelines
Use care when drilling and mounting shelves. Wear safety glasses, secure ladders properly and get help lifting large shelves.
Style Your New Floating Shelves
Once everything is mounted, it’s time for the fun part–loading up your floating shelves! Follow these tips to fashion them into an enviable kitchen focal point:
Artful Kitchen Display Ideas
- Collections of white porcelain pots and pans
- Arranged colorful cookbooks or glass canisters
- Trailing ivy or succulent planters
Tips for Editing Items to Prevent Clutter
Curation is key! Only showcase your very favorite items in limited quantities to keep things airy and balanced.
Change Items Seasonally
Freshen up your shelves for spring with bright pansies, or go warm and rustic for fall with woven baskets and ceramic turkeys.
Determining the optimal floating shelf heights comes down to measuring your existing kitchen, assessing weight and usage factors, and applying general guidelines. Spend time planning upfront and you’ll be rewarded with picture-perfect shelves showcasing your treasured items.
Get creative with configurations and displays to make your new floating shelves both functional and dazzling. Soon you’ll have the hottest new focal point in town!
