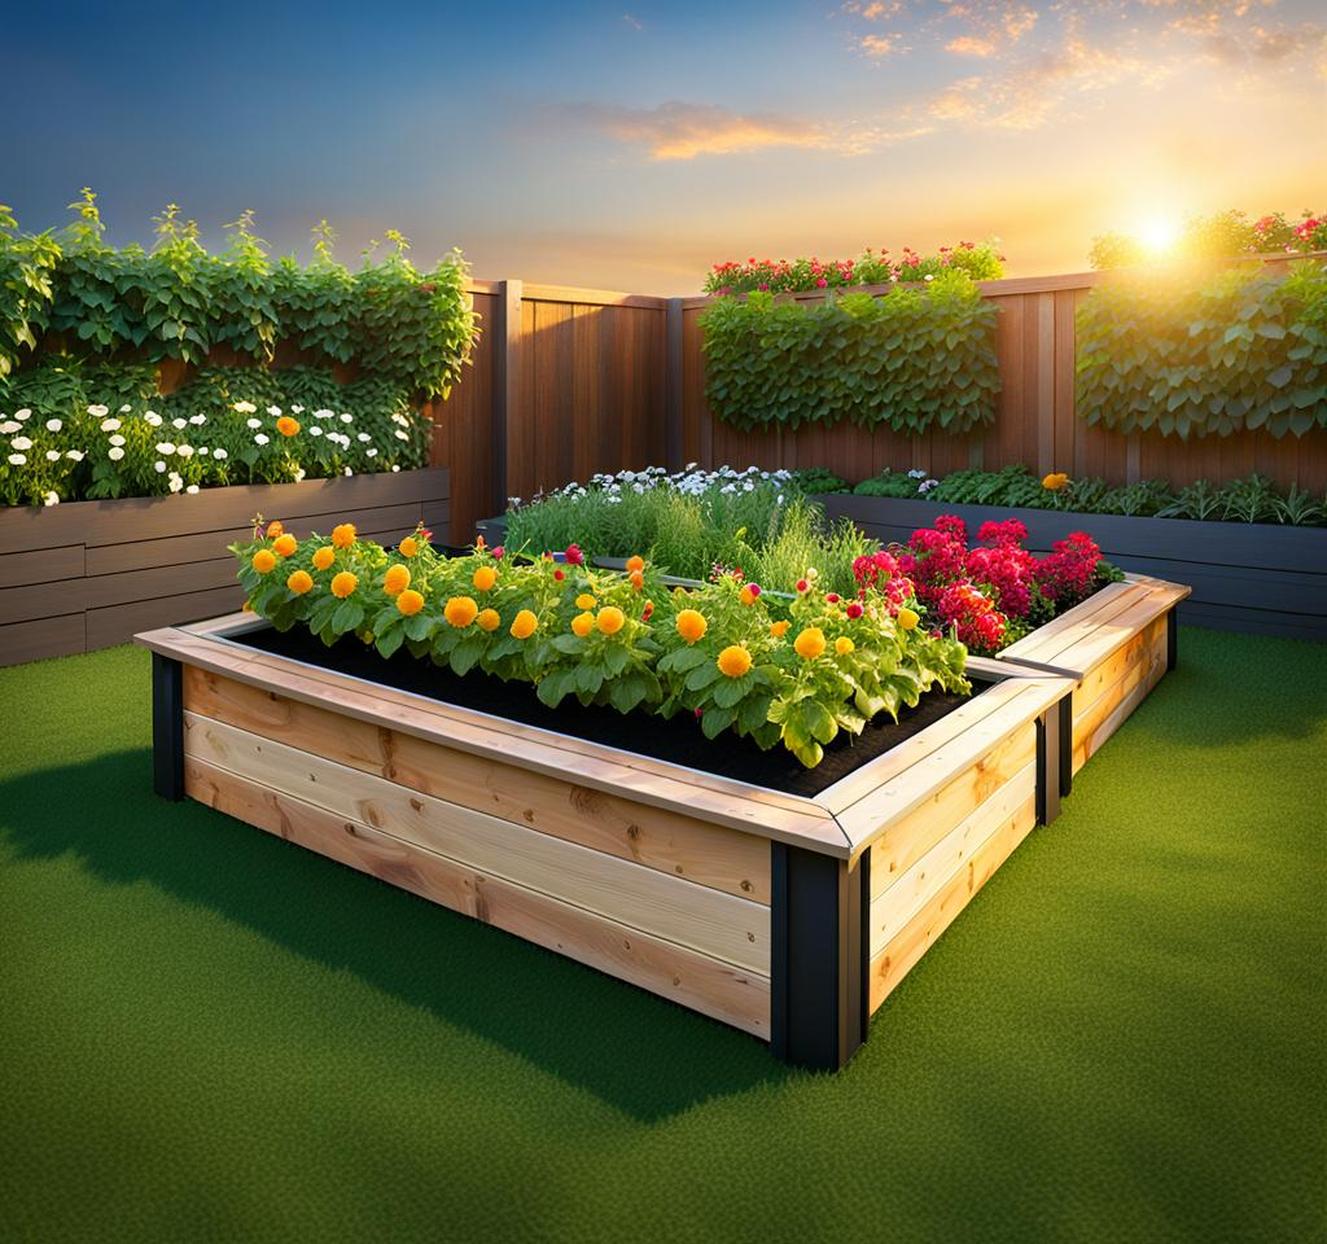
Gardening is a rewarding hobby that allows you to connect with nature while growing your own fruits, vegetables, and flowers. More and more homeowners are discovering the benefits of gardening in above ground beds instead of traditional in-ground plots.
Raised garden beds provide better drainage, reduce soil compaction, are easier on your back, and can be installed just about anywhere. Read on to learn how you can build the ultimate above ground garden box right in your own backyard.
Benefits of Above Ground Gardening Boxes
Above ground gardening boxes, also called raised beds, offer many advantages over in-ground gardening:
- Improved drainage – The soil mix and elevation provide superior drainage.
- Less soil compaction – No walking on the soil keeps it loose.
- Reduced back strain – Raised height makes planting and weeding easier.
- More versatility – Place beds anywhere without preparing ground.
- Enhanced aesthetics – Attractive addition to your landscape.
By reaping these benefits, you’ll find gardening becomes more accessible and enjoyable.
Materials for Building Above Ground Garden Boxes
The main options for constructing raised garden beds include:

Untreated Wood
Good choices like cedar and redwood resist rot naturally:
- Cedar – Handsome appearance and durable.
- Redwood – Withstands weather and insects.
Other Building Materials
These long-lasting materials work well:
- Concrete blocks – Sturdy and inexpensive.
- Bricks – Attractive classic material.
- Stone – Provides decorative natural look.
Tools You’ll Need
Gather these essential tools beforehand:
- Saw – For cutting lumber and plywood.
- Drill – For screws and drainage holes.
- Level – Ensures beds are even.
- Shovel – For digging and soil work.
Design Considerations for Raised Beds
Keep these factors in mind when planning your perfect raised bed:
- Sun exposure – Place beds in a sunny spot.
- Size and layout – Plan dimensions and arrangement.
- Height – Go for at least 12″ tall.
- Accessibility – Allow room to tend beds from all sides.
- Aesthetics – Choose materials to enhance looks.
Customize your design to best suit your needs and space.
Building Your Above Ground Garden Box
Follow these steps to construct a raised bed for your backyard:
Prep the Ground
Level and clear the area of weeds and grass where you plan to place your bed. Consider adding gravel or weed cloth under the frame.
Cut Lumber to Size
Cut side planks to the lengths you need based on your planned dimensions. Pre-drill screw holes to prevent splitting.
Assemble the Frame
Screw the side pieces together at the corners to form your frame. Check for square angles with your level.
Add Supports
Place sturdy corner posts or brackets inside corners to reinforce the structure.
Install Bottom (Optional)
For extra protection, add plywood panels secured to the bottom of your frame.
Fill with Soil
Shovel quality soil mix into the frame, amending as desired. Leave 3-5 inches from the top.
Start Planting!
Your ultimate above ground garden box is ready for seeds and starters. Happy growing!
Tips for Success with Raised Beds
Follow these guidelines to get the most out of your raised garden:
- Amend soil with compost for nutrition.
- Use drip irrigation to conserve water.
- Apply organic fertilizer as needed.
- Rotate crops each season to replenish soil.
- Employ covers and traps to prevent pests.
With proper care and maintenance, your above ground garden will thrive for years to come!
Creating an above ground garden bed unlocks the joys and rewards of gardening. With improved drainage, less soil compaction, and reduced back strain, elevated garden boxes make growing your own food incredibly easy.
We walked through the complete process from planning materials to building steps to maintenance tips. Now you have all the knowledge you need to construct the ultimate raised bed for your backyard. Get ready to grow bountiful flowers, fruits, herbs, and veggies this season!
