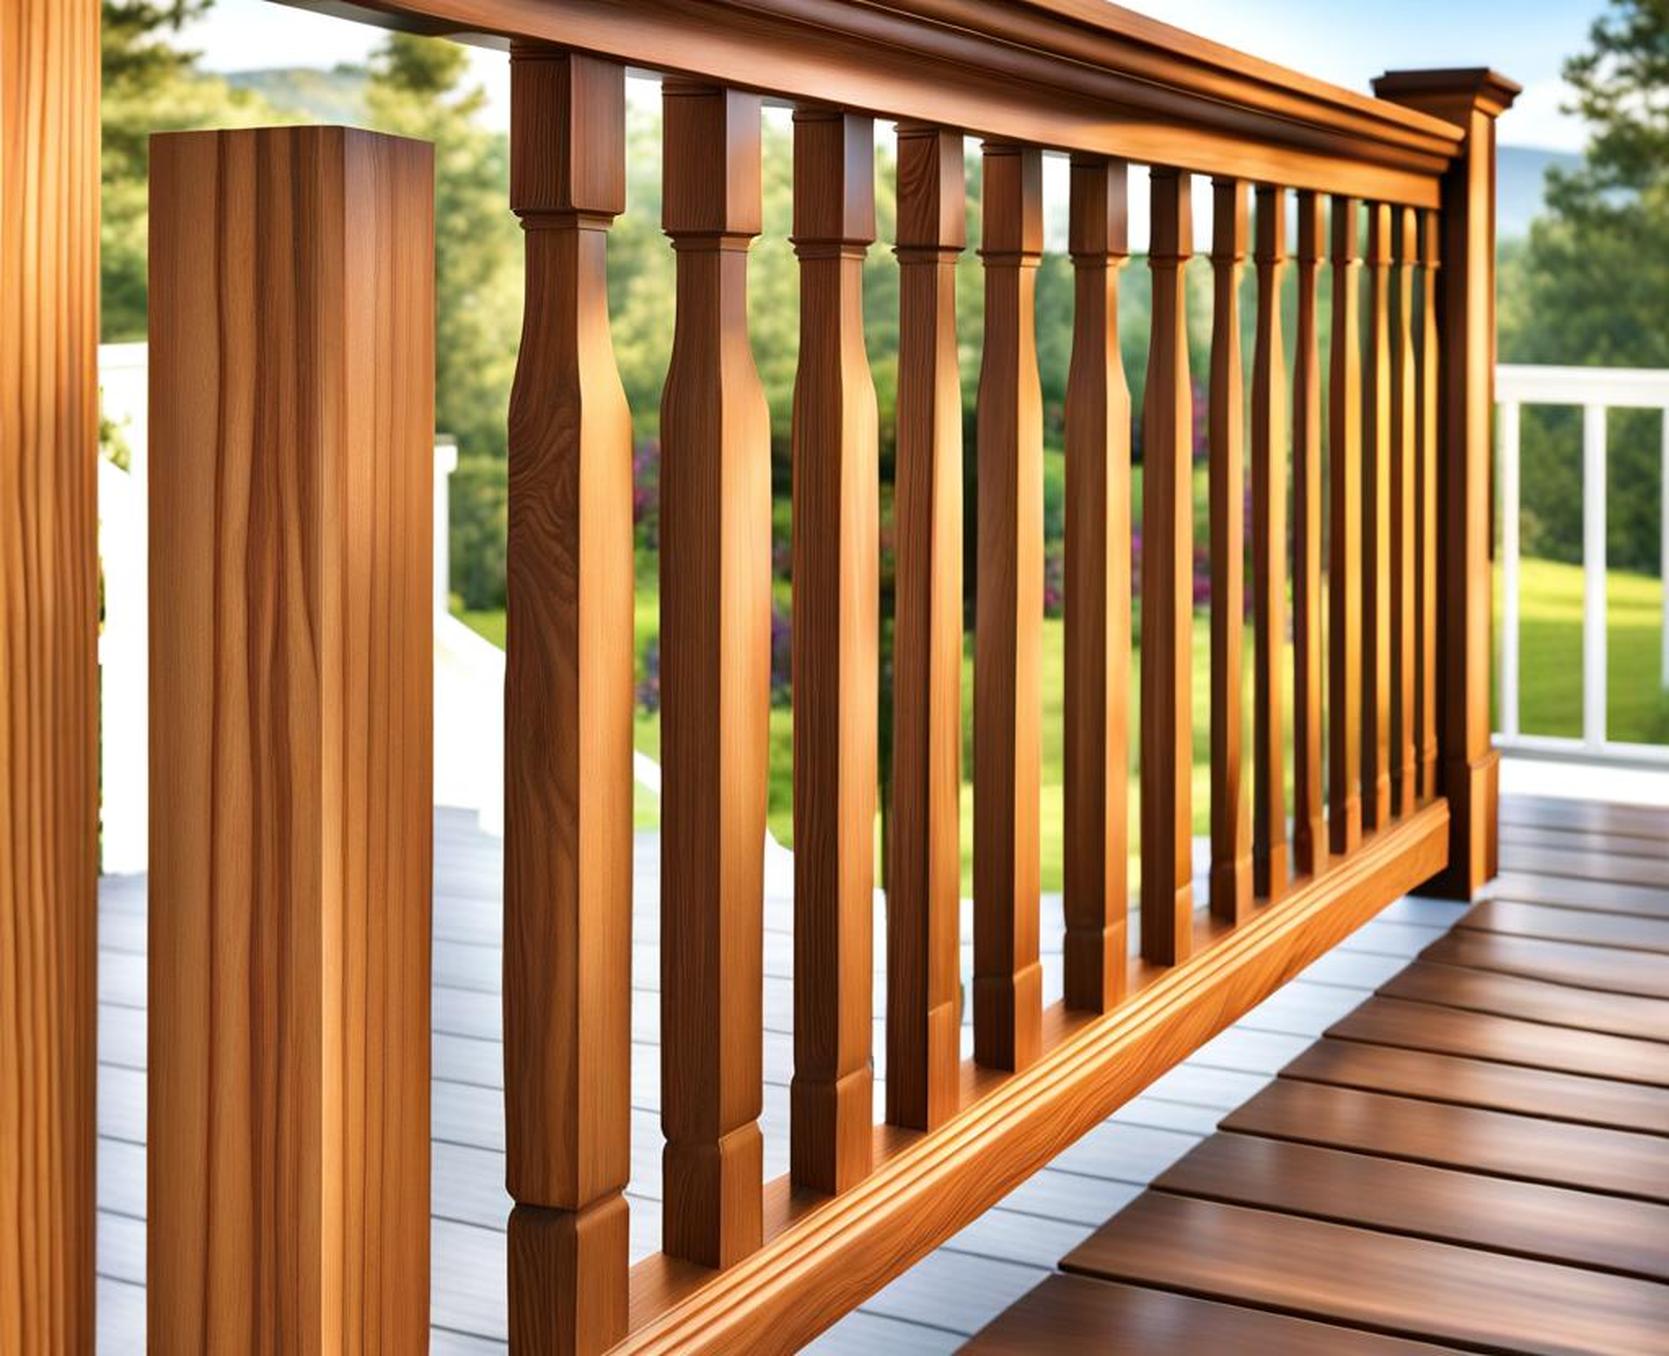
A beautiful wood porch railing can add charm and character to any home’s exterior. With the right materials and design, you can create a railing that is both stylish and meets safety guidelines.
Planning Your Wood Porch Railing
Selecting Wood Type
When choosing wood for your porch railing, consider the overall look you want as well as properties like cost, durability, and maintenance requirements. Popular options include:
- Pine – Affordable and easy to work with
- Cedar – Naturally resistant to rot and insects
- Redwood – Stunning grain patterns
- Teak – Extremely durable but more expensive
- Ipe – Tropical hardwood that lasts for decades
- Cumaru – Excellent hardness andstability
Exotic woods like teak, ipe, and cumaru tend to be the longest-lasting but are more of an investment. Cedar and redwood are great moderate choices in terms of cost and durability.
Railing Components
Standard wood porch railings consist of posts, rails, balusters, newels, and handrails. Posts provide vertical support while horizontal rails connect them. Balusters are the vertical spindles that fill in the space between rails. Newels are the end posts while handrails provide a grip surface on top.
You can also add decorative touches like brackets, lattice panels, or detailed trimwork.

Design Styles
Match your porch railing design to your home’s architecture and exterior look. Some popular styles include:
- Traditional – Ornate details, turned posts andbalusters
- Contemporary – Clean lines, simple balusters
- Modern – Metal cable infill, glasspanels
- Rustic – Twig or branch railings, unfinished wood
Aim for a cohesive look that complements your existing color scheme, materials, and design details.
Safety Considerations
Building codes vary by region but typically regulate railing height, space between balusters, and structural integrity. Check your local regulations and design your railing accordingly. General guidelines include:
- Height of 36-42 inches above decking
- Baluster spacing of 4 inches or less
- Use of durable, rot-resistant wood
- Proper anchoring of posts andnewels
Prioritize safety in your design to protect your family and visitors.
Building Your Wood Railing
Layout and Measurement
Carefully measure the length and height of your railing section. Mark baluster locations at the spacing required by code. Account for posts, newels, and any corners or angles.
Securing Posts
Posts can be secured in concrete below ground or mounted on the surface. Ensure posts are plumb and anchored firmly to withstand pressure. Use metal post mounts and brackets for strength.
Adding Railings
Cut rails to length and attach them securely to posts with galvanized brackets and hardware. Leave small gaps between railings and posts to allow for seasonal expansion and contraction of the wood.
Installing Balusters
Cut balusters to a uniform height. Set them in place at the measured spacing, using exterior wood glue and nails or screws driven through pilot holes for a snug fit. Sand any rough edges.
Finishing Touches
Sand, stain, and seal the wood with an exterior-grade product. Add handrails, trim, lighting, or other decorative touches. Inspect the finished railing to ensure proper installation and stability.
Maintaining Your Wood Railing
Expect to refinish your wood railing every 2-3 years. Clean regularly and inspect for signs of damage. Make any necessary repairs promptly to prevent further deterioration. Prepare for winter by sealing and protecting wood from moisture damage.
The right wood porch railing can be a beautiful and functional addition to your home’s exterior. Careful planning and attention to detail will ensure your railing is safe, stylish, and built to last. Investing in quality materials and proper installation will allow you to enjoy your new railing for years to come.
