Craving a fresh look for your bathroom? A shiplap accent wall might be the perfect solution. This rustic yet modern design element has taken the interior design world by storm, offering a unique blend of charm and sophistication. Incorporating a bathroom with shiplap accent wall not only adds visual interest but also creates a focal point that can transform the entire space. From coastal-inspired retreats to farmhouse chic sanctuaries, shiplap’s versatility makes it an excellent choice for various bathroom styles. Let’s dive into the world of shiplap and discover how this simple addition can revolutionize your bathroom’s ambiance.
Transforming Your Bathroom with a Shiplap Accent Wall
Shiplap has become a buzzword in home decor, but what exactly is it? Originally used in shipbuilding, shiplap refers to wooden boards with a special rabbet or groove cut into the edges, allowing them to fit together snugly. This distinctive construction method creates a charming, lined effect that has found its way from nautical vessels to our homes, particularly in bathroom designs.
The benefits of using shiplap in bathroom design are numerous. First and foremost, it adds texture and depth to what might otherwise be a plain, uninspiring space. A bathroom shiplap feature wall can instantly elevate the room’s aesthetic, creating a cozy and inviting atmosphere. Moreover, shiplap is incredibly versatile, fitting seamlessly into various design styles from traditional to contemporary.
When it comes to bathroom shiplap ideas, the possibilities are endless. You can opt for a classic white shiplap to brighten up a small bathroom or choose a bold color to make a statement. Some homeowners even experiment with shiplap bathroom wallpaper for a more budget-friendly option that mimics the look of real wood.
The trend of incorporating shiplap accent walls in modern bathrooms has gained significant traction. Designers and homeowners alike appreciate how this simple addition can dramatically alter the feel of a space. Whether you’re aiming for a spa-like retreat or a rustic farmhouse vibe, a bathroom with shiplap design can help you achieve your desired look.
One of the most appealing aspects of shiplap is its ability to create a shiplap bathroom feature that serves as a stunning focal point. By dedicating one wall to shiplap, you can draw the eye and add interest without overwhelming the space. This is particularly effective in smaller bathrooms where too much pattern or texture might feel claustrophobic.
Planning Your Bathroom Shiplap Feature
Before diving into your bathroom makeover, it’s crucial to plan your shiplap feature carefully. The first step is choosing the right wall for your shiplap accent. Typically, the wall behind the vanity or the one opposite the door makes for an excellent shiplap feature wall. These locations allow the shiplap to be a prominent feature without dominating the entire space.
When it comes to materials, you have two main options: real wood or faux shiplap panels. Real wood offers authenticity and a genuine rustic feel, but it requires more maintenance and can be more expensive. On the other hand, faux shiplap panels are often more affordable and easier to install, making them a popular choice for DIY enthusiasts. These panels can be made from materials like MDF or PVC, which are particularly well-suited for bathroom environments due to their moisture-resistant properties.
Color considerations play a significant role in your bathroom shiplap design. While white remains a popular choice for its clean, fresh look, don’t be afraid to experiment with color. A deep navy or forest green can create a dramatic effect, while soft pastels can lend a soothing, spa-like atmosphere. Remember that the color of your shiplap will significantly impact the overall feel of your bathroom, so choose wisely.
Measuring and budgeting for your shiplap bathroom project is crucial. Accurate measurements will ensure you purchase the right amount of materials and help you estimate costs more precisely. Don’t forget to factor in additional expenses such as paint, tools, and any necessary waterproofing materials.
- Measure the height and width of your chosen wall
- Calculate the square footage to determine how much shiplap you’ll need
- Add 10-15% extra for waste and mistakes
- Research prices for materials and tools
- Consider hiring a professional for installation if you’re not confident in your DIY skills
By carefully planning your bathroom shiplap feature, you’ll be well-prepared to create a stunning accent wall that enhances your space and reflects your personal style. Remember, the key to a successful bathroom makeover lies in the details, so take your time to consider all aspects of your shiplap project before getting started.
Installing a Shiplap Accent Wall in Your Bathroom
Ready to roll up your sleeves and tackle your bathroom shiplap panels installation? While hiring a professional is always an option, many homeowners find that installing shiplap is a manageable DIY project. Here’s a step-by-step guide to help you create your very own bathroom shiplap feature:
- Prepare the wall: Remove any existing trim and repair any damage to the wall surface.
- Mark the studs: Use a stud finder to locate and mark the wall studs.
- Apply a moisture barrier: In bathrooms, it’s crucial to protect the wall from moisture. Apply a waterproof membrane or paint-on waterproofing product.
- Cut your shiplap boards: Measure and cut your boards to fit the wall, accounting for outlets and fixtures.
- Start at the bottom: Begin installing the boards from the bottom up, ensuring the first board is level.
- Secure the boards: Use a nail gun to attach the boards to the studs. If using faux panels, follow the manufacturer’s instructions.
- Continue up the wall: Work your way up, ensuring each board is level and the grooves fit snugly together.
- Finish the top: You may need to cut the final board lengthwise to fit.
- Caulk and paint: Fill nail holes, caulk the edges, and paint or finish as desired.
When it comes to tools and materials for your bathroom shiplap walls, you’ll need:
- Shiplap boards or panels
- Waterproofing material
- Level
- Nail gun and nails
- Saw (circular or miter saw)
- Measuring tape
- Pencil
- Caulk and caulk gun
- Paint and painting supplies (if finishing)
Waterproofing considerations are paramount when installing shiplap in a bathroom. The high moisture environment can wreak havoc on wood if not properly protected. Consider using a pre-treated, moisture-resistant shiplap or applying a waterproof sealant to raw wood. For areas directly exposed to water, like around a shower, you might opt for PVC shiplap panels that offer superior water resistance.
When deciding between professional installation and DIY for your bathroom shiplap feature, weigh the pros and cons carefully. DIY can save money and provide a sense of accomplishment, but it requires time, skill, and the right tools. Professional installation ensures a polished finish and can be completed more quickly, but it comes at a higher cost. If you’re confident in your abilities and have the time, DIY can be a rewarding experience. However, if you’re unsure or your bathroom layout is complex, professional help might be the way to go.
Remember, the key to a successful shiplap accent bathroom is in the details. Take your time, measure twice, and don’t rush the process. With patience and attention to detail, you can create a stunning bathroom shiplap feature that will be the envy of all your guests.
Once you’ve installed your beautiful shiplap accent wall, the fun part begins – designing the rest of your bathroom to complement this new feature. The key is to create a cohesive look that enhances your shiplap bathroom design without overshadowing it.
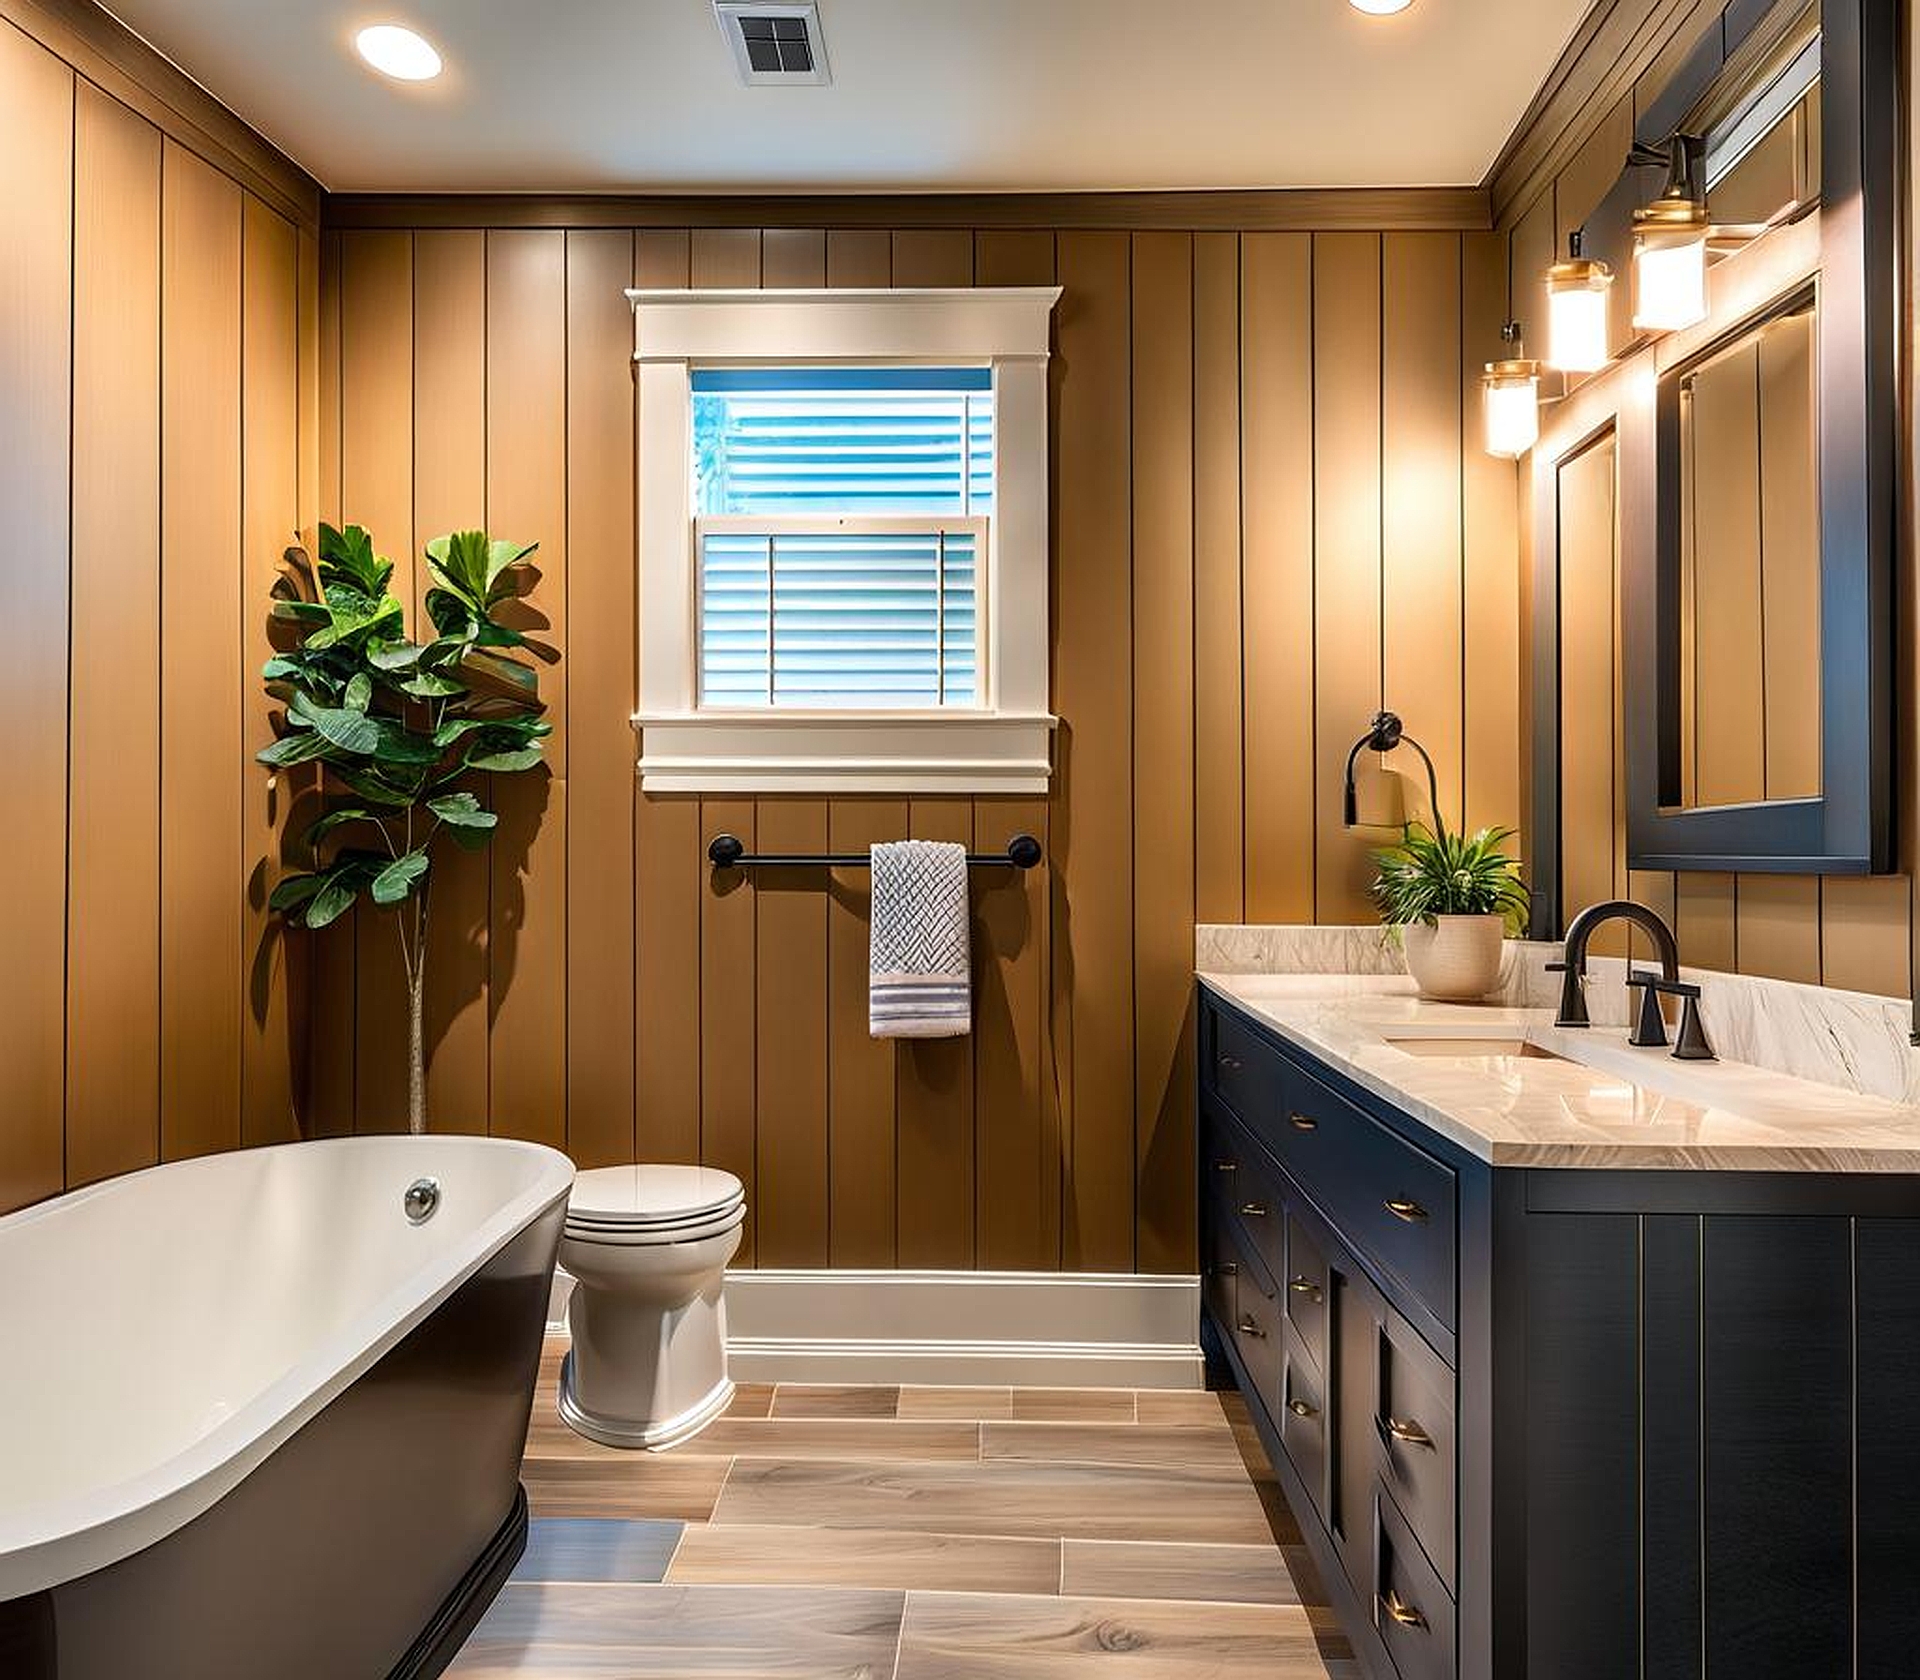
When selecting complementary bathroom fixtures and fittings, consider the style of your shiplap. For a traditional shiplap bathroom, opt for classic fixtures like a clawfoot tub or a pedestal sink. If you’re going for a more contemporary look, sleek, modern fixtures can create an interesting contrast with the rustic shiplap. Don’t forget about hardware – brushed nickel or matte black finishes can add a touch of sophistication to your bathroom shiplap feature.
Lighting plays a crucial role in showcasing your bathroom shiplap accent wall. Consider these lighting ideas to enhance your shiplap bathroom feature:
- Wall sconces on either side of the mirror can cast a flattering light and draw attention to the shiplap texture.
- A statement pendant light can create a focal point and add depth to the room.
- Recessed lighting can provide overall illumination without competing with the shiplap feature.
- LED strip lighting behind a mirror can create a soft, ambient glow that highlights the shiplap’s texture.
When it comes to decorative elements, less is often more when you have a standout shiplap accent wall. A large, statement mirror can reflect light and make the space feel larger while drawing attention to your shiplap feature. For artwork, consider pieces that complement the color and style of your shiplap without overwhelming it. Natural elements like woven baskets or a wooden stool can enhance the rustic charm of shiplap.
Incorporating shiplap into various bathroom layouts and sizes requires thoughtful planning. In a small bathroom, a shiplap accent wall can create the illusion of more space, especially when installed vertically. For larger bathrooms, you might consider extending the shiplap to more than one wall or even the ceiling for a dramatic effect.
Here are some shiplap bathroom ideas to inspire your design:
- Create a spa-like retreat with white shiplap and natural wood accents.
- Go bold with a navy shiplap wall paired with brass fixtures for a luxurious feel.
- Embrace farmhouse chic with distressed shiplap and vintage-inspired accessories.
- For a coastal vibe, combine light blue shiplap with white fixtures and seagrass accents.
Remember, your bathroom shiplap accent wall is a canvas for your creativity. Whether you prefer shiplap bathroom ideas traditional or contemporary, the key is to create a space that reflects your personal style while maximizing the impact of your shiplap feature.
As you bring your bathroom shiplap design ideas to life, don’t be afraid to experiment. Mix textures, play with colors, and have fun with your decor choices. Your bathroom with shiplap accent wall should be a space that not only looks beautiful but also feels welcoming and personal. With careful planning and thoughtful design, you can create a bathroom that’s not just a functional space, but a true retreat within your home.
