Are you tired of chilly toes while preparing meals in your kitchen? Installing baseboard heat under kitchen cabinets might be the perfect solution to keep your culinary space cozy and inviting. This innovative approach to kitchen cabinet heating not only ensures warm under cabinets but also maximizes your living space. Let’s dive into the world of baseboard heating solutions and explore how they can transform your kitchen into a warm, comfortable haven, even during the coldest months.
Understanding Baseboard Heat for Kitchen Cabinets
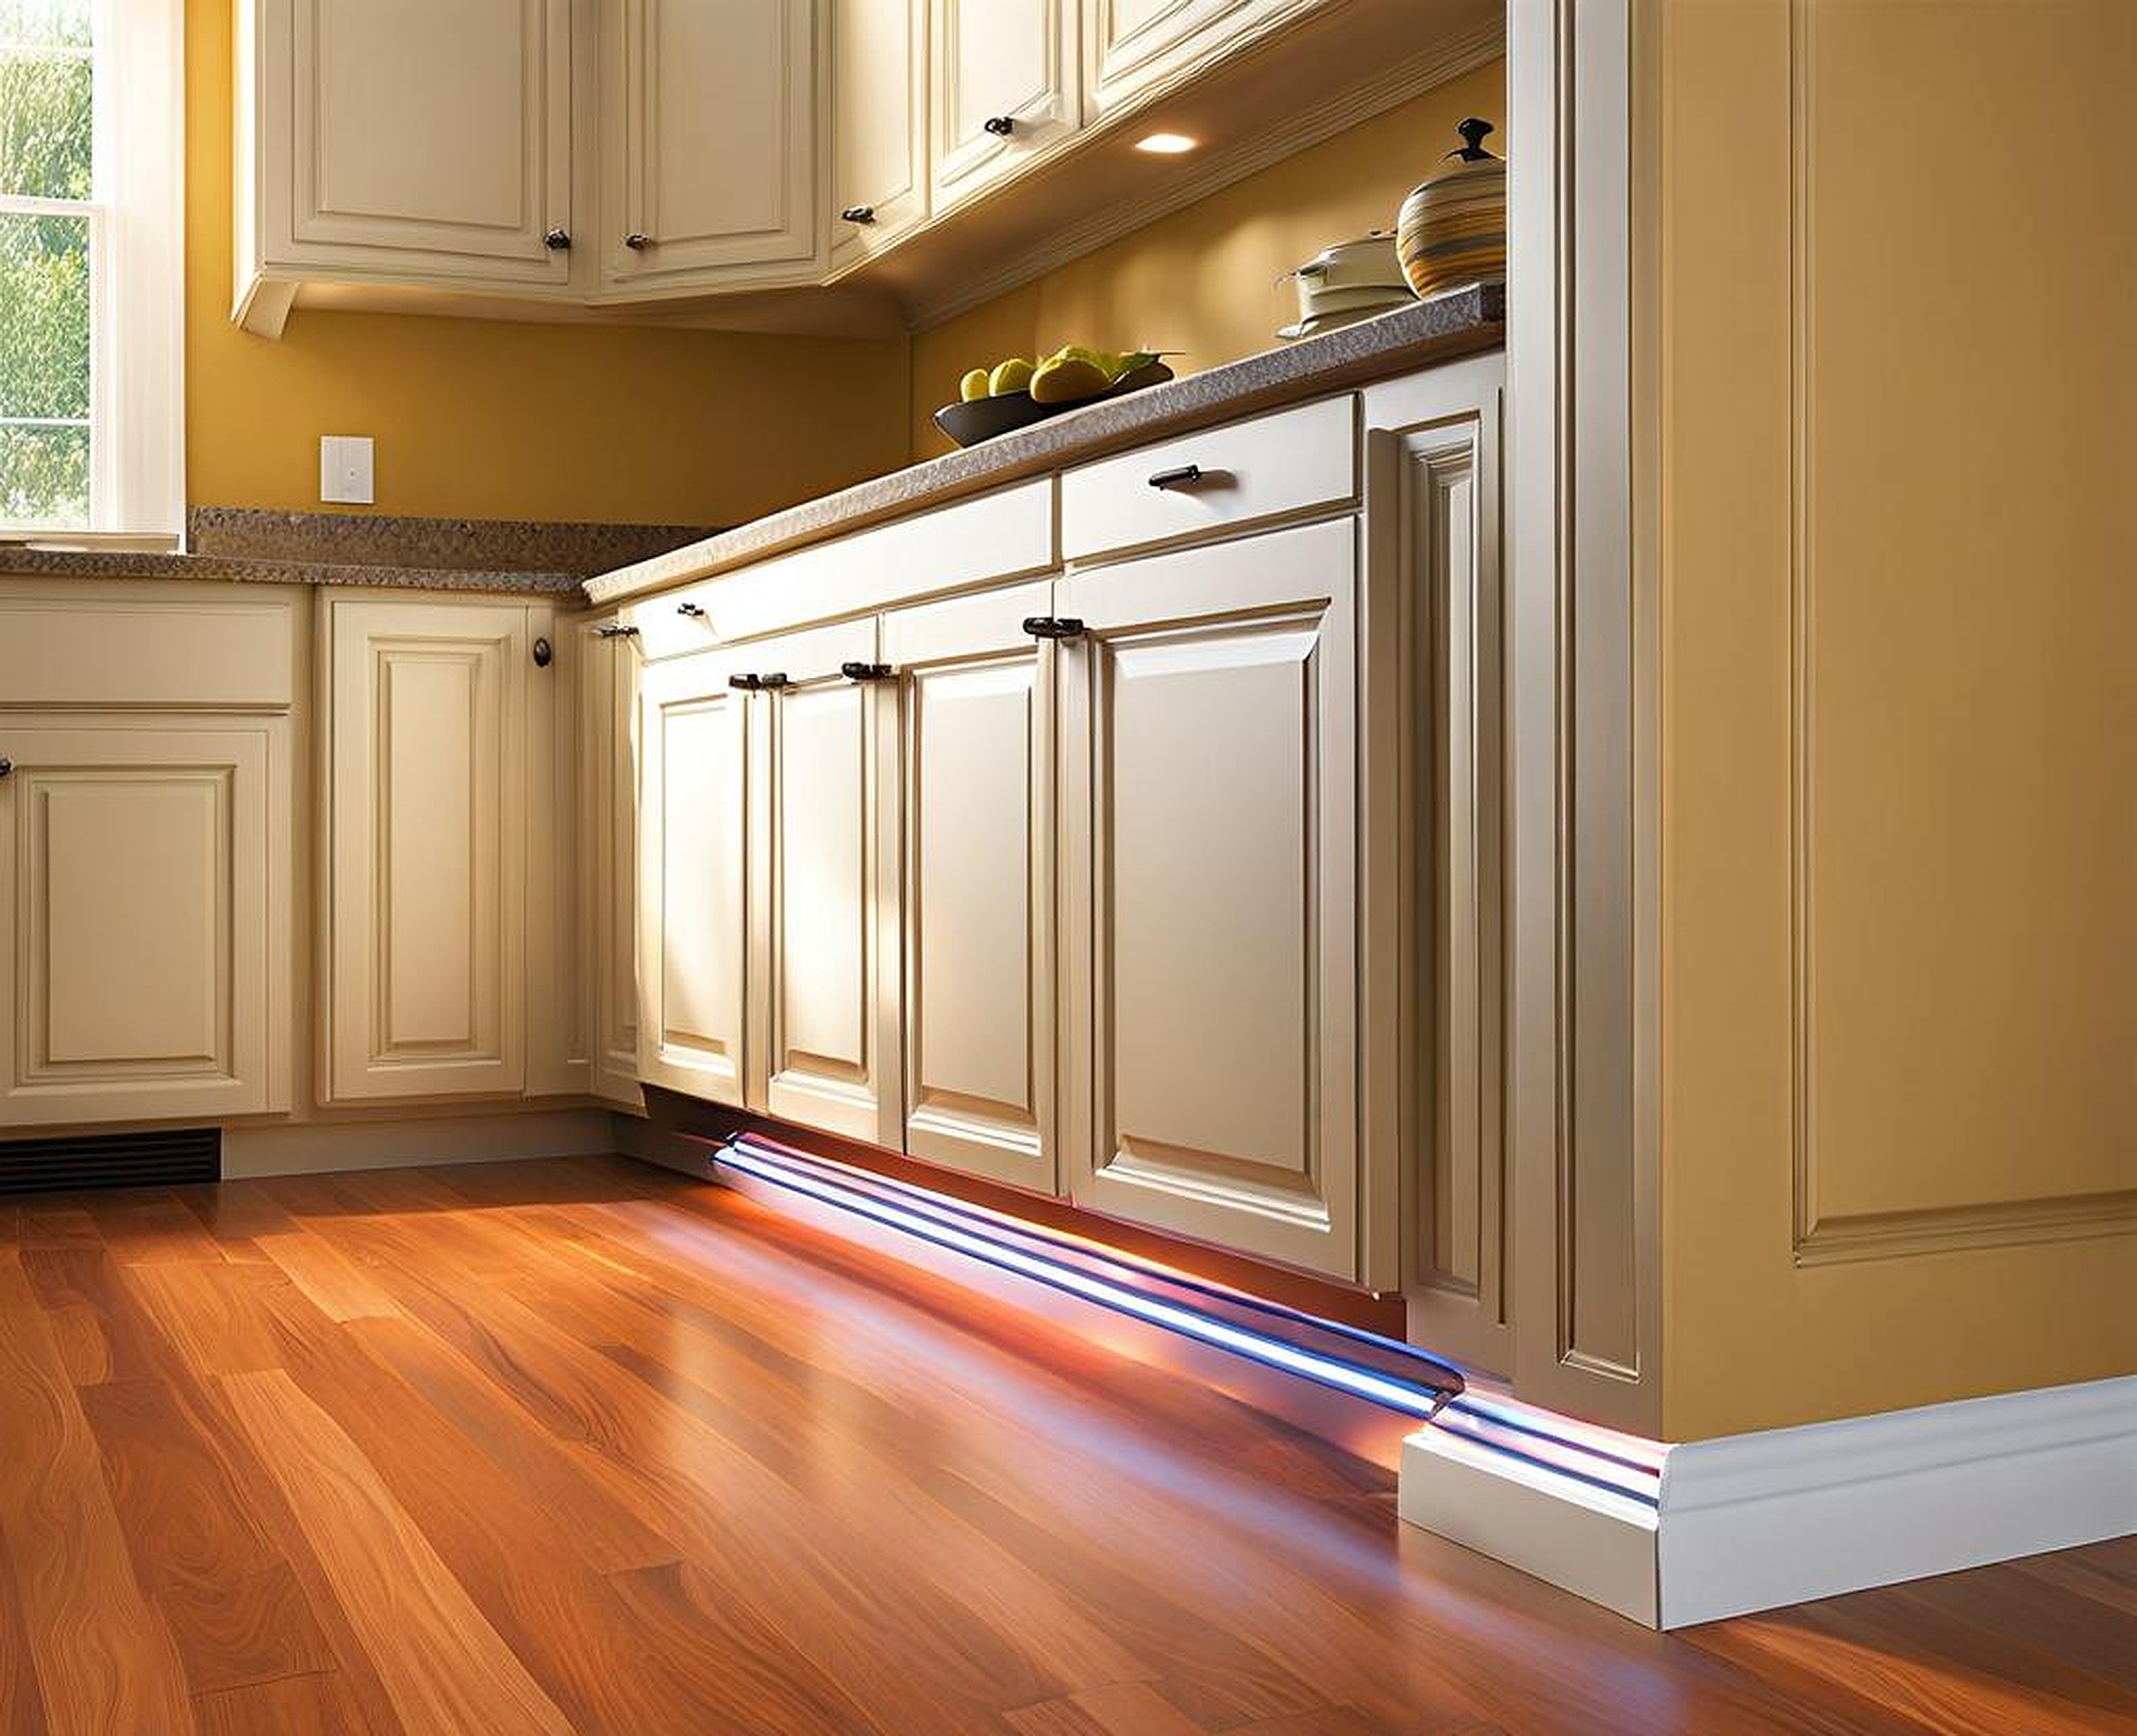
Baseboard heat under kitchen cabinets is a smart and efficient way to warm your cooking area. This system utilizes the principles of convection to circulate heated air throughout the room, starting from the floor level. By installing baseboard heaters beneath your kitchen cabinetry, you’re essentially creating a continuous flow of warmth that rises and envelops the entire space.
The beauty of this kitchen heating option lies in its discretion and effectiveness. Unlike bulky radiators or unsightly wall-mounted units, baseboard heaters nestle snugly against the wall, often hidden behind the toe kicks of your cabinets. This under cabinet heating system not only preserves your kitchen’s aesthetics but also makes use of otherwise wasted space.
There are primarily two types of baseboard heaters suitable for kitchen environments: hydronic and electric. Hydronic systems use hot water circulated through pipes to emit heat, while electric baseboard heaters employ heating elements that warm the surrounding air. Both types can be excellent choices for kitchen cabinet warming, depending on your home’s existing heating infrastructure and energy preferences.
The benefits of installing baseboard heat under kitchen cabinets are numerous:
- Even heat distribution: No more cold spots in your kitchen
- Space-saving design: Utilizes typically unused areas
- Quiet operation: Enjoy a peaceful cooking environment
- Zone heating capabilities: Heat only the areas you need
- Improved energy efficiency: Targeted heating can reduce overall energy consumption
By opting for baseboard heating solutions in your kitchen, you’re not just investing in warmth; you’re enhancing the overall comfort and functionality of one of the most important rooms in your home. Now, let’s move on to the planning phase of your kitchen under cabinet heating project.
Planning Your Kitchen Cabinet Baseboard Heating Installation
Before you dive into installing baseboard heat under kitchen cabinets, it’s crucial to plan meticulously. This phase will ensure that your kitchen heating options are optimized for efficiency and effectiveness. Let’s break down the key considerations for your baseboard heating project.
First, assess your kitchen layout. Walk through the space and identify the best locations for your baseboard heaters. Ideally, they should be placed along exterior walls or in areas where you feel the most chill. Remember, the goal is to create a uniform blanket of warmth throughout your kitchen.
Next, it’s time to crunch some numbers. Calculating the heat requirements for your under-cabinet spaces is essential for choosing the right size and number of units. Here’s a simple formula to get you started:
| Room Size (sq ft) | Wattage Needed |
|---|---|
| 100-150 | 1000-1500 |
| 150-250 | 1500-2500 |
| 250-400 | 2500-4000 |
Keep in mind that this is a general guideline, and factors like insulation and ceiling height can affect your actual heating needs.
Now, let’s weigh the pros and cons of hydronic versus electric baseboard heating options. Hydronic systems are often more energy-efficient and provide a more consistent heat, but they require connection to your home’s hot water system. Electric baseboard heaters, on the other hand, are easier to install and offer more precise temperature control, but they may lead to higher electricity bills.
When considering energy efficiency and cost factors, think long-term. While electric heaters might have a lower upfront cost, hydronic systems could save you money over time, especially if you already have a boiler system in place. Don’t forget to factor in the cost of professional installation, which is often recommended for hydronic systems.
As you plan, consider these baseboard heating tips:
- Leave space for air circulation: Ensure furniture doesn’t block the heaters
- Plan for thermostats: Decide where to place controls for easy access
- Consider zoning: Divide your kitchen into heating zones for better control
- Future-proof your design: Allow for potential kitchen remodels or appliance upgrades
By thoroughly planning your baseboard heat installation, you’re setting the stage for a successful project that will keep your kitchen warm and inviting for years to come. With your plan in hand, it’s time to move on to the installation process itself.
Step-by-Step Guide to Installing Baseboard Heat Under Kitchen Cabinets
Now that we’ve laid the groundwork, let’s roll up our sleeves and dive into the nitty-gritty of installing baseboard heat under kitchen cabinets. This process requires attention to detail and a bit of DIY spirit, but with the right approach, you’ll soon be enjoying the cozy comfort of warm kitchen cabinets.
First things first, gather your tools. You’ll need:
- Measuring tape
- Level
- Drill and appropriate bits
- Screwdriver
- Wire stripper (for electric heaters)
- Pipe cutter (for hydronic systems)
- Safety glasses and gloves
Start by preparing the installation area. Remove any existing baseboards and, if necessary, pull up a section of flooring to access the space beneath the cabinets. Ensure the area is clean and free of debris.
Next, measure the space where you’ll be installing the baseboard heaters. Cut the heater units to size if needed, being careful to follow the manufacturer’s instructions. Remember, precision is key for a seamless fit.
For electric baseboard heaters, you’ll need to run electrical wiring. If you’re not confident in your electrical skills, this is the point where you should consider calling in a professional. Safety should always be your top priority when dealing with electrical work.
If you’re installing a hydronic system, you’ll be connecting to your home’s plumbing. This often involves cutting and joining pipes, so again, if you’re not experienced with plumbing work, it’s wise to consult a professional.
Once your power source or plumbing is in place, it’s time to mount the baseboard heater units. Use a level to ensure they’re perfectly straight, and secure them to the wall using the appropriate screws and brackets.
For electric heaters, connect the wiring according to the manufacturer’s instructions. For hydronic systems, connect the pipes, ensuring all joints are watertight.
After the heaters are securely in place and connected, it’s time for the finishing touches. Reinstall the baseboards, cutting them to fit around the heater units if necessary. If you removed any flooring, now’s the time to put it back in place.
Finally, test your newly installed baseboard heat under kitchen cabinets. Turn on the system and check for any unusual noises or smells. For hydronic systems, look for any signs of leaks.
Remember, while this guide provides a general overview, every kitchen and heating system is unique. Don’t hesitate to consult with heating professionals or the manufacturer’s support team if you encounter any challenges during the installation process.
With your baseboard heaters successfully installed, you’re one step closer to enjoying a perfectly warm kitchen. But to truly maximize the efficiency of your new under-cabinet heating system, there are a few more things to consider. Let’s explore how to get the most out of your baseboard heat in the next section.
Maximizing Efficiency of Under-Cabinet Baseboard Heating
Now that you’ve successfully installed baseboard heat under kitchen cabinets, it’s time to focus on maximizing its efficiency. After all, an efficient system not only keeps your kitchen cozy but also helps keep your energy bills in check. Let’s explore some strategies to get the most out of your new kitchen cabinet heating setup.
Proper insulation is the unsung hero of any heating system. When it comes to baseboard heating solutions, good insulation can dramatically improve heat retention. Start by checking the insulation behind your baseboard heaters. If it’s subpar or non-existent, consider adding a layer of foam board insulation. This simple step can significantly reduce heat loss through the walls.
Don’t forget about your kitchen windows. They can be a major source of heat loss. Investing in thermal curtains or cellular shades can help keep the warmth in and the cold out, complementing your baseboard heating efforts.
In today’s smart home era, integrating a smart thermostat with your baseboard heating system can take your energy efficiency to the next level. These devices learn your routines and adjust the temperature accordingly, ensuring your kitchen is warm when you need it and conserving energy when you don’t. Some advanced models even allow you to control the temperature remotely via smartphone apps, giving you unprecedented control over your kitchen heating options.
Maintenance is key to keeping your baseboard heaters running efficiently. Here are some baseboard heating tips to keep in mind:
- Regularly dust and vacuum your heaters to prevent buildup that can reduce efficiency
- Check for and remove any obstructions that might be blocking airflow
- For hydronic systems, bleed the radiators annually to remove air bubbles
- Inspect wiring and connections yearly for electric systems
- Consider professional maintenance every few years to catch any potential issues early
Balancing airflow and heat distribution in the kitchen is crucial for maintaining a comfortable environment. While your baseboard heaters are working hard to warm the space from below, you can help distribute that warmth more evenly by using your kitchen’s natural airflow. If you have a ceiling fan, run it on low speed in a clockwise direction during winter. This will help push warm air that has risen to the ceiling back down into the living space.
Consider the placement of your appliances and how they interact with your heating system. For instance, avoid placing heat-generating appliances like refrigerators near your baseboard heaters, as this can confuse your thermostat and lead to inefficient heating.
Lastly, don’t underestimate the power of zoning. If your baseboard heating system allows for it, create separate zones in your kitchen. This way, you can heat high-traffic areas more while keeping less-used spaces at a lower temperature, further optimizing your energy usage.
By implementing these strategies, you’re not just maximizing the efficiency of your under-cabinet baseboard heating; you’re creating a more comfortable, energy-smart kitchen environment. However, baseboard heating isn’t the only option for warming your kitchen cabinets. In the next section, we’ll explore some alternative under-cabinet heating solutions to give you a comprehensive view of your options.
While baseboard heat under kitchen cabinets is an excellent choice for many homes, it’s always worth exploring alternative under cabinet heating systems. Each kitchen is unique, and what works best for one may not be ideal for another. Let’s dive into some other kitchen heating options that could potentially warm your culinary space just as effectively.
Radiant floor heating is a luxurious alternative to baseboard heating. This system involves installing heating elements beneath your kitchen floor, creating an evenly distributed warmth that rises from the ground up. The main advantage of radiant floor heating is its invisibility – there are no visible heating units, leaving your kitchen design uncluttered. However, it’s typically more expensive to install, especially if you’re not already planning a full kitchen renovation.
Toe-kick heaters offer a space-saving solution for kitchen cabinet warming. These compact units are installed in the recessed area at the base of your cabinets, also known as the toe kick. They work by drawing in cool air from the floor, heating it, and then expelling warm air into the room. Toe-kick heaters are particularly useful in kitchens where wall space is at a premium, making them a clever alternative to traditional baseboard heaters.
Convection heating systems are another option worth considering. These units circulate air throughout the room, creating a consistent temperature. While they’re not specifically designed for under-cabinet installation, slim-profile models can be mounted on walls or ceilings, freeing up valuable floor space.
Let’s break down the costs and effectiveness of these various kitchen heating methods:
| Heating Method | Installation Cost | Energy Efficiency | Heat Distribution |
|---|---|---|---|
| Baseboard Heating | Low to Moderate | Moderate | Good |
| Radiant Floor Heating | High | High | Excellent |
| Toe-Kick Heaters | Low | Moderate | Good |
| Convection Heating | Moderate | Moderate to High | Very Good |
When choosing between these options, consider not just the upfront costs, but also long-term energy efficiency and how well each system integrates with your kitchen’s design and your daily routines.
It’s also worth mentioning that some homeowners opt for a combination of heating methods. For instance, you might use baseboard heaters for general kitchen heating, supplemented by a toe-kick heater near a frequently used work area for extra warmth.
Remember, the goal is to create a warm, inviting kitchen space that’s comfortable year-round. Whether you choose baseboard heat under kitchen cabinets or one of these alternatives, the key is to select a system that meets your specific needs and preferences.
Ultimately, the best kitchen heating solution is one that balances efficiency, comfort, and aesthetics. By carefully considering your options and perhaps consulting with a heating professional, you can ensure that your kitchen remains the warm heart of your home, no matter how chilly it gets outside.
