If you have a tiny kitchen, you know the struggles of cramming in extra seating for quick meals or guests. The solution? A storage bench breakfast nook, which multitasks as seating and storage to maximize your compact space. Built-in benches allow you to tuck away items that normally clutter countertops, freeing up room for food prep and cooking. We’ll explore how to add this practical feature into any small kitchen. From assessing your layout to constructing DIY benches to getting creative with storage, you can amplify both seating and storage with a breakfast nook makeover.
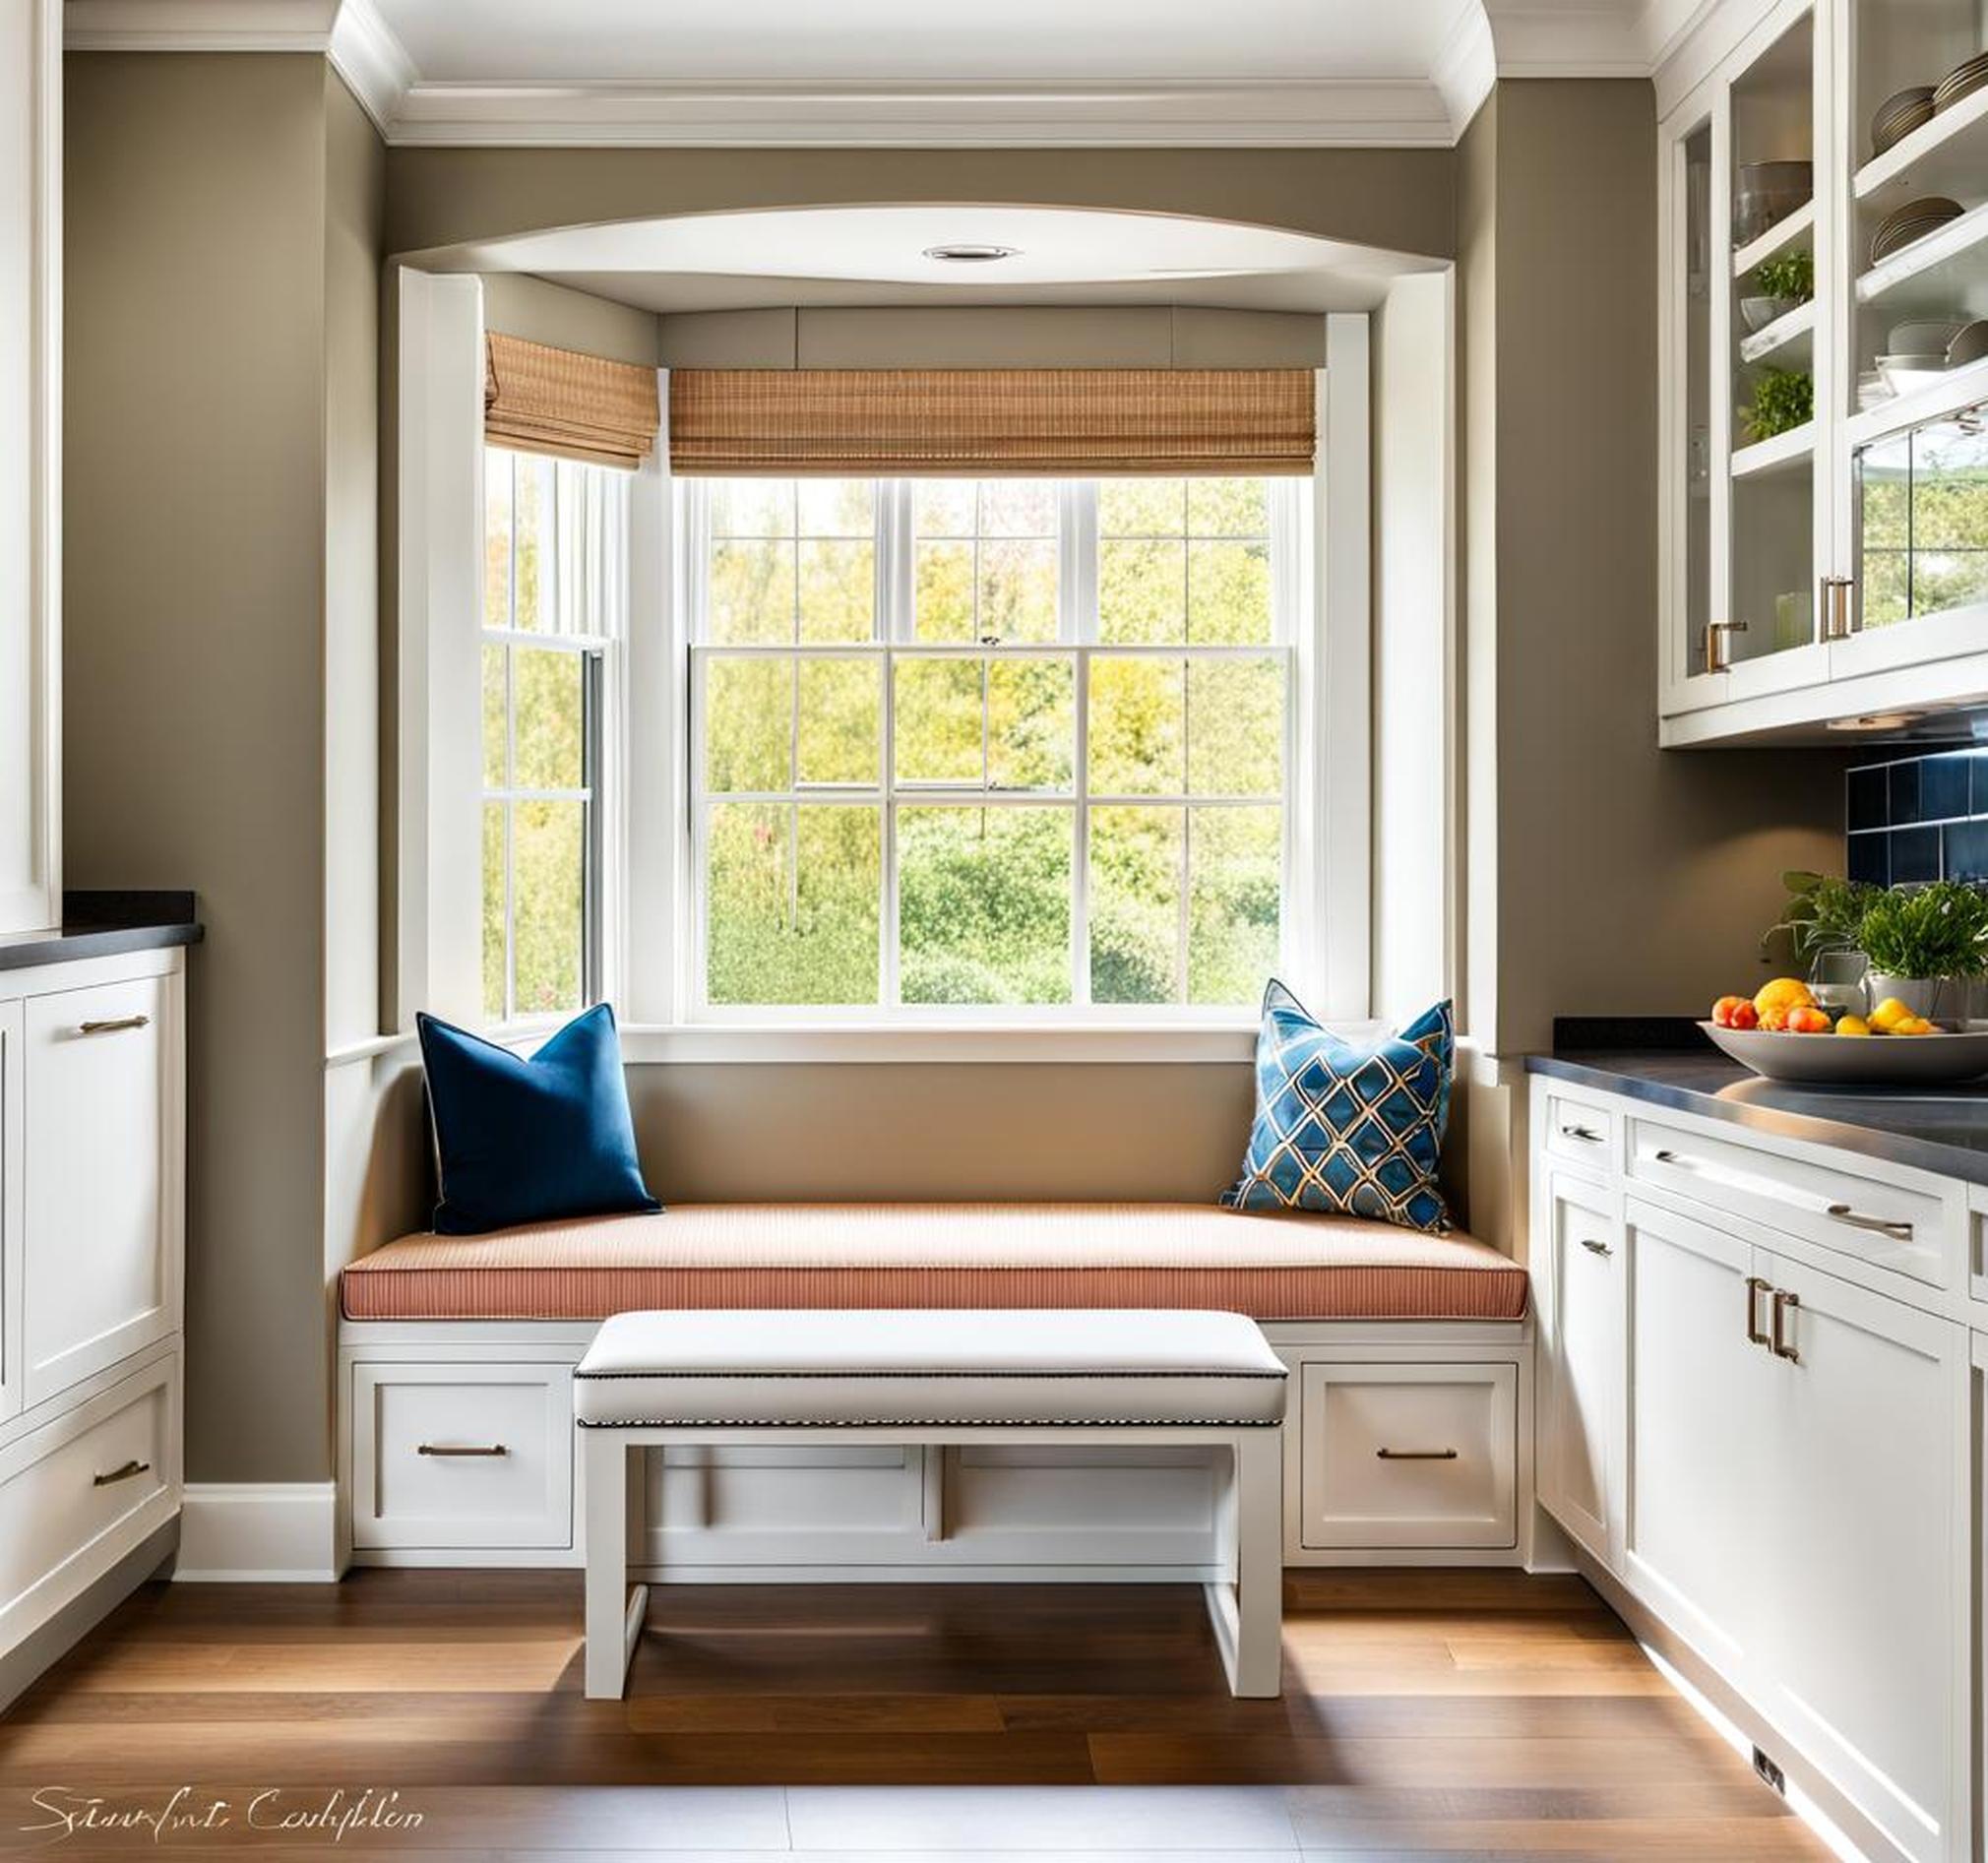
A breakfast nook refers to a cozy dining area, typically built into an awkward corner or along a wall. Nooks incorporate a table and bench seating for an informal spot to gather. While chairs work fine, a bench makes better use of the length of a wall. Even better, you can build customized cabinets below the bench top and inside the sides. This opens a world of storage opportunities without sacrificing seating capacity.
Getting Started with Breakfast Nook Benches
If you’re sold on a storage bench dining nook, the first step is assessing your kitchen’s layout. Look for unused spaces begging for a makeover. Inside corners where countertops meet appliances or walls often provide the perfect breakfast nook dimensions. You’ll want at least 18-24 inches of walkway space for entering and exiting the nook. If traffic flow is tight, consider other areas like along the backsplash wall or near windows.
Next, determine the right size bench and table for your needs. Standard built-in nook benches range from 4 to 6 feet long. A 4-foot bench seats 2 to 3 people while a 5 to 6-foot bench fits 4 to 6. Make sure to leave ample knee and leg room clearance below the table (at least 27 inches high). Match the table length to your bench size so people can slide in easily from either side.
Pick a Bench Style
Benches come in many styles when it comes to their framework and finishes. Most homeowners opt for attached built-in benches secured firmly to the walls with wood or metal framing. But you also have the option of a free-standing bench on legs that slots up to your table. When selecting materials, painted wood and upholstered tops offer approachable, classic styles. Or make a statement with metal, glass, or stone details. Just make sure your table complements whichever vibe you pick.
Select Integrated Storage
Now for the best part: choosing what kind of storage to incorporate below and within your breakfast nook bench. Open fronts allow for large bins, baskets, or cubbies to stash bigger items like toys, board games, or linens. Enclosed cabinet storage lends a tidier appearance for tucking away smaller essentials. Pull-out drawers maximize every inch, perfect for cooking tools, cutlery, and dry goods. Many homeowners also opt for lift-top benches, where the cushioned top section lifts up to reveal bonus storage space.
DIY Built-In Bench Construction
If you’re handy with wood and tools, consider constructing a custom bench yourself. While intimidating, you can break down the build into simple steps. Carefully planning the framing, box, doors, and upholstery allows you to personalize ever aspect. And you’ll save substantially over buying retail. Follow these tips to DIY your dream built-in storage bench.
Planning the Framework
Start by measuring your space and sketching plans. Make sure to mark stud locations on the walls to securely attach the bench framework. Allow for overhangs if desired on the bench top. Construct a sturdy base with 2×4 or 2×6 boards lag bolted into the studs. Box in the sides and back with plywood to enclose the area below the bench seat. Add fixed shelves or dividers if wanted.
Building the Bench Box
Using 3/4-inch plywood, construct a bench box secured to your framework. Measure carefully to ensure a snug fit from wall to wall. Use wood glue and nails every 6 inches. Build doors or face frames for the box front as desired. Paint the interior and add hardware slides if installing drawers or pull-outs inside the bench box.
Adding Doors or Drawers
To install cabinet doors, determine overlay, inset, or full overlay styles. Attach hinges and hardware pulls for a seamless, integrated look. For pull-out drawers, build boxes out of 1/2 or 1/4-inch plywood or durable hardwoods like maple. Use full extension side mount drawer slides to allow the drawers to open fully for access.
Upholstering the Top
Cushion the bench top with dense foam at least 4 inches thick. Cut to size and adhere into place with construction adhesive. Stretch your choice of fabric over the foam and staple the underside of the bench frame. For easy stain protection and removability, secure a slipcover over the cushion instead.
Incorporating Lift-Top Lids
For even more hidden storage, install hinges to allow part of the bench top to lift open. Construct a sturdy framework the size of the interior space. Attach heavy-duty hinges and gas struts or springs to hold up the weight. Upholster both the exterior and interior lid surfaces. The possibilities are endless for outfitting the inside with handy shelving or mini drawers!
Getting Creative with Built-In Storage
A breakfast nook bench presents all sorts of unique ways to tuck items out of sight. Take advantage of every nook and cranny (pun intended) to organize your small kitchen. Here are some of our favorite storage solutions to incorporate.
Open Cubby Storage
For casual and flexible storage, take advantage of open cubbies built right into the bench front. These allow for easy access and visibility to contents like cookbooks, cooking appliances, or kids’ toys. Use decorative bins and baskets to corral items and prevent falling out when opening bench doors. Wire storage cubes also affix into the openings to further divide space.
Pull-Out Drawer Storage
If you love organization, pull-out drawers offer smart storage for smaller goods. Dedicate drawers for everything from cooking utensils, bakeware, spices, linens, or cleaning supplies. Labels and dividers keep things tidy. Look for full extension drawer slides to allow you to access items right at the back.
Slide-Out Storage
For bulkier items, install slide-out trays or entire cabinet sections that roll out when needed, then tuck away out of sight. These offer excellent storage options for stand mixers, blenders, sheet pans, or canned goods. Side mount drawer slides securely hold heavier items. Stop blocks prevent pulling out too far and tipping contents.
Hidden Compartment Storage
If you really want to wow guests and use every inch cunningly, incorporate hidden storage areas. These invisible compartments stow valuables and lesser-used items. Spring-loaded door catches release secret spaces disguised as typical cabinet fronts. Or install storage drawers under bench seat cushions – no one will know they’re there but you!
Design Inspiration
Besides stellar organization, a dreamy breakfast nook also serves up serious style. From finishes to furnishings, here’s how to make your tiny dining spot as gorgeous as it is functional.
Complementing the Style
Design your breakfast nook to flow seamlessly with the existing kitchen scheme. Match cabinet colors and hardware finishes for visual continuity. Repurpose materials like countertop scraps or old wood flooring for the tabletop. Echo decorative details through textiles, patterns, or textures to pull the whole space together.
Choosing Finishes
The colors and materials you select set the vibe of your breakfast nook. For a light and airy nook, use pale neutrals or add mirrors to reflect more light. Richer wood stain makes the space feel cozy and welcoming, while pops of bright paint lend cheerful appeal. Upholster bench tops in durable, spill-proof fabrics that coordinate with kitchen elements like window treatments or area rugs.
Incorporating Lighting
Proper illumination transforms any breakfast nook from dark and gloomy to fresh and inviting. Hardwired lighting both above and below the bench ensures the space stays bright for meals. Sconces or pendants make great overhead options, while puck lights or LED strips illuminate the storage area below. You can even opt for remote control or dimmable smart bulbs to set just the right mood.
Styling with Accessories
The finishing touches like throw pillows, plants, art and table decor take your breakfast nook from simple to stunning. Incorporate personal mementos and beloved kitchen items you use daily. Floating shelves show off glassware, cookbooks or herb gardens. Consider a small focal point like a painting or sculpture. And don’t forget the curtains or cafe panel drapes to frame the view beyond.
As you can see, a well-designed breakfast nook with built-in bench seating and storage offers the total package. Making over an awkward, unused space not only allows you to reclaim square footage with seating for quick meals. Strategic and multifunctional storage solutions also give you back counters and cabinets for the functional stuff of everyday life.
From assessing your current kitchen layout, to constructing a custom bench framework, to getting clever with slide outs and hidden compartments, you can amplify both form and function. Finish off your tiny dining oasis with perfect lighting and lovely accents reflecting your personal style for a weekday and guest-worthy retreat. Get ready to unlock storage opportunities galore alongside extra seating with a DIY bench makeover!
