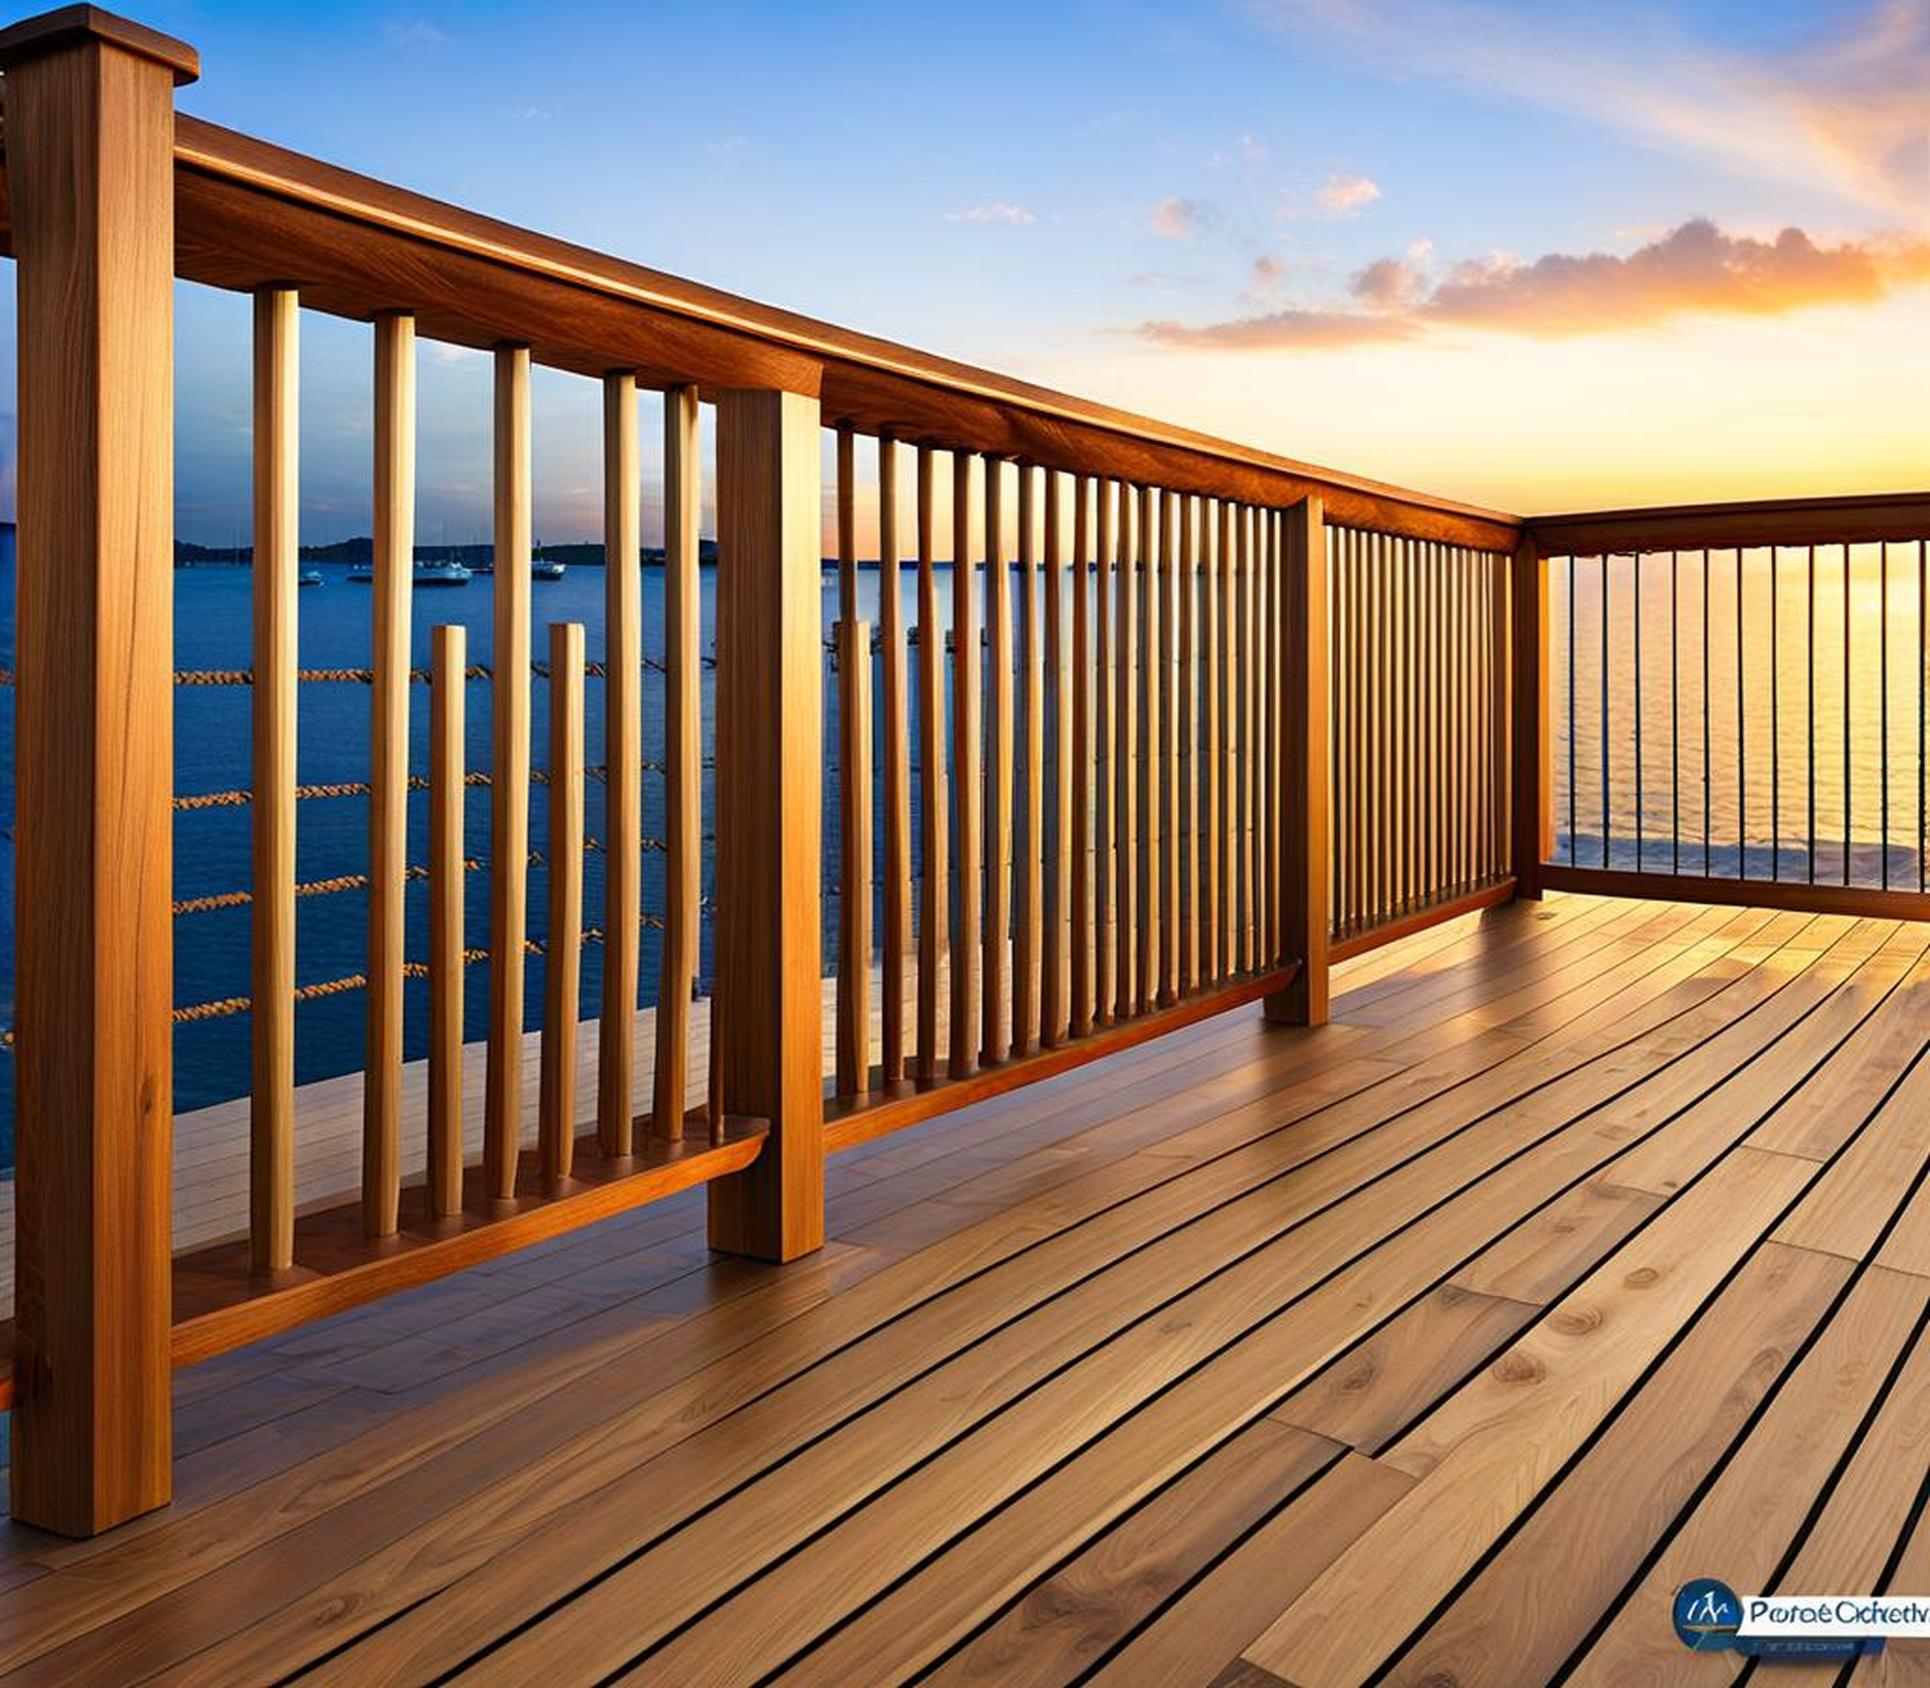
Is your deck looking a little dull and lackluster? Are you wanting to add some personality and coastal charm but don’t want to break the bank? Upgrading to rope railings is an easy and affordable way to give your deck a whole new look in just one weekend.
In this post, we’ll walk through everything you need to know to DIY stunning rope railings for your deck. We’ll cover the materials needed, style inspiration, step-by-step installation, tips and tricks, and more. With the right planning and materials, you can create beautiful, nautical-inspired railings and completely transform your outdoor space.
Materials Needed for Rope Deck Railings
The first step is gathering the right materials. The main items you’ll need include:
- Rope – Selecting the right type and amount is key.
- Hardware – End post fittings, intermediate support fittings, screws, and drill bits.
- Decorations (optional) – LED rope lights, flowers, greenery.
Choosing the Best Rope for Railings
When it comes to rope selection, you’ll first want to decide between synthetic and natural fiber options. Here are some pros and cons of each:
- Synthetic (polyester, nylon, etc.) – Very durable and weather-resistant. Requires less maintenance. More affordable.
- Natural (manila, jute) – Beautiful, natural look. However, shrinks when wet and requires treatment.
For decks, we recommend using synthetic rope as it will hold up better outside. Polyester is a great option as it’s strong, low stretch, and retains color well. Nylon is also good but will stretch more over time.
The rope diameter depends on your style preferences, but 1/4 inch to 3/8 inch is common for railings. Go with twisted rope rather than braided for a cleaner look.
To calculate how much rope you need, measure the length of each railing section in feet, then add 10-15% extra to account for tying knots, slack, and potential shrinking if using natural fiber. Buy your rope in one continuous length to avoid splicing mid-rail.
Hardware for Installing Rope Railings
You’ll also need hardware for securely mounting the rope. Key items include:
- End post fittings – Attach rope ends to deck posts. Brass, stainless steel, or aluminum are durable options.
- Intermediate support fittings – Add if posts are over 4 ft apart for support. Match end post fittings’ style.
- Screws and bolts for mounting fittings to deck posts and existing railings if present.
- A power drill for drilling pilot holes for hardware.
Shop for marine-grade hardware designed specifically for rope installation. Complete kits with all the hardware pieces included are available.
Fun Embellishments
For added nautical flair, consider adding decorative accents like:
- LED rope lights – Weave clear lights into the rope for a gorgeous glow.
- Greenery and flowers – Use clips to attach these along the top.
- Shells, starfish, or other coastal elements – Secure using adhesive or rope ties.
Accent lighting can be wired to a timer or switch to control when they turn on. This saves energy and creates a beautiful nighttime look.
Step-by-Step DIY Installation
Once you have all the materials, it’s time for the fun part – installing your new rope railings!
Now let’s look at each step in more detail:
1. Prep and Measure
- Clear deck area and remove any existing railings.
- Measure length of each railing section needed.
- Mark locations on posts where end post and intermediate fittings will attach.
Having these measurements will make installing the rope railings smooth and easy.
2. Drill Holes in Deck Posts
- At marked locations, drill oversized holes for rope – at least 1/8 inch bigger than rope diameter.
- Drill pilot holes for the hardware screws as recommended by manufacturer.
- Vacuum holes to remove debris.
The oversized holes allow the rope to pass through easily. A power drill with the right sized bits makes this step a breeze.
3. Mount Fittings to Posts
- Place end post fittings at each end of your rope railing sections.
- Space intermediate support fittings evenly if posts exceed 4 feet.
- Use screws to securely mount fittings to deck posts per instructions.
If replacing existing balusters, you can attach fittings directly to the inner railing. Just be sure they are anchored firmly.
4. Add and Tension Rope
- Thread one rope end through each end post fitting.
- Thread through intermediate supports, pulling tension evenly.
- Use knots orother hardware to tightly secure rope ends
Applying even tension prevents sagging and creates a straight, polished look. Tie rope ends off tightly on cleats or use secure knots.
5. Embellish and Decorate
- Weave in rope lights if desired.
- Space out greenery, flowers, shells evenly.
- Step back and admire your work!
Get creative with decorations by alternating colors, textures, and patterns. Combining rope lights and garlands creates a stunning look day or night.
Style Inspiration for Rope Railings
One of the best parts of rope railings is you can customize them to match your own personal style. Here are some inspiration ideas:
Coastal and Nautical Themes
For beach house vibes, use navy blue rope with white accents. Knot rope around natural wood posts for a relaxed feel. Add elements like shells, driftwood, anchors.
Modern and Sleek
Go for a sleek, contemporary look with black or gray rope and polished metal posts and fittings. Glass inserts in posts or LED lights create dramatic flair.
Rustic Farmhouse
Natural Manilla rope and unfinished wood posts give off cozy farmhouse charm. Twine greenery through the rails and display weathered signs.
Eclectic Bohemian
Multi-colored rope in vibrant hues exudes free-spirited style. Ornament with bold flowers, macrame hangings, and found objects. Embrace the eclectic!
Tips and Tricks for Rope Railings
To help your new rope railings look fabulous for years to come, keep these tips in mind:
Regular Maintenance
- Check tension and retighten rope when needed.
- Hose off dirt and debris to prevent buildup.
- Apply UV protectants to natural fiber rope annually.
- Clean and dry metal hardware to prevent corrosion.
Taking care of your rope railings will maximize their lifespan. Be diligent about checking tension and clearing debris.
Replacing Rope Sections
- Replace individual rope sections as needed for wear or damage.
- Unscrew fittings, thread new rope length through, re-tighten.
- Stain replacement pieces to match color.
The modular design of rope railings makes repairing or replacing sections easy. Simply swap out damaged pieces.
Updating the Look
- Paint or stain posts and hardware a new color.
- Introduce new rope colors or styles.
- Swap decor items like lights and garlands.
Over time you can update your rope railings’ style with small tweaks. Repaint, add new decorative touches, or mix up the rope pattern.
Installing DIY rope railings lets you upgrade your deck on a budget in just one weekend. The end result is a coastal-inspired design that looks far more expensive than it is.
With the right synthetic rope, high-quality hardware, and a straightforward installation process, you can create a custom nautical look perfect for relaxing outdoors. Maintain your new rope railings well, and they are sure to look beautiful for seasons to come.
So grab your materials and get ready for a satisfying, budget-friendly DIY project. We hope these tips give you the confidence to add breathtaking rope railings to your deck. Your new maritime oasis awaits!
