The above ground pool leveling hacks are important. A properly leveled pool ensures safety, longevity, and optimal enjoyment. We’ll dive into expert techniques, from site selection to final adjustments, that will transform your backyard into a perfectly balanced oasis. Whether you’re a DIY enthusiast or a first-time pool owner, these practical tips will help you achieve professional-level results without breaking the bank.
Understanding the Importance of Proper Pool Leveling
Pool leveling isn’t just a fancy term thrown around by contractors; it’s the bedrock of a well-installed above ground pool. When we talk about pool leveling, we’re referring to the process of creating a flat, stable surface for your pool to sit on. This might sound simple, but trust me, it’s a game-changer for your entire pool experience.
Let’s break it down. An improperly leveled pool isn’t just an eyesore; it’s a ticking time bomb for pool owners. Imagine this: you’ve just filled your new pool, excited for that first swim, only to notice water unevenly distributed, with one side significantly deeper than the other. That’s not just disappointing; it’s dangerous. Uneven water distribution can lead to structural stress on your pool walls, potentially causing them to buckle or collapse over time. It’s not a pretty picture, and it’s certainly not something you want to deal with after investing in your backyard oasis.
But the consequences don’t stop there. A pool that’s off-kilter can wreak havoc on your filtration system. These systems are designed to work with water at a specific level. When that level is off, your pump might struggle to circulate water properly, leading to poor water quality and increased maintenance headaches. Nobody wants to spend their summer fighting algae blooms or constantly adjusting chemical levels.
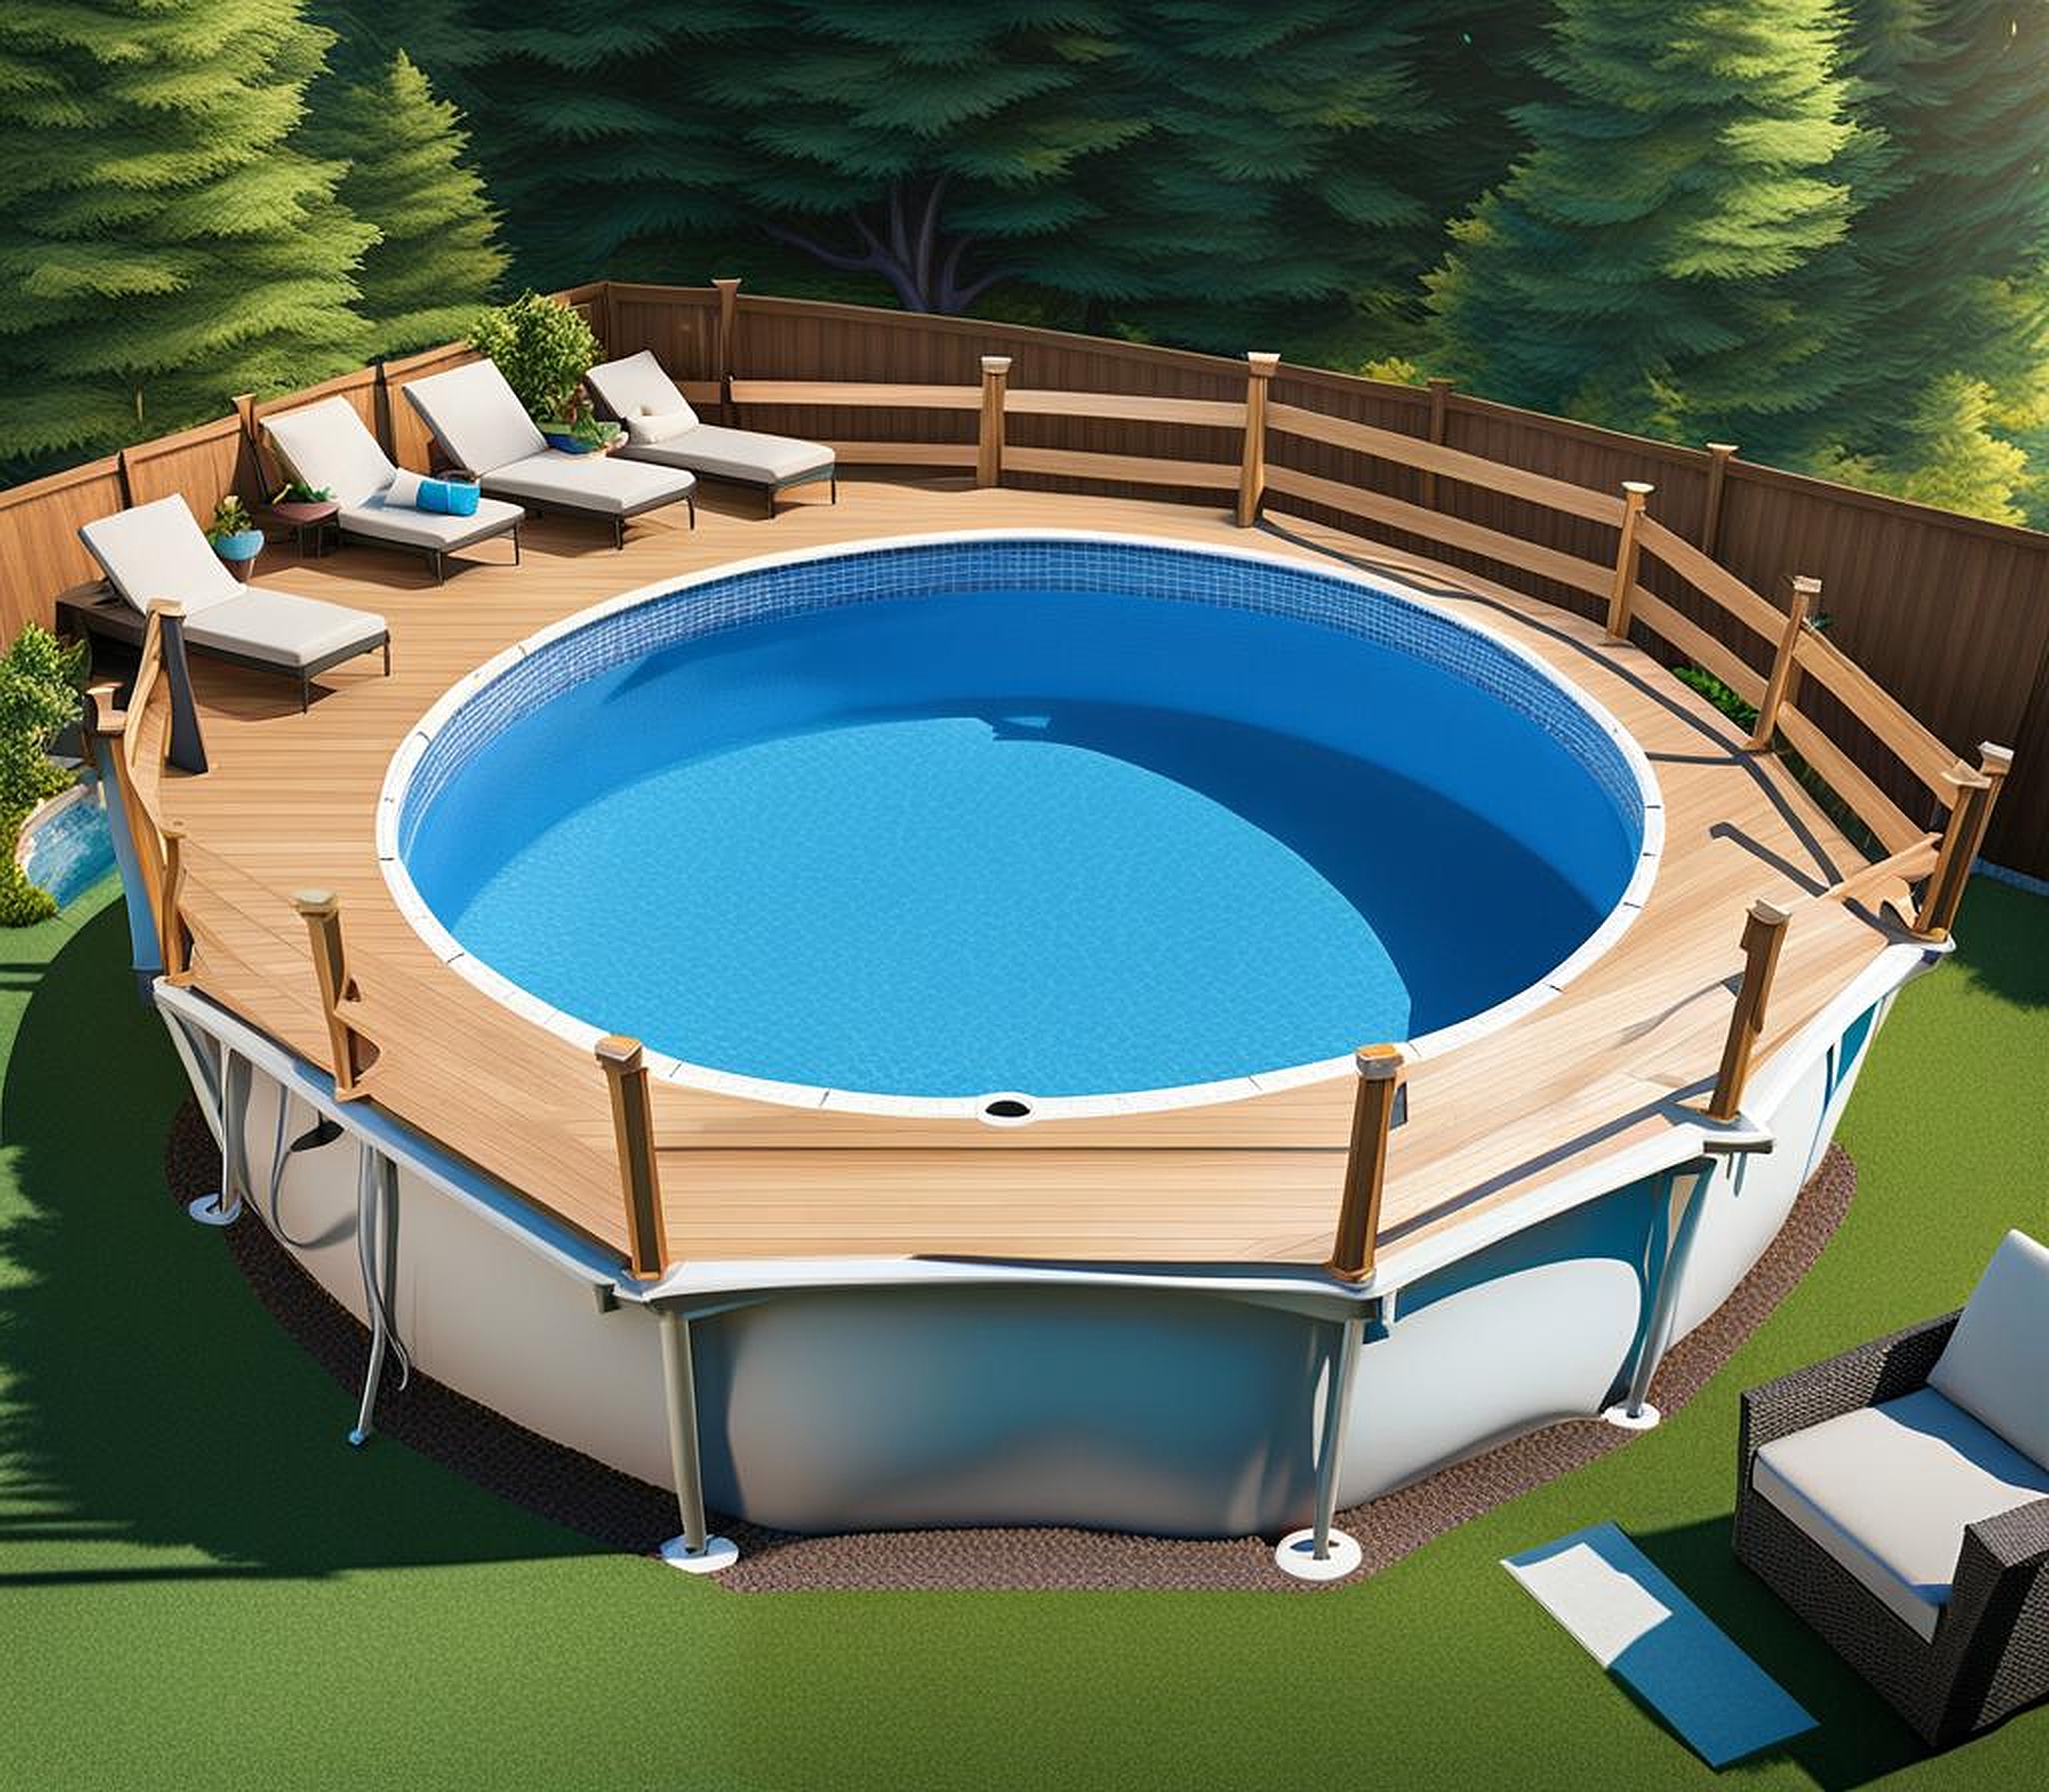
On the flip side, a perfectly leveled above ground pool is a thing of beauty and functionality. You’re looking at enhanced stability that will make your pool last for years to come. The aesthetics are on point, too – there’s something satisfying about seeing that water line perfectly parallel to the pool’s edge. And let’s not forget about maintenance. A level pool means easier upkeep, from cleaning to winter prep. You’ll thank yourself every time you don’t have to struggle with uneven water levels or wonky equipment.
So, before you rush into setting up that pool, take a moment to appreciate the art of leveling. It’s not just about following instructions; it’s about setting the stage for countless summers of worry-free enjoyment. Trust me, the time you invest in getting this right will pay off tenfold in the long run.
Essential Tools and Materials for Above Ground Pool Leveling
When it comes to leveling your above ground pool, having the right tools and materials at your fingertips can make all the difference between a weekend project and a summer-long ordeal. Let’s dive into the essentials that’ll have you leveling like a pro.
First up, we’ve got survey equipment. This is your best friend for accurate ground assessment. A laser level is the creme de la creme of leveling tools. It projects a perfectly level line across your entire work area, making it easy to spot high and low spots. If you’re working on a budget, a string level can do the trick. It’s old school, but effective. Stretch it across your site, and you’ll quickly see where you need to add or remove soil. For those who want something in between, a transit level offers precision without breaking the bank.
Now, let’s talk ground preparation tools. You’ll need a sturdy shovel and rake to move earth and create that smooth surface. Don’t underestimate the importance of a good tamper or plate compactor. These tools are crucial for creating a solid foundation that won’t settle unevenly over time. And trust me, you’ll want a wheelbarrow. Moving sand or gravel by hand is a back-breaking task you’ll want to avoid.
Speaking of materials, let’s cover what you’ll need to create that perfect base. Sand is a popular choice for its ability to be easily leveled and compacted. Crushed limestone is another excellent option, offering stability and good drainage. If you’re looking for something that’ll really lock in place, consider a paver base or gravel. These materials provide a sturdy foundation that resists shifting over time.
Don’t forget about landscaping fabric. This unsung hero prevents weeds from growing under your pool and helps maintain the integrity of your leveling work. It’s a small addition that makes a big difference in the long run.
Here’s a pro tip: before you start your project, lay out all your tools and materials. There’s nothing worse than being elbow-deep in dirt and realizing you forgot something crucial. By having everything on hand, you’ll work more efficiently and avoid frustrating delays.
Remember, the quality of your tools can significantly impact your results. While you don’t need to break the bank, investing in reliable equipment will make the job easier and likely lead to better outcomes. Borrow what you can, rent what you need for a short time, and consider purchasing items you might use for future projects around your yard.
With these tools and materials at the ready, you’re well-equipped to tackle the challenge of leveling your above ground pool. It’s not just about having the right gear; it’s about using it effectively to create a stable, long-lasting foundation for your summer fun. So roll up those sleeves, and let’s get to work on making your pool dreams a reality!
Step-by-Step Ground Preparation Hacks
Alright, pool enthusiasts, it’s time to roll up our sleeves and get down to the nitty-gritty of ground preparation. This is where the real magic happens in above ground pool leveling. Follow these hacks, and you’ll be well on your way to a perfectly level pool that’ll be the envy of the neighborhood.
First things first: site selection and initial ground assessment. This is crucial, folks. You can’t just plop your pool anywhere and expect great results. Take a good look at your yard and consider factors like sunlight exposure, proximity to trees (trust me, you don’t want roots causing trouble down the line), and distance from your home. Once you’ve picked the perfect spot, it’s time to put on your detective hat and look for potential drainage issues. Water pooling in your yard? That’s a red flag. You’ll want to address these problems before you even think about setting up your pool.
Now, let’s talk excavation and grading techniques. This is where things get physical, but don’t worry, I’ve got some tricks up my sleeve. Start by removing all grass and topsoil from your chosen area. A sod cutter can make quick work of this if you’re dealing with a large space. Here’s a hack for you: instead of trying to achieve a perfectly flat surface, aim for a slight slope away from the center of where your pool will be. We’re talking about a gentle grade of about 1 inch over 4 feet. This subtle slope will help with drainage and prevent water from pooling around your pool’s base.
Soil compaction is next on our hit list, and let me tell you, it’s not a step you want to skimp on. A solid foundation is key to preventing future settling issues that could throw your carefully leveled pool out of whack. If you’ve got access to a plate compactor, fantastic. If not, a hand tamper will do the job; it’ll just take a bit more elbow grease. Work in sections, compacting the soil evenly across the entire pool area. Here’s a pro tip: lightly water the soil before compacting. This helps the particles bind together more effectively, giving you a sturdier base.
Let’s talk about a common mistake I see all too often: rushing through the ground prep. Folks, I can’t stress this enough – take your time here. It’s tempting to hurry through this stage because, let’s face it, it’s not the most glamorous part of pool installation. But trust me, the effort you put in now will save you countless headaches down the road.
Here’s another hack that can save you time and improve your results: use a long, straight board (like a 2×4) as a screed. Drag it across your work area to quickly identify high and low spots. This simple tool can help you achieve a more uniform surface with less guesswork.
Remember, the goal here isn’t just to create a flat surface; it’s to create a stable one that will support your pool for years to come. Pay special attention to the outer edge of your pool area. This is where the pool’s wall will sit, and it needs to be particularly level and well-compacted.
As you work through these steps, keep visualizing the end result. Picture that perfectly level pool, shimmering in the sunlight, ready for your first cannonball of the season. That vision will keep you motivated through the hard work of ground preparation.
By following these ground preparation hacks, you’re setting yourself up for success. You’re not just installing a pool; you’re creating a backyard oasis that will bring joy for years to come. So take your time, do it right, and get ready to enjoy the fruits of your labor all summer long!
Now that we’ve covered the basics, it’s time to elevate your pool leveling game with some advanced techniques and clever hacks. These strategies will help you achieve that perfect, professional-level installation that’ll make your above ground pool the star of the neighborhood.
Let’s kick things off with sand or gravel base installation. This is where precision meets patience. First, you’ll need to calculate the right amount of material. A good rule of thumb is to plan for a 2-inch base layer. To figure out how much you need, multiply the area of your pool by 0.167 (that’s 2 inches in feet). This will give you the cubic feet of sand or gravel required. Always add about 10% extra to account for compaction and any adjustments you might need to make.
When it comes to spreading your base material, work in small sections. Start from the center and work your way out, using a rake to distribute the material evenly. Here’s a pro tip: use PVC pipes as screed guides. Lay them parallel to each other, spaced about 6 feet apart, and use a long, straight board to screed the sand or gravel between them. This technique ensures a consistently level surface across your entire pool area.
Now, let’s talk about using pavers or concrete blocks for precise leveling. This method is a game-changer, especially if you’re dealing with slightly uneven terrain. Start by laying out a perimeter of pavers or blocks where your pool wall will sit. Use a level to ensure each piece is perfectly flat and adjust as needed by adding or removing sand underneath. This creates a stable, level foundation for your pool’s structure.
Here’s where it gets really cool: you can use these pavers or blocks to make micro-adjustments for perfect balance. If one section is slightly off, it’s much easier to tweak the height of a paver than to re-grade the entire area. Plus, this method allows for easy future adjustments if any settling occurs over time.
Let’s dive into some innovative DIY leveling solutions that can save you time and money. Got some old carpet lying around? Cut it into strips and use it under your leveling sand. It helps prevent the sand from washing away and provides an extra layer of protection for your pool liner. Another hack: use a homemade water level. Fill a clear hose with water and use it to compare heights across your pool area. Water always finds its level, making this a foolproof method for identifying uneven spots.
For those dealing with challenging terrain, consider creating a terraced effect. If one side of your pool area is significantly higher than the other, build a small retaining wall to create a level surface. This not only solves your leveling issue but also adds a unique, landscaped look to your pool area.
Before you start setting up your pool, it’s crucial to do some final checks and adjustments. Walk around your prepared area, looking for any imperfections. A good trick is to roll a ball across the surface. It should roll smoothly without veering off in any direction. If you notice any issues, now’s the time to address them.
Here’s a hack that can save you from future headaches: create a small drainage slope around the perimeter of your pool area. This helps direct rainwater away from your pool, preventing erosion of your carefully prepared base.
Remember, the key to success with these advanced techniques is patience and attention to detail. Don’t rush through these final stages. Take the time to get everything just right. The extra effort you put in now will pay off in spades when you’re enjoying your perfectly level pool all summer long.
By incorporating these advanced leveling techniques and clever hacks, you’re not just installing a pool; you’re crafting a backyard masterpiece. Your above ground pool will be stable, long-lasting, and ready for countless days of summer fun. So grab your tools, put these tips into action, and get ready to dive into the pool of your dreams!
