Tray ceilings add depth and visual interest to any room, but painting them can be a daunting task. Learning how to paint a tray ceiling properly can transform your space and create a stunning focal point. This comprehensive guide will walk you through the process, from preparation to final touches, ensuring a professional-looking result that will impress your guests and enhance your home’s aesthetic appeal. Whether you’re a DIY enthusiast or a first-time painter, these expert tips and techniques will help you achieve a flawless finish on your tray ceiling.
Understanding Tray Ceilings and Preparation
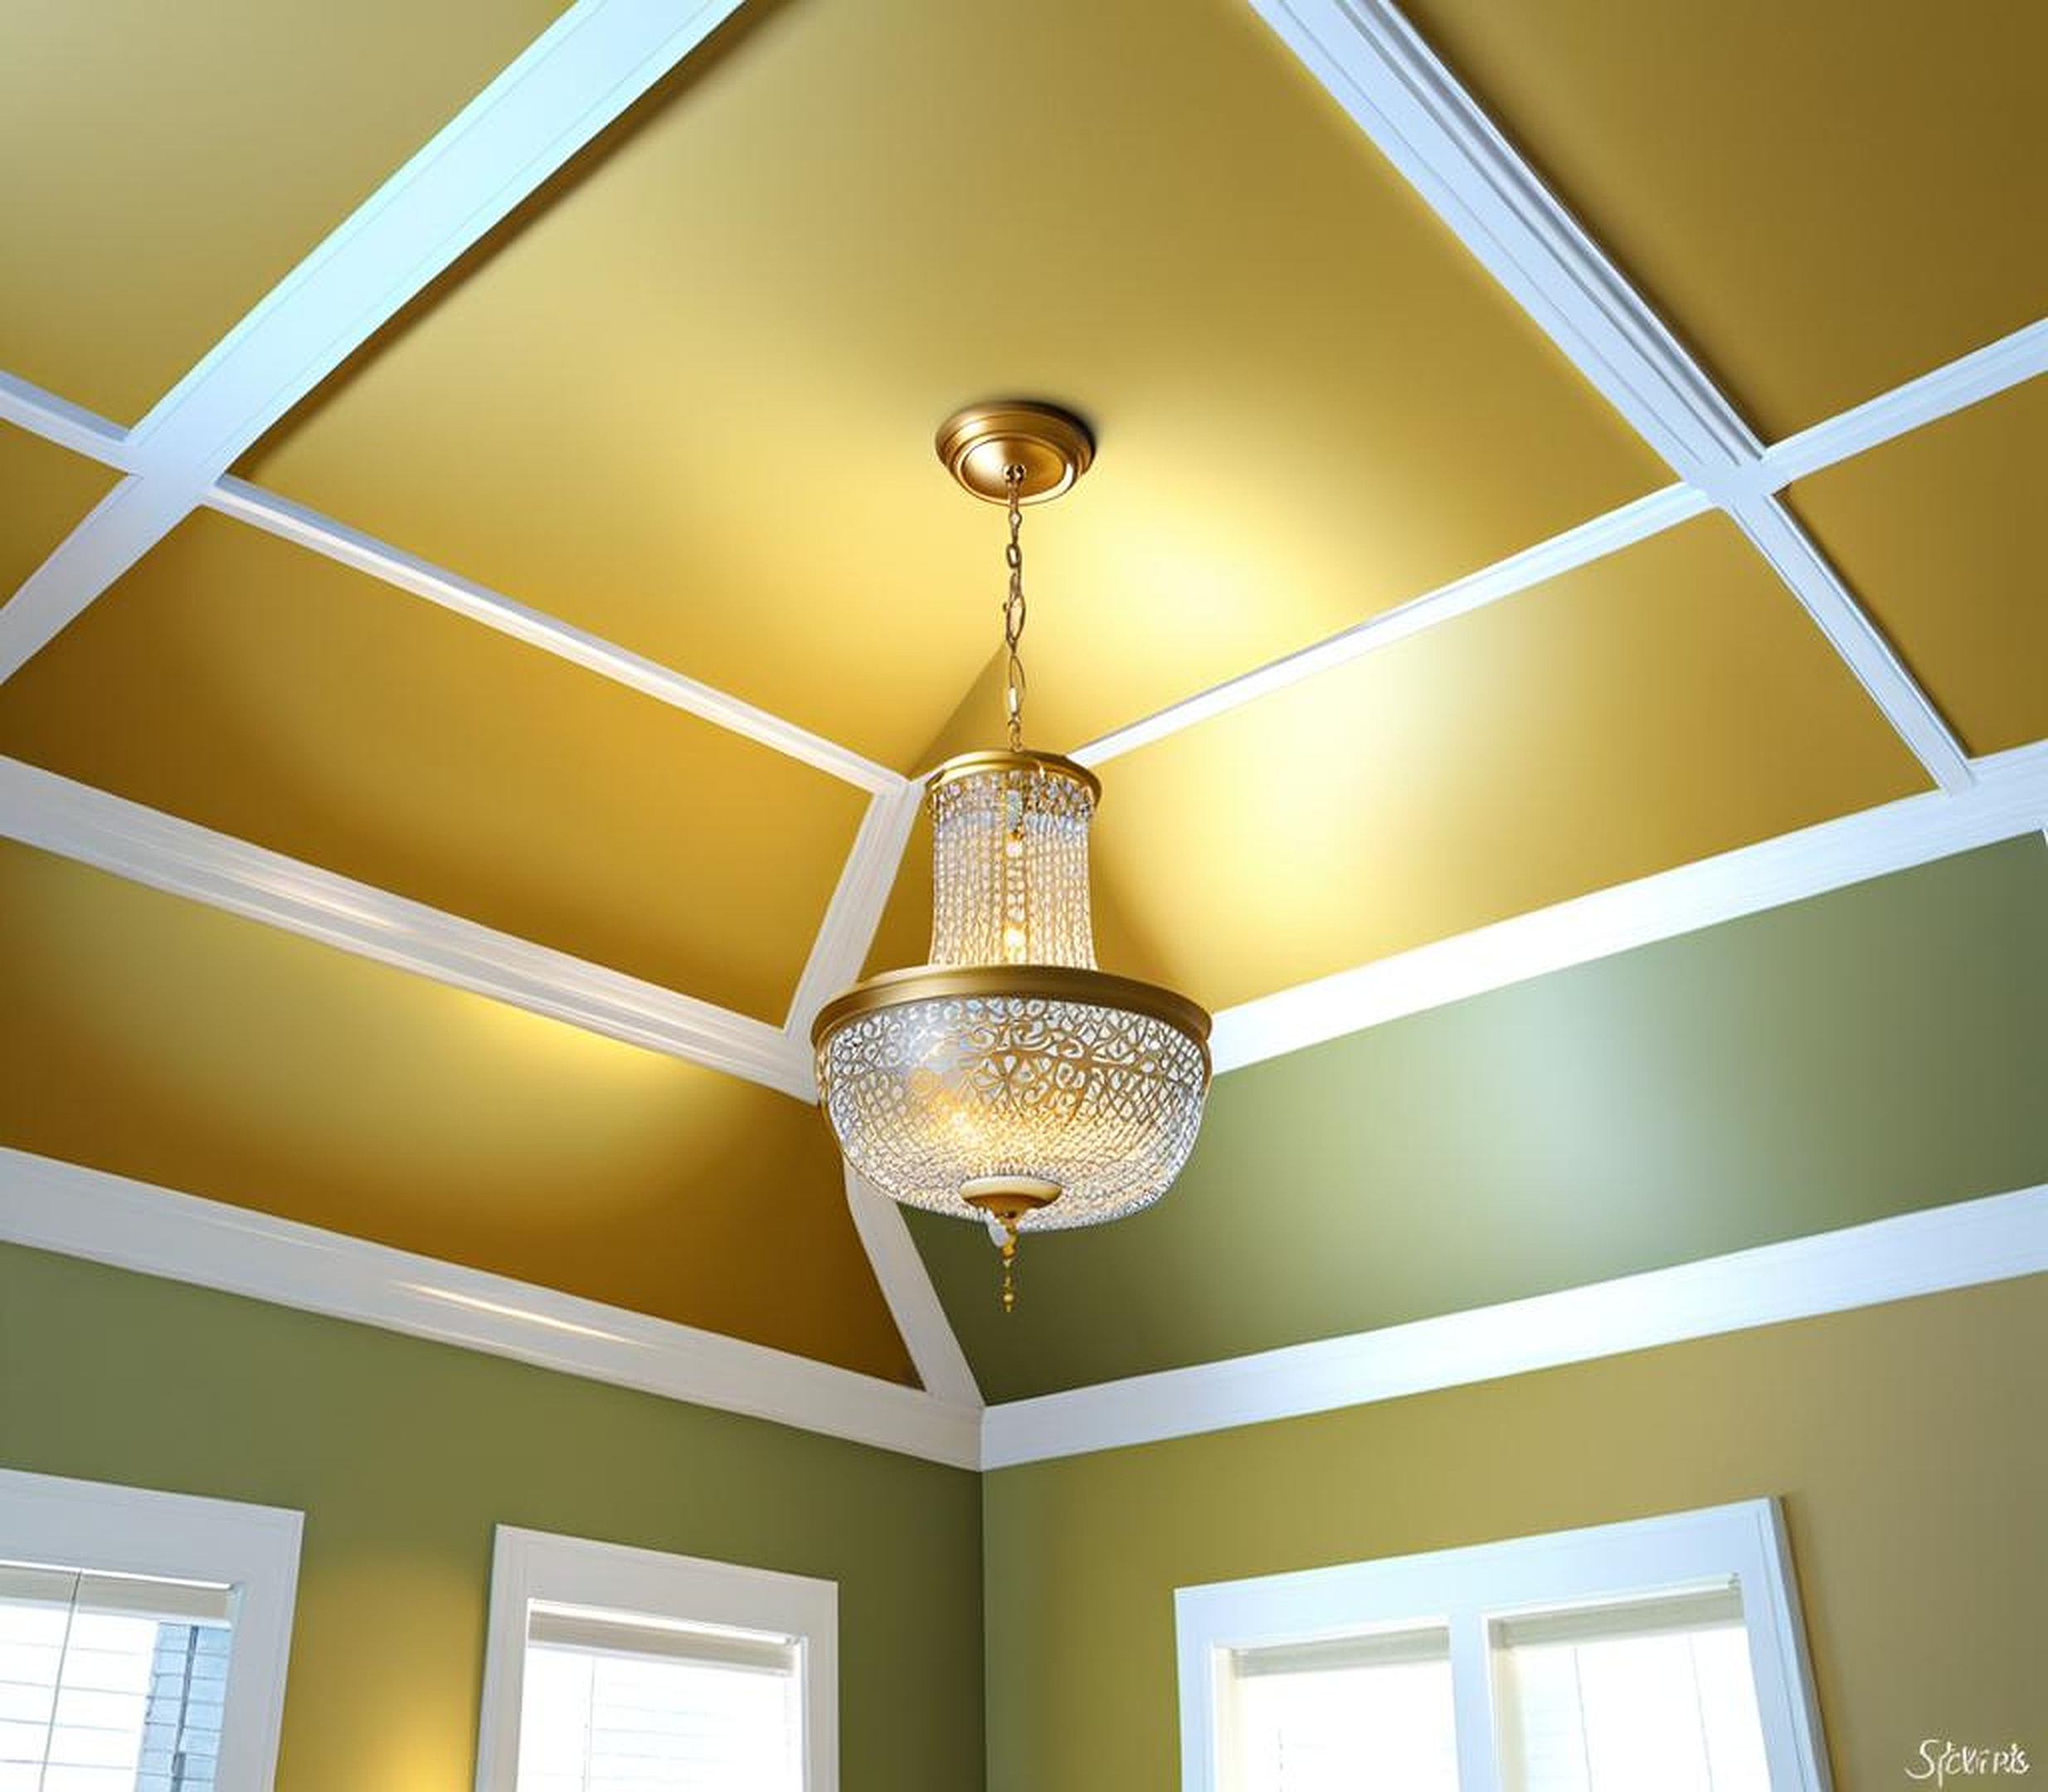
Before diving into the painting process, it’s crucial to understand what tray ceilings are and how to prepare for the task ahead. Tray ceilings, also known as recessed ceilings, feature a raised center section that resembles an inverted tray. This architectural element adds height and dimension to a room, making it feel more spacious and elegant.
The benefits of painting tray ceilings are numerous. A fresh coat of paint can highlight the unique structure, create visual interest, and even make the room appear larger. By choosing the right colors and techniques, you can dramatically change the ambiance of your space.
To begin, assess the current condition of your tray ceiling. Look for any cracks, holes, or water stains that need to be addressed before painting. Next, gather all the necessary tools and materials. You’ll need:
- Drop cloths and plastic sheeting
- Painter’s tape
- Spackling compound and sandpaper
- Primer
- Paint (ceiling-specific paint is recommended)
- Paint rollers with extension poles
- Paintbrushes for cutting in and detail work
- Ladder or scaffolding
- Damp cloth for cleaning
Choosing the right paint and finish for your tray ceiling is crucial. Opt for a high-quality, matte finish ceiling paint that will hide imperfections and reduce glare. For tray ceiling paint colors, consider using a shade lighter or darker than your walls to create subtle contrast. Alternatively, bold ceiling paint ideas can make a statement and become a focal point of the room.
Before you start painting, protect your furniture and flooring. Move smaller items out of the room and cover larger pieces with plastic sheeting. Lay drop cloths on the floor, ensuring they’re securely in place to catch any drips or spills.
Step-by-Step Process: How to Paint a Tray Ceiling
Now that you’re prepared, let’s dive into the step-by-step process of painting your tray ceiling. This methodical approach will ensure a professional-looking finish and help you avoid common pitfalls.
1. Clean and repair the ceiling surface: Use a damp cloth to remove any dust, cobwebs, or debris from the ceiling. If there are any cracks or holes, fill them with spackling compound and sand smooth once dry. This creates an even surface for painting and ensures a flawless finish.
2. Apply primer: Unless you’re using a paint-and-primer combo, apply a coat of high-quality primer to the entire ceiling. This step is crucial for achieving even coverage and enhancing paint adhesion. Allow the primer to dry completely according to the manufacturer’s instructions.
3. Paint the recessed area: Start with the recessed portion of the tray ceiling. Use a roller with an extension pole to apply the paint in long, even strokes. Work in small sections, overlapping slightly to ensure full coverage. For best results, apply two thin coats rather than one thick coat, allowing proper drying time between applications.
4. Paint the raised portion: Once the recessed area is dry, move on to the raised portion of the ceiling. Use painter’s tape to create clean lines where the two sections meet. Apply paint to the raised area using the same technique as before, being careful not to overlap onto the recessed section.
5. Add accent colors or designs: If you want to enhance your tray ceiling design, consider adding an accent color to the raised portion or incorporating decorative elements. Stencils or faux finishing techniques can add visual interest and personalize your space.
6. Apply final touches: After the paint has dried completely, remove any painter’s tape carefully. Inspect the ceiling for any missed spots or imperfections, and touch up as needed. This attention to detail will ensure a polished, professional look.
When painting tray ceiling walls, it’s often best to tackle them separately from the ceiling itself. This allows you to focus on achieving clean lines and even coverage without worrying about paint drips or overlapping onto freshly painted surfaces.
To elevate your tray ceiling painting project from good to great, consider these expert tips and tricks:
Selecting complementary colors is key to creating a cohesive look. Consider the overall color scheme of your room when choosing tray ceiling paint colors. A monochromatic palette can create a subtle, sophisticated look, while contrasting colors can make a bold statement. Don’t be afraid to experiment with ceiling paint ideas to find the perfect combination for your space.
For those feeling creative, incorporating tray ceiling designs can add an extra layer of visual interest. Consider using stripes, geometric patterns, or even a faux wood finish to make your ceiling truly unique. Just remember to plan your design carefully and use high-quality painter’s tape to achieve crisp lines.
Proper ventilation is crucial when painting ceilings. Open windows and use fans to circulate air, which will help the paint dry faster and reduce fumes. Be sure to allow adequate drying time between coats, typically 2-4 hours for water-based paints.
If you encounter issues like streaks or uneven coverage, don’t panic. Allow the paint to dry completely, then lightly sand any imperfections and apply another thin coat. Patience is key to achieving a flawless finish.
To maintain your newly painted tray ceiling, dust it regularly with a soft, dry cloth or use a vacuum with a brush attachment. Avoid using water or cleaning solutions unless absolutely necessary, as these can damage the paint over time.
For a truly professional finish, consider these ceiling painting techniques:
- Use a paint roller with a 3/8-inch nap for smooth ceilings or a 1/2-inch nap for textured surfaces.
- Paint in a “W” pattern to ensure even coverage and minimize roller marks.
- Keep a “wet edge” by slightly overlapping each stroke to avoid visible lines.
- Use an angled brush for cutting in along edges and corners for precise application.
When choosing a ceiling paint finish, opt for flat or matte finishes, as they hide imperfections better than glossier options. However, if you’re painting a bathroom or kitchen ceiling, consider a satin finish for better moisture resistance.
Remember, painting a tray ceiling is a project that requires patience and attention to detail. Take your time, follow these steps and tips, and you’ll be rewarded with a beautifully painted tray ceiling that enhances the entire room. Whether you opt for a classic white tray ceiling or experiment with bold colors and designs, your newly painted ceiling will be a source of pride and a stunning feature in your home.
