Dreaming of sinking hoops in your own backyard? Creating a diy small backyard basketball court is an exciting project that combines sport and home improvement. From planning and preparation to construction and enhancement, we’ll cover all the steps to help you build a compact court that fits your space and budget. Get ready to elevate your game and create lasting memories right at home!
Planning Your DIY Small Backyard Basketball Court
The first step in creating your backyard basketball setup is careful planning. This phase is crucial for ensuring your DIY basketball court project is successful and fits seamlessly into your available space.
Start by assessing the available space in your backyard. Measure the area you’re considering for your court and think about how it fits with other elements of your yard. Remember, a small basketball court can be just as fun as a full-sized one. The key is to make the most of what you have.
When determining court dimensions, consider standard sizes but be flexible. A regulation half-court is 47 feet long by 50 feet wide, but you can scale this down. Many backyard court designs work well at 30 feet by 20 feet or even smaller. The important thing is to have enough room for a comfortable playing area and some boundary space.
Orientation is another critical factor. If possible, align your court north-south to avoid players having to shoot into the sun. Also, consider the impact on neighbors – you don’t want errant balls flying into their yards!
Choosing materials for your court surface is a big decision. Options range from concrete and asphalt to modular tiles. Each has pros and cons:
- Concrete: Durable and smooth, but can be expensive and prone to cracking
- Asphalt: Less expensive than concrete, offers good bounce, but may soften in extreme heat
- Modular tiles: Easy to install, good shock absorption, but more expensive upfront
Budgeting is crucial for your backyard basketball setup. Costs can vary widely depending on size, materials, and whether you’re doing the work yourself or hiring professionals. A basic DIY court might cost a few thousand dollars, while a high-end, professionally installed court could run into tens of thousands.
Don’t forget to check local regulations and permits. Some areas have restrictions on the size of structures you can build or require permits for large paving projects. It’s always better to check before you start than to face fines or have to redo work later.
Preparing the Ground for Your Compact Basketball Court
Once you’ve planned your small backyard hoops area, it’s time to prep the ground. This stage is vital for ensuring your court is level, drains properly, and will stand the test of time.
Begin by clearing and leveling the area. Remove any grass, rocks, or debris from the site. If your yard isn’t naturally level, you’ll need to grade it. This might involve bringing in fill dirt or removing soil to create a flat surface. A slight slope (about 1 inch per 10 feet) away from your home can help with drainage.
Speaking of drainage, it’s crucial to install a proper system to prevent water from pooling on your court. This could involve creating a slight crown in the center of the court or installing French drains around the perimeter. Good drainage will extend the life of your court and prevent slippery playing conditions.
Laying a solid foundation is key for any backyard court ideas. For a concrete or asphalt court, you’ll need a base of compacted gravel or crushed stone. This base should be at least 4 inches thick and compacted in layers. If you’re using modular tiles, you might be able to install them over an existing concrete pad, but ensure it’s in good condition first.
Applying a moisture barrier is an often-overlooked step that can significantly improve the longevity of your court. This thin layer of plastic or specialized material prevents ground moisture from seeping up and damaging your court surface.
While many aspects of ground preparation can be DIY, don’t hesitate to call in professionals for complex tasks. Proper grading and foundation work are critical – if these aren’t done correctly, your court won’t perform well and could deteriorate quickly. Weigh the cost of professional services against the potential for costly mistakes if you’re not confident in your abilities.
Constructing Your Small Backyard Basketball Court
With the groundwork laid, it’s time for the exciting part – building your homemade basketball court! This phase brings your backyard court ideas to life, transforming your space into a personal sports arena.
First up is selecting and installing the court surface material. If you’ve chosen concrete, you’ll need to pour and finish the slab. This is a job best left to professionals unless you have significant experience. For asphalt, the process involves laying and compacting the material, then allowing it to cure. Modular tiles are more DIY-friendly – they typically snap together and can be laid in a day.
Once your surface is ready, it’s time for marking court lines. You can use specialized court marking paint or tape for this. Standard lines include the free-throw line (15 feet from the backboard), the three-point line (19 feet 9 inches in high school, 22 feet 1.75 inches for NBA), and the key. Don’t forget to add a half-court line if you’re building a half-court. For a truly professional look, consider hiring a line-marking service.
Choosing and mounting the basketball hoop and backboard is a crucial step in your backyard basketball setup. For a permanent installation, an in-ground system is best. These typically involve setting a pole in concrete. Ensure your hoop is regulation height (10 feet to the rim) unless you’re specifically building a lowered hoop for younger players. Adjustable systems are great for families with kids of different ages.
Safety features are important, especially in a compact space. Consider adding padding to the pole and edges of the backboard. If your court is close to property lines or structures, fencing options become important. Chain link fencing is affordable and effective, while net systems can be more aesthetically pleasing.
To extend your playing time, think about incorporating lighting for nighttime play. LED flood lights mounted on poles or nearby structures can illuminate your court without excessive energy use. Make sure to angle lights to minimize glare and impact on neighbors.
Your small basketball court is taking shape, but why stop there? Let’s explore ways to enhance your outdoor basketball court and create a truly exceptional backyard sports court.
Adding extra features can turn your court into a complete outdoor recreation area. Consider installing benches or bleachers for spectators or players waiting their turn. A small storage shed or box can keep balls, pumps, and other equipment handy and protected from the elements. For serious players, a scoreboard (even a manual one) can add to the competitive atmosphere.
Maintaining your homemade basketball court is crucial for its longevity and performance. Regular sweeping and occasional power washing will keep the surface clean. For concrete or asphalt courts, look out for cracks and seal them promptly to prevent water damage. Modular tile courts may need occasional retightening or replacement of damaged tiles. Don’t forget to check and tighten the rim and backboard periodically.
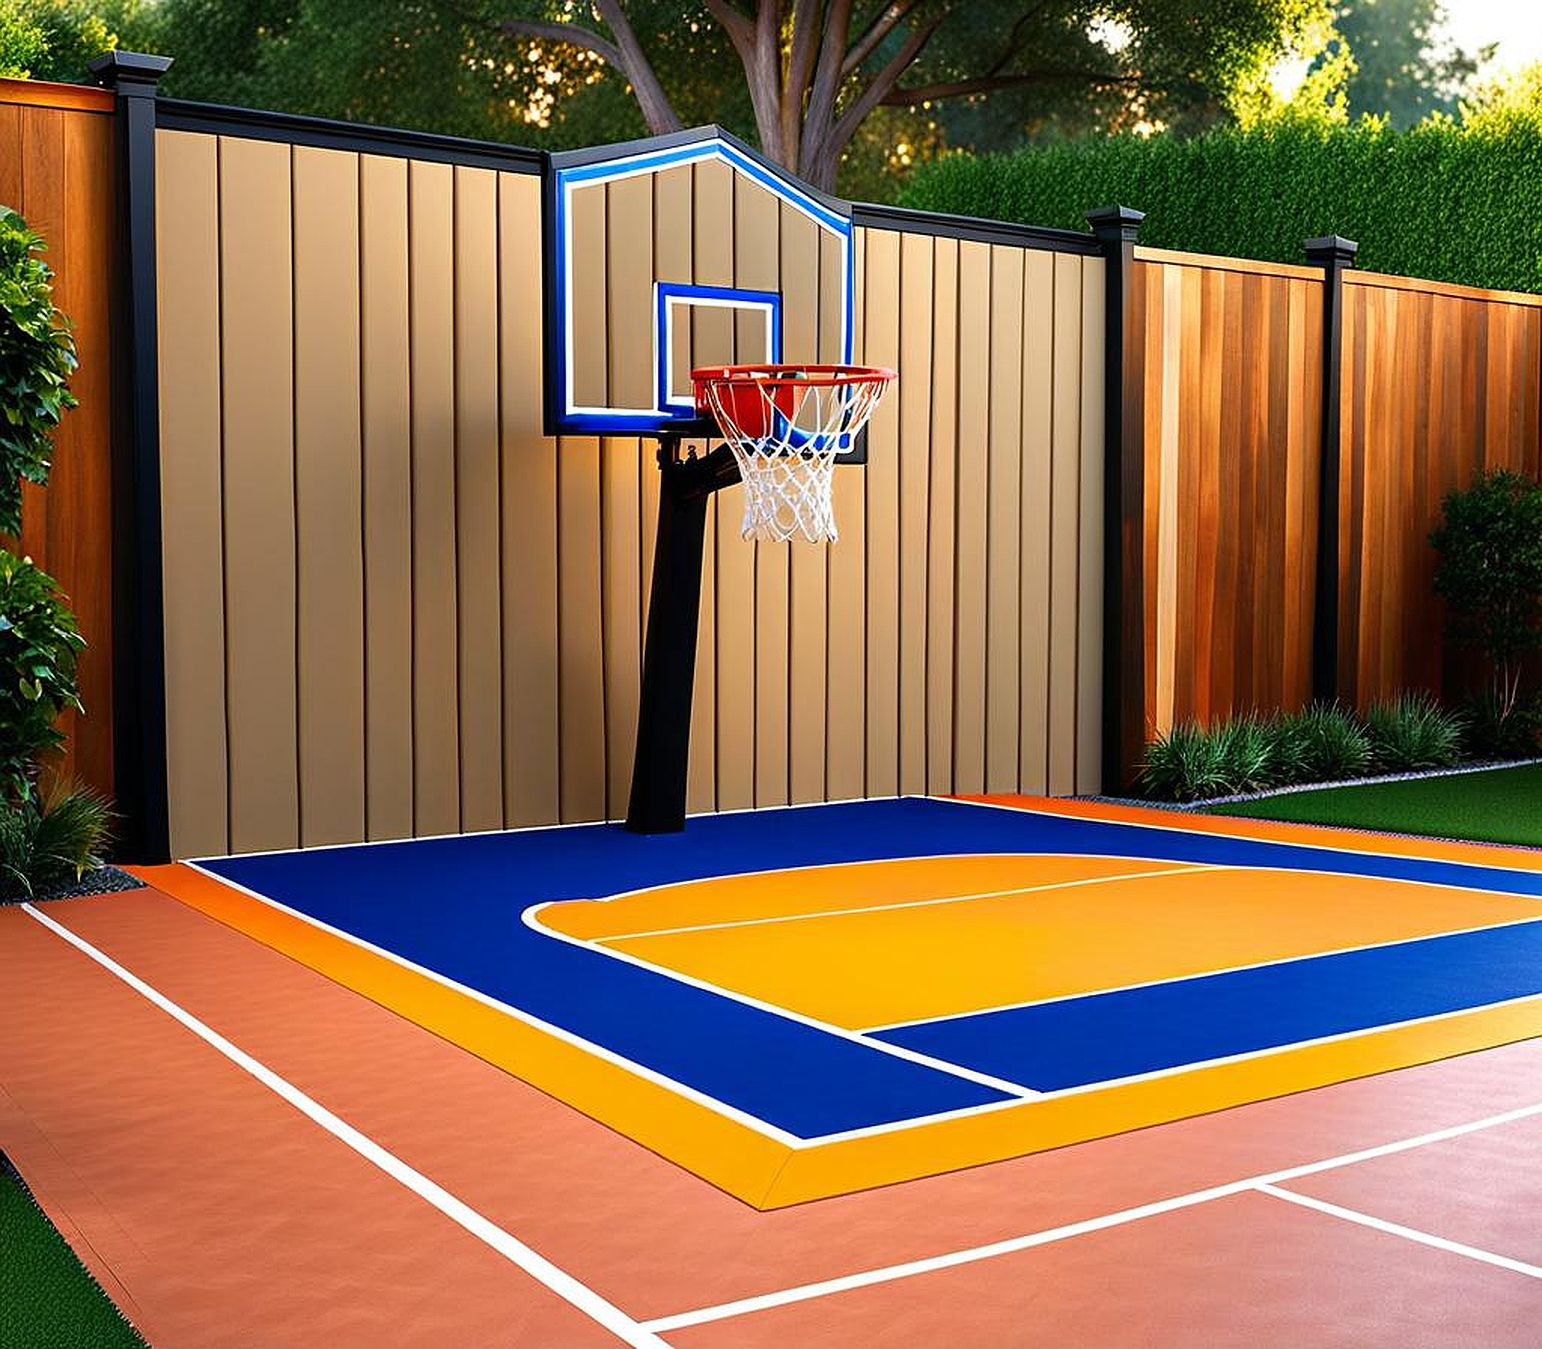
Customizing your court with colors and designs can make it truly unique. While many opt for the traditional blue and red markings on a grey surface, you could choose colors that match your home or favorite team. Some homeowners even add their family name or a custom logo to the center court. Just ensure any paint you use is specifically designed for outdoor court surfaces.
To maximize the utility of your space, consider creating a multi-sport court. With some additional line markings and portable equipment, your basketball court could double as a volleyball court, badminton court, or even a pickleball area. This versatility can make your backyard the go-to spot for family fun and neighborhood gatherings.
Creating a year-round outdoor sports area involves thinking about comfort in all seasons. For hot summers, consider adding shaded areas nearby or even a misting system for cooling off between games. In colder climates, good drainage and snow removal plans are essential. Some dedicated court owners even install heating systems under their courts to extend the playing season.
Remember, your DIY small backyard basketball court is more than just a place to play – it’s a space for creating memories, improving skills, and bringing people together. By carefully planning, constructing, and enhancing your court, you’re investing in countless hours of fun, fitness, and family time. So grab that ball, step onto your personalized court, and let the games begin!
