Vinyl plank flooring has become increasingly popular due to its durability, affordability, and ease of installation. However, to achieve a professional-looking result, you’ll need the right tools for the job. From preparation to finishing touches, having the proper equipment is crucial for a successful vinyl plank floor installation. Let’s dive into the essential tools needed for vinyl plank flooring, ensuring you’re well-prepared for your next home improvement project.
Essential Tools for Preparing Your Subfloor
Before you even think about laying down your first plank, it’s crucial to ensure your subfloor is in top condition. The preparation phase is often overlooked, but it’s arguably the most important step in the vinyl plank floor installation process. Here’s a rundown of the tools you’ll need to get your subfloor ready:
First up, you’ll want a reliable moisture meter. This nifty device helps you detect any excess moisture in your subfloor, which could spell disaster for your new vinyl planks if left unchecked. Alongside this, a good quality level is indispensable. You’ll use this to check for any unevenness in your subfloor – remember, a smooth surface is key for a professional-looking finish.
Next, let’s talk about vinyl floor scraper tools. These are absolute lifesavers when it comes to removing old flooring or adhesive residue. A sturdy floor scraper with interchangeable blades will make quick work of stubborn materials, saving you time and energy. For those really tough spots, you might want to consider an electric floor scraper, which can handle larger areas with less manual effort.
Once you’ve cleared the old flooring, you’ll likely need some subfloor repair materials. Wood filler for wooden subfloors or cement patch for concrete ones are essential for filling in any cracks, holes, or imperfections. These products ensure a smooth, even surface for your vinyl planks to adhere to.
Lastly, don’t forget about cleaning supplies. A good broom, a powerful vacuum, and some tack cloths are must-haves. Thorough cleaning removes any dust or debris that could interfere with the adhesion of your new flooring. Remember, a clean subfloor is a happy subfloor!
Measuring and Layout Tools for Vinyl Plank Flooring
Once your subfloor is prepped and ready, it’s time to focus on the layout. This stage is all about precision and planning, ensuring your vinyl planks will fit perfectly in your space. Let’s explore the vinyl floor measuring tools and layout equipment you’ll need:
A reliable tape measure is your best friend during this phase. You’ll use it constantly to measure the room dimensions, calculate the number of planks needed, and determine where cuts need to be made. Opt for a tape measure with clear markings and a locking mechanism for ease of use.
Next up is the chalk line, an invaluable tool for creating straight reference lines across your floor. These lines guide your installation, ensuring your planks remain parallel to the walls and each other. To use a chalk line effectively, you’ll also need a carpenter’s square. This L-shaped tool helps you create perfect 90-degree angles, crucial for laying out your first row of planks accurately.
Don’t forget about spacers! These small plastic wedges are essential for maintaining a consistent expansion gap around the perimeter of your room. This gap allows the flooring to expand and contract with temperature changes without buckling or warping.
For those of you tackling larger spaces or complex room layouts, consider investing in a laser level. While not strictly necessary, it can be incredibly helpful for ensuring your lines remain straight across long distances. It’s particularly useful if you’re installing planks in a diagonal pattern or working in a room with unconventional angles.
Remember, accurate measurements and a well-planned layout are the foundation of a successful vinyl plank flooring installation. Take your time with this step, double-check your measurements, and don’t hesitate to adjust your layout if something doesn’t look quite right. A little extra effort at this stage can save you a lot of headaches down the line!
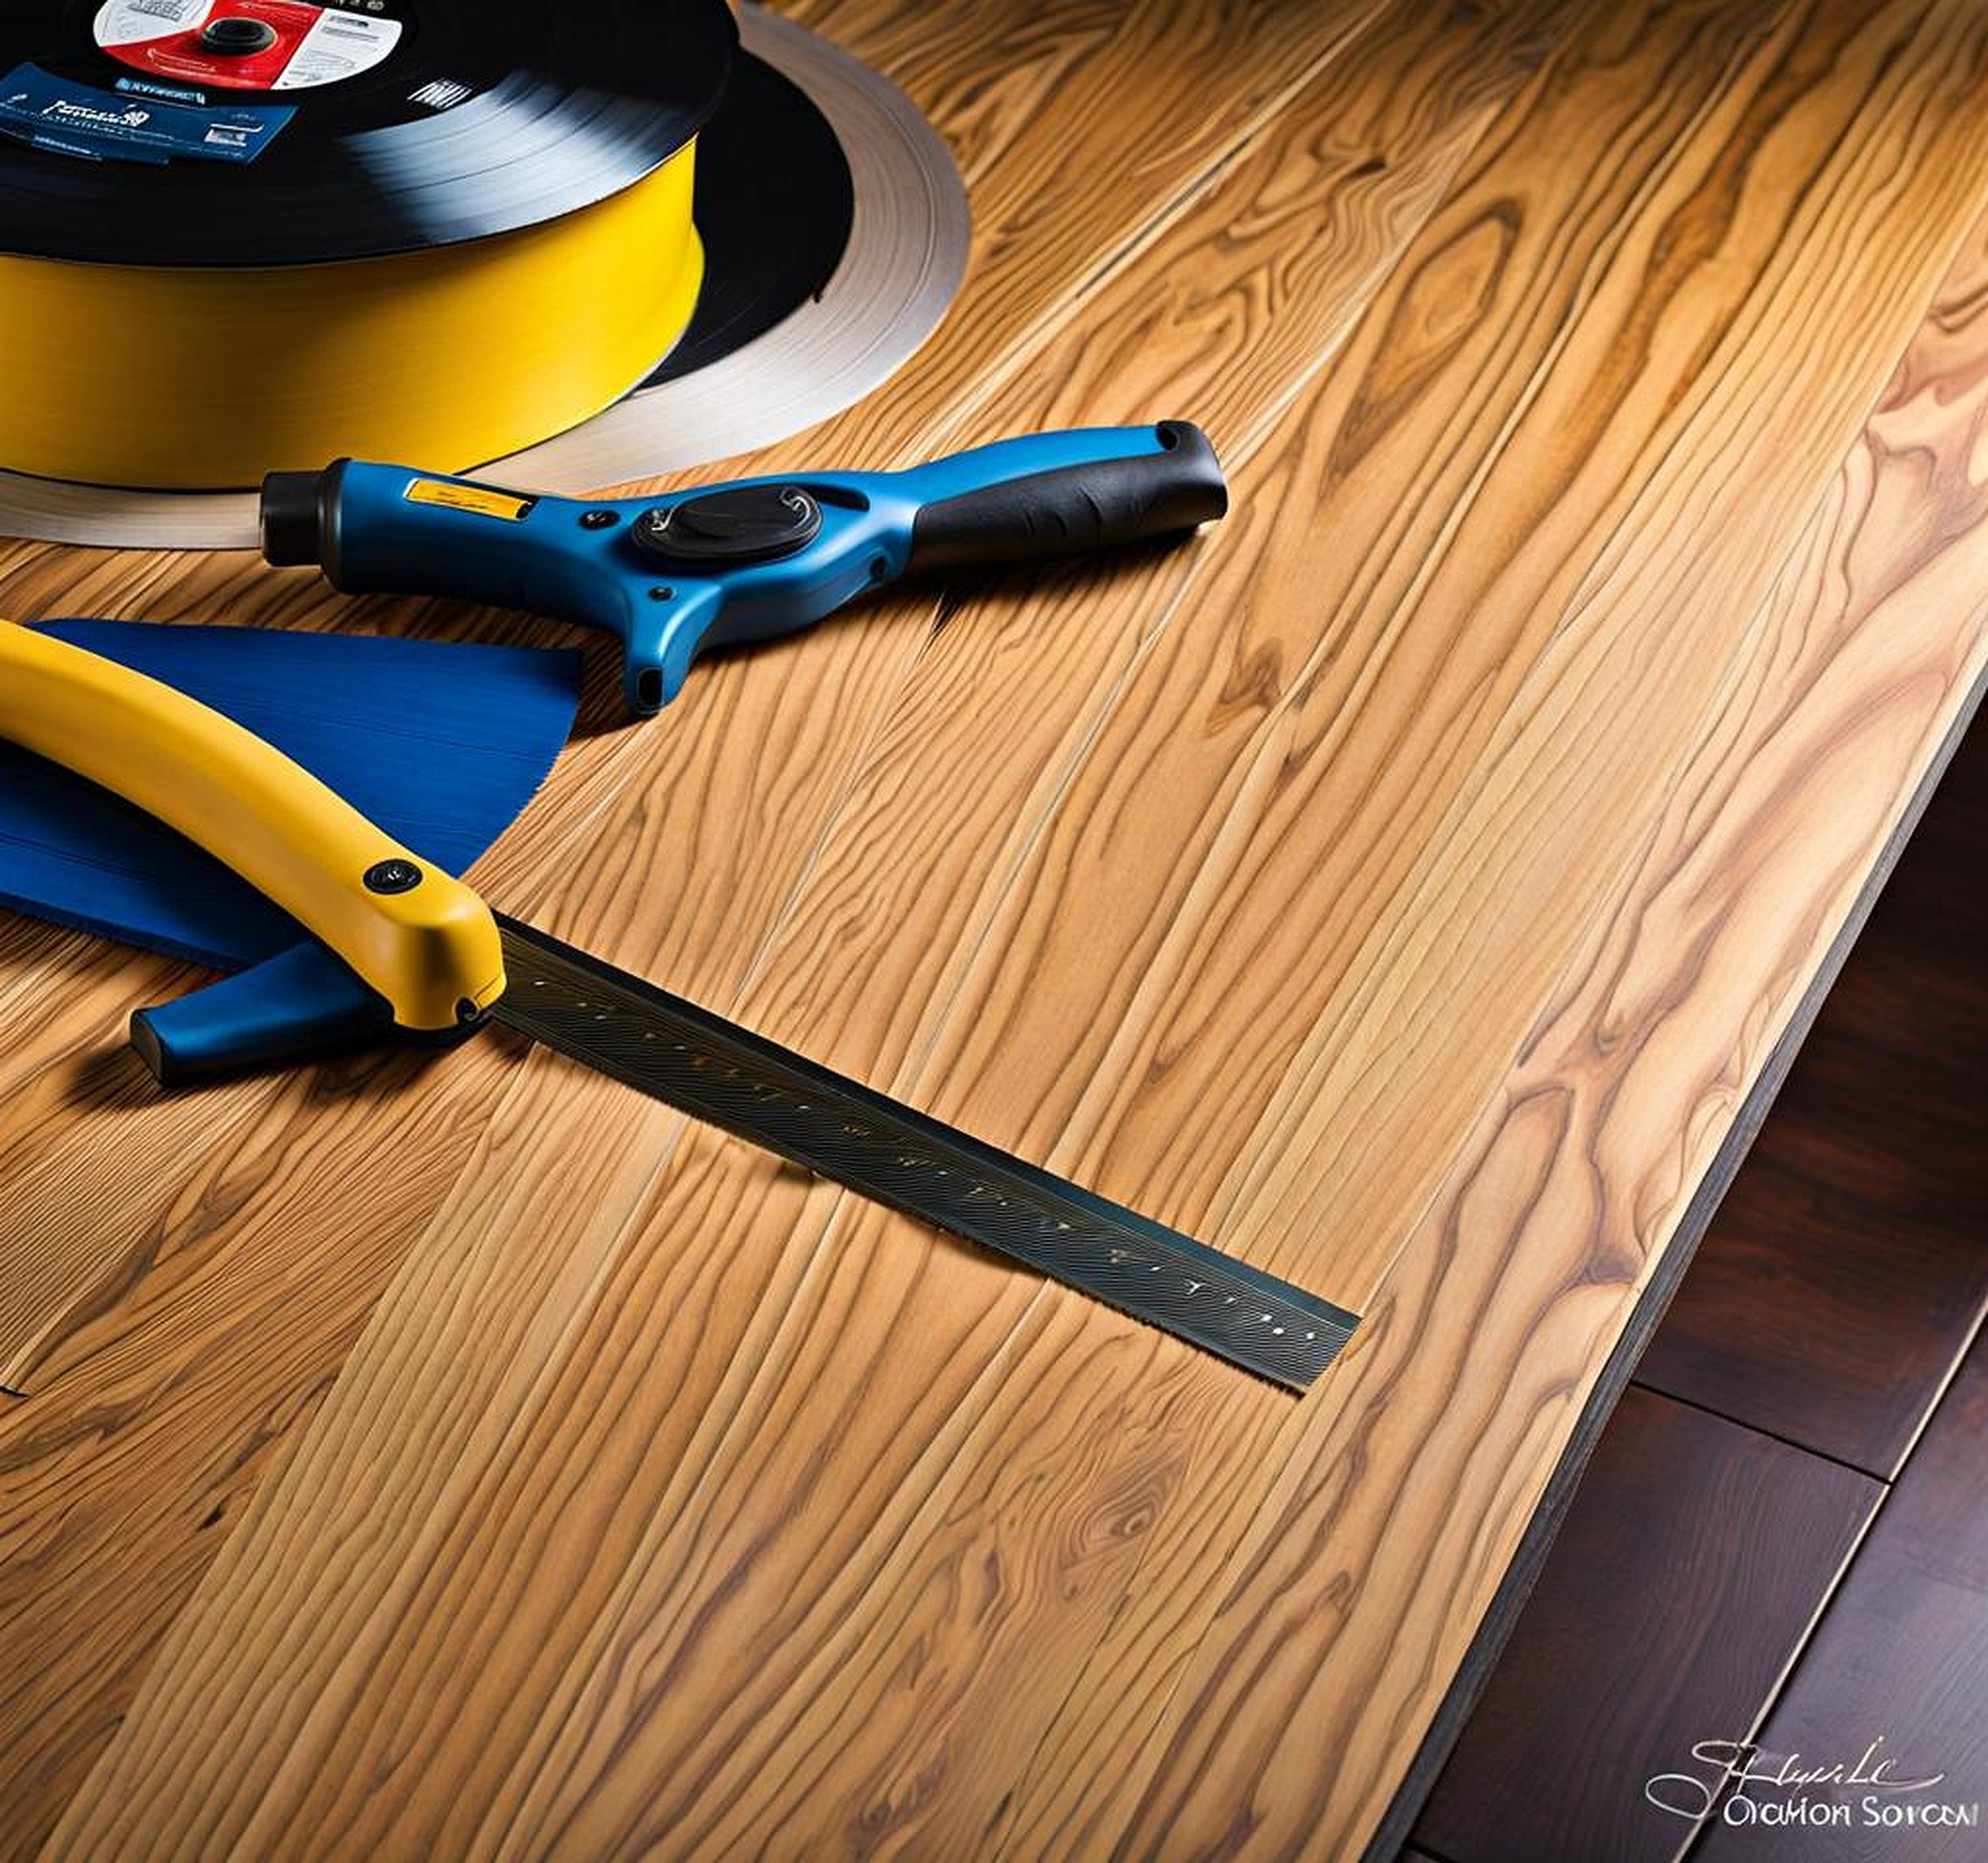
Cutting Tools for Vinyl Plank Installation
When it comes to vinyl plank flooring tools, cutting implements are some of the most crucial. You’ll need to make precise cuts to ensure your planks fit perfectly around obstacles, in corners, and at the edges of your room. Let’s explore the essential vinyl floor cutting tools you should have in your arsenal:
First and foremost, a sharp utility knife is indispensable. This versatile tool is perfect for making straight cuts along the length of a plank. To use it effectively, score the plank several times along your cutting line, then snap the plank along the score. Always keep spare blades on hand – a sharp blade makes for cleaner, more precise cuts.
For more substantial cutting needs, consider a table saw or miter saw. These power tools excel at making long, straight cuts quickly and accurately. They’re particularly useful if you’re working with a large area or need to rip planks lengthwise to fit narrow spaces. When choosing a blade, opt for one with 80 or 100 carbide teeth, which will give you the cleanest cut on vinyl material.
A jigsaw is another valuable addition to your toolkit. This versatile power tool is perfect for making curved or irregular cuts, such as around door frames or pipes. When using a jigsaw on vinyl planks, be sure to use a fine-toothed blade designed for cutting laminate or vinyl to prevent chipping or melting the material.
For cutting holes to accommodate pipes or other circular obstacles, a hole saw attachment for your drill is invaluable. These come in various sizes, so make sure you have one that matches the diameter of the pipe you’re working around.
Remember, regardless of which cutting tools you’re using, always measure twice and cut once. It’s also crucial to wear appropriate safety gear, including safety glasses and work gloves, when operating any cutting tools. Taking these precautions will ensure your vinyl plank floor installation goes smoothly and safely.
Adhesive and Underlayment Application Tools
The next crucial step in your vinyl plank floor installation involves applying adhesive and underlayment. These materials provide a stable base for your flooring and ensure it adheres properly to the subfloor. Let’s delve into the vinyl floor adhesive tools and vinyl floor underlayment tools you’ll need for this phase:
For applying adhesive, a notched trowel is your go-to tool. The size of the notches will depend on the specific adhesive you’re using, so always check the manufacturer’s recommendations. A properly sized trowel ensures you apply the right amount of adhesive – too little won’t secure the planks properly, while too much can seep through the joints and create a mess.
If you’re using a roll-on adhesive, you’ll need a paint roller and tray. This method can be quicker and less messy than using a trowel, especially for larger areas. Be sure to choose a roller with a nap appropriate for the adhesive you’re using.
When it comes to underlayment, a sharp utility knife is essential for cutting the material to size. You’ll also need a tape measure to ensure accurate cuts. Some underlayments come with a self-adhesive backing, but if yours doesn’t, you’ll need tape to secure the seams between sheets.
For click-lock vinyl planks that don’t require full-spread adhesive, you might still need a pressure-sensitive adhesive for areas prone to lifting, like the edges of the room or under heavy furniture. A small brush or roller can be useful for applying this type of adhesive precisely where it’s needed.
Don’t forget about comfort during this phase of the installation! Knee pads are a must-have when you’re spending hours on the floor applying adhesive or laying underlayment. Your knees will thank you later.
Remember, proper application of adhesive and underlayment is crucial for the longevity and performance of your vinyl plank flooring. Take your time with this step, and don’t hesitate to consult the manufacturer’s instructions if you’re unsure about anything. A solid foundation will ensure your new floor looks great and lasts for years to come.
Installation Tools for Laying Vinyl Planks
Now that we’ve covered preparation, measuring, cutting, and adhesive application, it’s time to focus on the actual installation of your vinyl planks. This is where your vinyl floor laying tools come into play. Let’s explore the essential equipment you’ll need to ensure a smooth and professional-looking installation:
First up is the tapping block. This tool is crucial for click-lock vinyl plank systems. It allows you to apply even pressure along the edge of a plank, helping it lock securely into place without damaging the locking mechanism. Always use a tapping block designed specifically for vinyl flooring to avoid marring or chipping your new planks.
Working hand-in-hand with the tapping block is a rubber mallet. This tool lets you apply gentle force to the tapping block, easing the planks together without the risk of damage that a metal hammer might cause. The soft head of the rubber mallet distributes force evenly, reducing the chance of creating dents or marks on your flooring.
For those tricky last rows where you can’t use a tapping block, a pull bar (also known as a pry bar) is indispensable. This L-shaped tool lets you pull planks together in tight spaces near walls or under door frames. It’s especially useful for fitting that final row of planks where space is limited.
A vinyl floor roller is another key tool in your arsenal. After laying your planks, rolling the floor helps ensure good contact between the planks and the adhesive or underlayment. For click-lock systems, it can help secure the locking mechanisms. A 100-pound roller is typically recommended for the best results.
Don’t forget about a plank puller. This specialized tool can be a lifesaver if you need to replace a damaged plank in the middle of your floor. It allows you to remove a single plank without disturbing the surrounding flooring.
Lastly, while not strictly a tool, having a soft, clean cloth on hand is always a good idea. You can use it to wipe away any adhesive that might squeeze up between planks or to clean your tools as you work.
Remember, patience is key during the installation process. Take your time to ensure each plank is properly aligned and securely locked in place. Rushing through this stage can lead to gaps, unevenness, or damage to your new flooring. With the right vinyl plank flooring tools and a careful approach, you’ll be well on your way to a beautiful new floor!
Congratulations! You’ve laid your vinyl plank flooring, but the job isn’t quite finished yet. The final touches and ongoing maintenance are crucial for ensuring your new floor looks great and lasts for years to come. Let’s explore the vinyl floor finishing tools and maintenance equipment you’ll need:
First up in your arsenal of vinyl floor finishing tools should be a trim saw. This handy tool is perfect for cutting and fitting baseboards and trim pieces to give your floor a polished, professional look. A coping saw can also be useful for creating precise inside corners on your trim work.
A caulk gun is another essential tool for the finishing stage. You’ll use this to apply a thin bead of caulk along the edges where your flooring meets the walls, creating a seamless transition and preventing moisture from seeping underneath. Choose a caulk that matches the color of your flooring for the best aesthetic result.
For installing transition strips between your vinyl plank flooring and other flooring types, you might need a drill and appropriate screws or adhesive, depending on the type of transition strip you’re using. These strips not only provide a smooth transition between different flooring materials but also help protect the edges of your vinyl planks from damage.
When it comes to maintenance, a good quality broom and dust mop are must-haves. Regular sweeping helps prevent dirt and grit from scratching your new floor. For deeper cleaning, a damp mop and a cleaning solution specifically designed for vinyl flooring will keep your floors looking their best.
Consider investing in furniture pads to protect your new floor from scratches and dents. These small adhesive pads attach to the bottom of chair legs, table legs, and other furniture, preventing direct contact with your vinyl planks.
Lastly, it’s a good idea to keep a touch-up kit on hand for minor repairs. This might include color-matched filler for small scratches or chips, and a few spare planks for more significant damage. Remember, addressing small issues promptly can prevent them from becoming bigger problems down the line.
By having these finishing and maintenance tools at the ready, you’re setting yourself up for long-term success with your new vinyl plank flooring. Regular care and maintenance will keep your floors looking great for years to come, making all your hard work during the installation process well worth it!
