There is a world of tile installation intricacies. These two grout types serve distinct purposes, each with unique properties that cater to specific tiling needs. Understanding their characteristics is crucial for achieving durable, aesthetically pleasing results in various tiling projects, from bathroom renovations to kitchen backsplashes.
Understanding Grout: Sanded vs. Unsanded
Grout plays a pivotal role in tile installation, serving as the glue that binds tiles together while filling the gaps between them. The choice between sanded and unsanded grout significantly impacts the longevity and appearance of your tiling project. Let’s delve into the core attributes of each type to grasp their unique qualities and applications.
Sanded grout, as the name suggests, contains fine sand particles. This addition gives it a grittier texture and enhanced strength, making it ideal for wider tile joints. The sand component provides stability and prevents the grout from shrinking as it dries, which is particularly beneficial in high-traffic areas or spaces exposed to moisture.
On the other hand, unsanded grout, also known as sandless grout, lacks these sand particles. It boasts a smoother consistency, resembling cement paste. This characteristic makes it perfect for narrower tile joints and more delicate tile materials that might be susceptible to scratching.
The composition of these grout types directly influences their application techniques. Sanded grout requires more effort to mix and apply due to its thicker consistency. It’s often used with ceramic tile grout applications where durability is paramount. Conversely, unsanded grout spreads more easily, making it a go-to choice for vertical surfaces or intricate tile patterns.
When considering grout materials, it’s essential to note that both types typically consist of a cement base. However, the addition of sand in sanded grout alters its properties significantly. This difference affects not only the application process but also the final look and performance of your tiled surface.
Key Differences Between Sanded and Unsanded Grout
The disparities between sanded and unsanded grout extend beyond their composition, influencing various aspects of tile installation and maintenance. Let’s explore these key differences to help you make an informed decision for your next tiling project.
Joint Width Suitability: – Sanded grout is ideal for tile joints 1/8 inch or wider. – Unsanded grout works best in joints narrower than 1/8 inch.
This distinction in joint width suitability stems from the structural properties of each grout type. Sanded grout’s added strength prevents sagging in wider joints, while unsanded grout’s finer texture allows it to fill narrow spaces effectively without cracking.
Durability and Strength: – Sanded grout offers superior durability, making it suitable for high-traffic areas. – Unsanded grout, while less robust, provides adequate strength for vertical surfaces and areas with less wear.
The enhanced durability of sanded grout comes from its sand content, which reduces shrinkage and improves resistance to cracking. This makes it an excellent choice for bathroom tile grout in shower floors or kitchen countertops where moisture and heavy use are common.
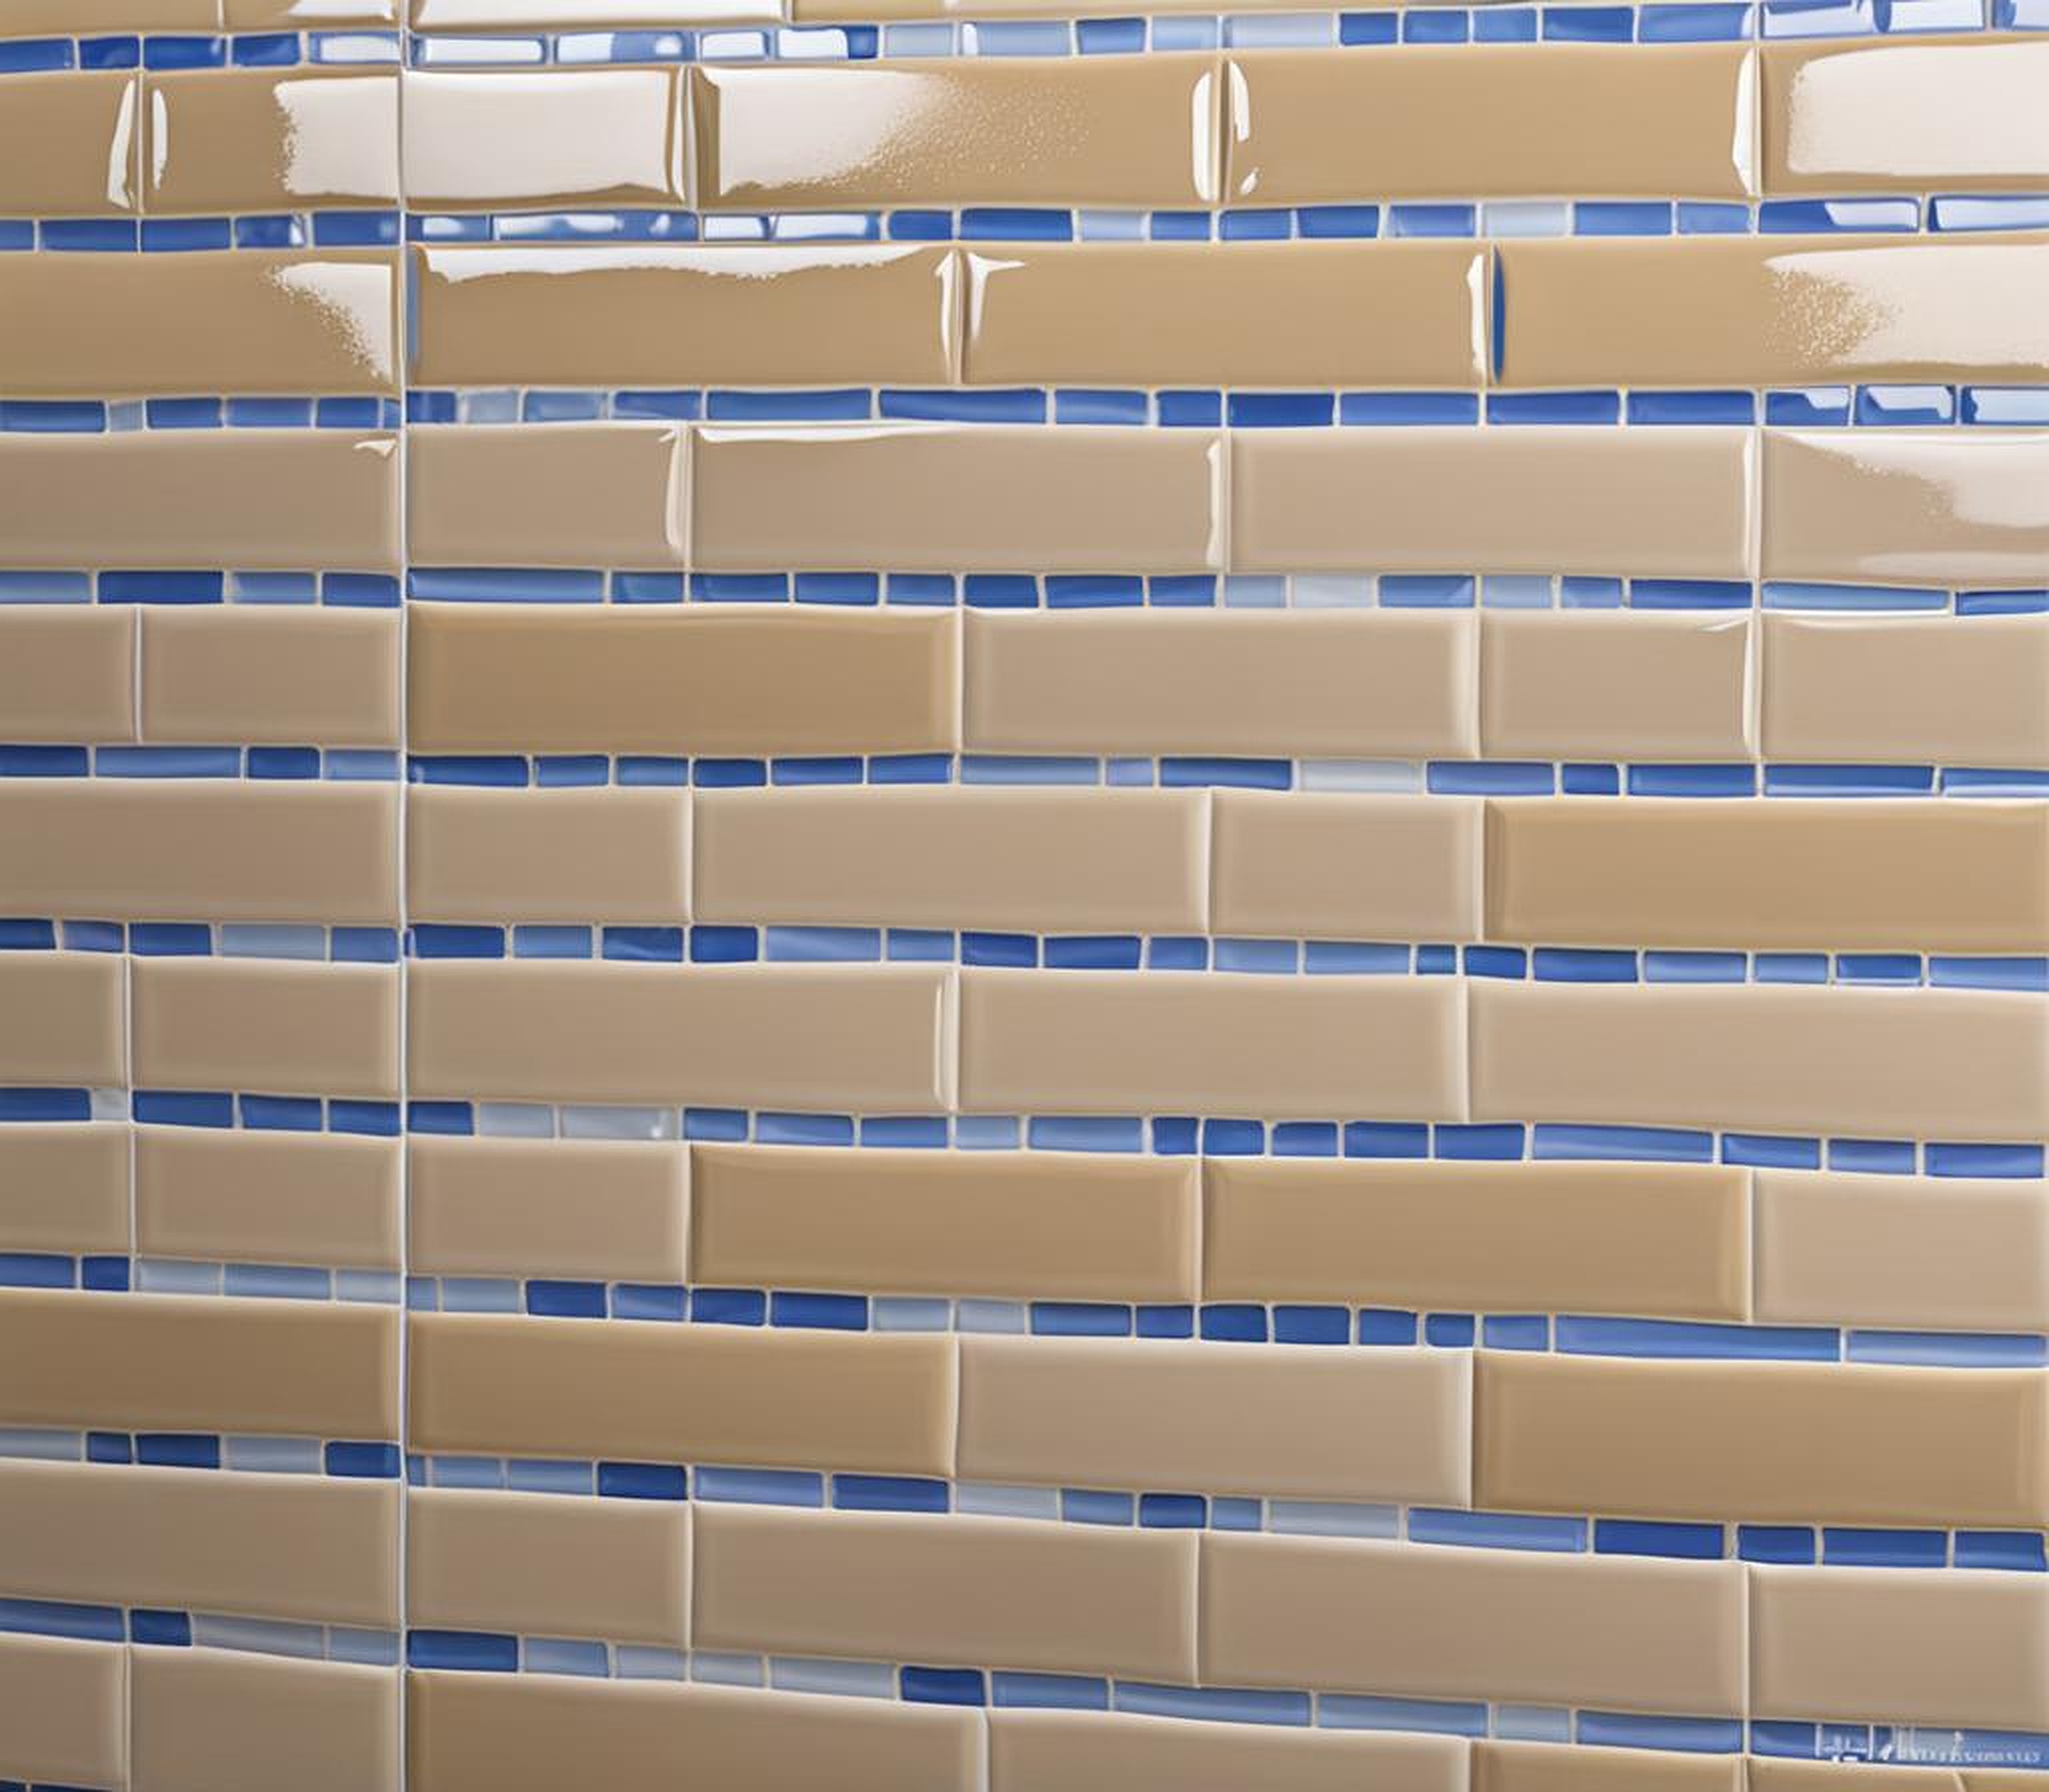
Aesthetic Considerations: – Sanded grout has a slightly textured finish, which can complement rustic or natural tile designs. – Unsanded grout provides a smoother, more refined look, ideal for polished or delicate tiles.
The visual impact of your chosen grout can significantly affect the overall appearance of your tiled surface. Sanded grout’s texture can add character to stone tiles or textured ceramics, while unsanded grout’s smooth finish enhances the sleek look of glass or polished tiles.
Application Ease: – Sanded grout requires more effort to mix and apply due to its thicker consistency. – Unsanded grout spreads more easily, making it simpler to work with, especially on vertical surfaces.
The difference in application ease can impact your project timeline and the overall quality of the installation. Sanded grout’s thicker consistency means it takes more time and effort to spread evenly, but it also allows for better filling of wider joints.
Shrinkage and Cracking: – Sanded grout is less prone to shrinkage and cracking, especially in wider joints. – Unsanded grout may shrink slightly as it dries, which is why it’s best for narrower joints where this effect is minimal.
Understanding these shrinkage characteristics is crucial for maintaining the integrity of your tile installation over time. Proper grout selection based on joint width helps prevent future issues like cracking or gaps forming between tiles.
Choosing the Right Grout for Your Tile Project
Selecting the appropriate grout type is crucial for the success and longevity of your tiling project. The decision between sanded and unsanded grout depends on various factors, including tile type, joint width, and the area’s functionality. Let’s explore how to make the best choice for your specific needs.
Consider Your Tile Material: – For ceramic and porcelain tiles, both sanded and unsanded grout can work, depending on the joint width. – Natural stone tiles often pair well with sanded grout, which complements their rustic texture. – Glass, metal, or polished marble tiles require unsanded grout to prevent scratching.
The compatibility between your tile material and grout type is essential for both aesthetic and practical reasons. Using sanded grout with delicate tiles risks surface damage, while opting for unsanded grout in wide joints of sturdy tiles may lead to premature wear.
Evaluate Joint Width: – Joints 1/8 inch or wider: Use sanded grout for better stability and crack resistance. – Joints narrower than 1/8 inch: Choose unsanded grout for easier application and a smoother finish.
Joint width is a critical factor in grout selection. Wider joints benefit from the added strength of sanded grout, which prevents sagging and cracking. Narrower joints are better served by unsanded grout, which fills small spaces effectively without the risk of sand particles obstructing proper filling.
Assess the Installation Area: – High-traffic areas or moisture-prone spaces: Opt for sanded grout for its durability and resistance to wear. – Vertical surfaces or decorative installations: Consider unsanded grout for its smoother application and refined look.
The location and purpose of your tiled surface play a significant role in grout selection. Bathroom floors or kitchen countertops benefit from the robust nature of sanded grout, while backsplashes or decorative wall tiles might be better suited to the sleek finish of unsanded grout.
Color Considerations: – Both sanded and unsanded grout come in various colors. – Sanded grout may show slight color variations due to its textured nature. – Unsanded grout typically offers a more uniform color appearance.
Grout color options can dramatically affect the final look of your tiled surface. While both types offer a range of colors, the texture of sanded grout can create subtle variations that add depth to your design. Unsanded grout provides a more consistent color, which can be desirable for modern or minimalist aesthetics.
Maintenance Requirements: – Sanded grout may require more frequent sealing due to its porous nature. – Unsanded grout generally needs less maintenance but may be more prone to staining in certain applications.
Consider the long-term care of your tiled surface when choosing grout. While sanded grout offers excellent durability, its porosity means it may need regular sealing to prevent staining. Unsanded grout, though easier to maintain, might require more careful cleaning in areas prone to spills or moisture.
Mastering grout application techniques is crucial for achieving a professional finish in your tiling project. Whether you’re working with sanded or unsanded grout, following best practices ensures durability, aesthetics, and longevity. Let’s explore the key steps and considerations for applying both grout types effectively.
Preparation is Key: – Clean tile surfaces thoroughly before grouting. – Ensure joints are free of debris and adhesive residue. – Mix grout according to manufacturer instructions for optimal consistency.
Proper preparation sets the foundation for successful grout application. For sanded grout, pay extra attention to mixing, as its thicker consistency requires more effort to achieve the right texture. Unsanded grout mixes more easily but still demands careful preparation to avoid lumps or inconsistencies.
Application Techniques: – Use a rubber float to spread grout diagonally across tile joints. – Work in small sections to prevent premature drying. – For sanded grout, apply firm pressure to ensure complete joint filling. – With unsanded grout, a lighter touch suffices for smooth application.
The application process differs slightly between sanded and unsanded grout. Sanded grout’s gritty texture requires more force to push it into joints effectively, especially in wider spaces. Unsanded grout flows more easily into narrow joints, making it ideal for vertical surfaces where gravity might cause thicker mixtures to sag.
Cleaning and Finishing: – Allow grout to set briefly before cleaning excess from tile surfaces. – Use a damp sponge in circular motions to clean tiles without disturbing grout lines. – For sanded grout, be cautious not to over-clean, which can weaken joints. – With unsanded grout, achieve a smooth finish by tooling joints with a rounded implement.
The cleaning phase is critical for both grout types but requires different approaches. Sanded grout’s texture makes it more challenging to clean from tile surfaces, necessitating careful timing and technique. Unsanded grout cleans more easily but requires attention to achieve perfectly smooth joint lines.
Curing and Sealing: – Allow grout to cure fully according to manufacturer recommendations. – Consider sealing grout to enhance stain resistance and longevity. – Sanded grout often benefits more from sealing due to its porous nature.
Proper curing is essential for both grout types to reach full strength. Sanded grout typically requires a longer curing time due to its thicker consistency and sand content. Sealing is particularly important for sanded grout in moisture-prone areas like bathrooms or kitchens to prevent staining and moisture penetration.
Maintenance Tips: – Regular cleaning with pH-neutral cleaners preserves grout integrity. – Address stains promptly to prevent deep-set discoloration. – Reseal grout periodically, especially in high-use or moisture-prone areas.
Maintaining your grouted tiles extends their lifespan and preserves their appearance. While both grout types benefit from regular care, sanded grout may require more frequent attention due to its textured surface, which can trap dirt more easily than the smooth finish of unsanded grout.
By understanding and implementing these application techniques and best practices, you can ensure that your choice between sanded and unsanded grout not only meets the functional requirements of your tiling project but also contributes to a beautiful, long-lasting finish. Remember, the key to success lies in careful preparation, precise application, and diligent maintenance, regardless of the grout type you choose.
