Tiling living room walls has become an increasingly popular trend, offering homeowners a unique way to add texture, color, and personality to their spaces. This design choice not only enhances the visual appeal of your living area but also provides practical benefits such as durability and easy maintenance. Whether you’re looking to create a stunning accent wall or completely transform your living room, mastering the art of wall tiling can be a rewarding DIY project. Let’s dive into the world of wall tiles and discover how you can elevate your living space with this versatile design element.
Understanding the Basics of Tiling Living Room Walls
Before you embark on your wall tiling journey, it’s crucial to grasp the fundamentals. Tiling living room walls offers numerous advantages that go beyond mere aesthetics. For starters, tiles are incredibly durable, resistant to wear and tear, and can withstand the test of time. They’re also a breeze to clean, making them an ideal choice for busy households.
When it comes to selecting tiles for your living room walls, you’ll find a wide array of options. Ceramic wall tiles are a popular choice due to their versatility and affordability. They come in various colors, patterns, and finishes, allowing you to find the perfect match for your decor. Porcelain tiles, a subset of ceramic tiles, offer enhanced durability and water resistance, making them suitable for areas that might be exposed to moisture.
As you explore tiles for walls, consider factors such as the overall style of your living room, the amount of natural light it receives, and how you plan to use the space. Large format tiles can create a sleek, modern look and make a room appear more spacious, while smaller tiles or mosaics can add intricate detail and texture.
Tile wall patterns play a significant role in the final look of your living room. Herringbone, subway, and basketweave patterns are just a few options that can add visual interest to your walls. For a more subtle approach, consider a classic grid pattern using square tiles. If you’re feeling adventurous, mix and match different tile sizes or colors to create a unique, eye-catching design.
When planning your tile wall design, think about how it will complement your existing furniture and decor. You might opt for a neutral tile color and use colorful accessories to add pops of color, or choose bold, patterned tiles to make a statement. Remember, your tiled wall can serve as a beautiful backdrop for artwork or serve as a focal point itself.
Preparing Your Living Room for Wall Tiling
Proper preparation is key to a successful wall tile installation. Start by assessing your wall surface. Ideally, you want a smooth, clean, and dry surface to work with. If your walls have any damage or unevenness, you’ll need to repair and level them before tiling.
Gathering the right tools and materials is crucial for a smooth wall tile install process. You’ll need:
- Tiles of your choice
- Tile adhesive
- Grout
- Tile spacers
- Tile cutter or wet saw
- Trowel
- Level
- Measuring tape
- Pencil
- Grout float
- Sponge
- Bucket
- Safety gear (goggles, gloves)
Before you start laying tiles, it’s essential to plan your layout carefully. Measure your wall and calculate how many tiles you’ll need, including extras for cuts and potential mistakes. It’s generally a good idea to start tiling from the center of the wall and work your way out. This approach ensures a balanced look, especially if you need to cut tiles at the edges.
Consider creating a focal point with tile wall accessories. This could be a decorative tile border, a mosaic inlay, or a contrasting tile pattern. Planning these details in advance will help you incorporate them seamlessly into your overall design.
If you’re tiling around windows or electrical outlets, take precise measurements and plan your cuts accordingly. You may want to create a paper template for complex cuts to ensure accuracy.
Step-by-Step Guide to Installing Tiles on Living Room Walls
Now that you’re prepared, let’s dive into the wall tile installation process. First, ensure your wall surface is clean, dry, and free from dust or debris. If you’re working on a painted wall, lightly sand it to provide better adhesion for the tiles.
Start by applying tile adhesive to the wall using a notched trowel. Work in small sections to prevent the adhesive from drying before you can place the tiles. Spread the adhesive evenly, creating ridges with the notched edge of the trowel.
Begin laying your tiles from the center point you’ve marked, pressing them firmly into the adhesive. Use tile spacers to maintain consistent gaps between tiles. As you work, frequently check that your tiles are level using a spirit level.
When you reach edges or obstacles, you’ll likely need to cut tiles. For straight cuts, a manual tile cutter often suffices. For more complex cuts around outlets or switches, you might need a wet saw. Always wear safety goggles and gloves when cutting tiles.
Continue this process, working your way outwards from the center. Take your time to ensure each tile is properly aligned and level. If you’re creating a specific pattern or incorporating decorative elements, refer to your plan frequently to stay on track.
Once all tiles are in place, allow the adhesive to dry completely. This usually takes 24 to 48 hours, but check the manufacturer’s instructions for specific drying times.
After the adhesive has dried, it’s time for grouting. Mix your grout according to the package instructions. Using a rubber float, spread the grout over the tiles, working it into the gaps. Wipe away excess grout with a damp sponge, being careful not to remove grout from the joints. Allow the grout to dry, then buff the tiles with a clean, dry cloth to remove any residue.
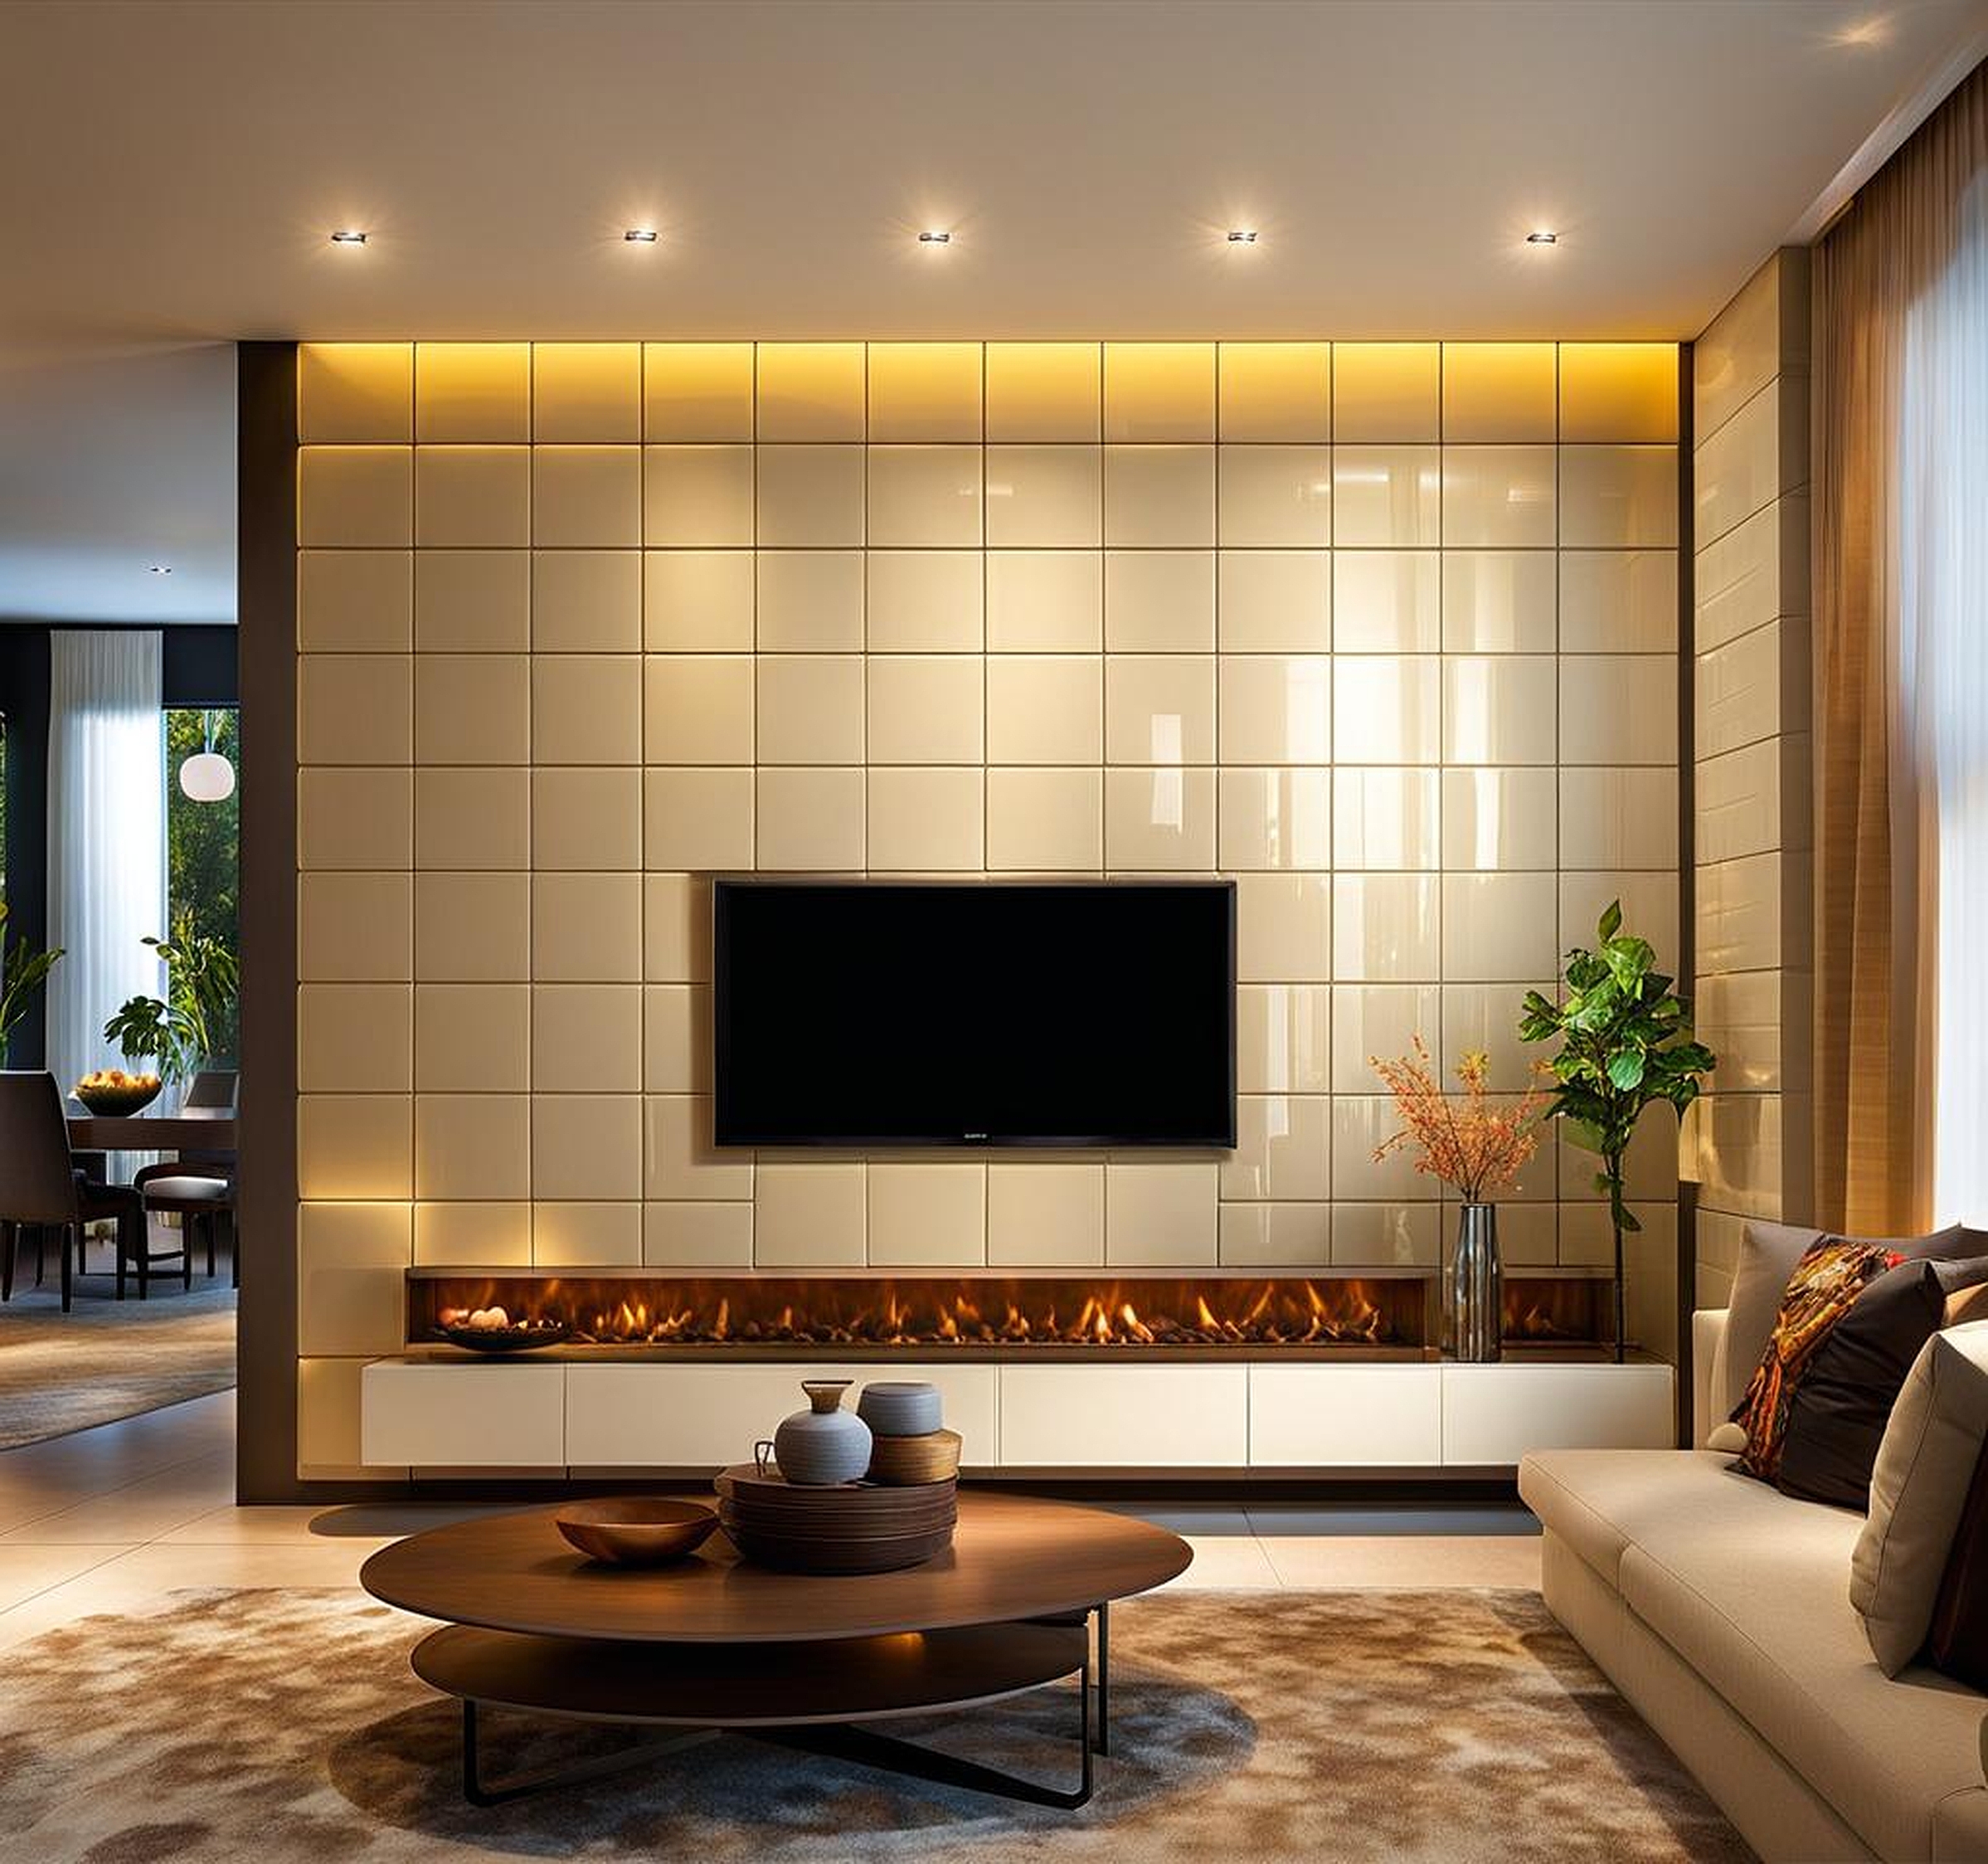
With your tiles successfully installed, it’s time to consider the finishing touches that will truly make your living room walls shine. One popular trend is the tile floor to ceiling look, which can create a striking visual impact and make your room appear taller. This approach works particularly well with large format tiles or when you want to create a feature wall.
Experimenting with different tile design ideas can add depth and interest to your walls. Consider incorporating a mix of textures, such as combining glossy and matte finish tiles. You could also play with geometric patterns or create a gradient effect by using tiles in varying shades of the same color.
Lighting plays a crucial role in showcasing your tiled walls. Consider installing wall sconces or LED strip lighting to highlight the texture and patterns of your tiles. For a more subtle effect, use uplighting to cast a soft glow across the tiled surface, enhancing its depth and dimension.
Don’t forget about the rest of your living room decor. Your newly tiled walls can serve as a beautiful backdrop for artwork or mirrors. If you’ve opted for neutral tiles, you can use colorful accessories and furniture to add vibrancy to the space. Conversely, if you’ve chosen bold or patterned tiles, you might want to keep the rest of your decor more subdued to let the tiles take center stage.
Maintaining your tiled walls is relatively simple, but it’s important to do it regularly to keep them looking their best. For day-to-day cleaning, a damp cloth or mop is usually sufficient. For deeper cleaning, use a pH-neutral cleaner specifically designed for your type of tiles. Avoid harsh chemicals that could damage the tiles or grout.
If you’re feeling creative, consider tile wall painting as a way to refresh your look without replacing the tiles. There are special paints available that can adhere to tile surfaces, allowing you to change the color or add patterns to your existing tiles. This can be a cost-effective way to update your living room’s look if you’re not ready for a full retile.
Remember, your tiled living room walls are more than just a design feature – they’re a reflection of your personal style and a testament to your DIY skills. With proper care and maintenance, they’ll continue to be a beautiful and functional part of your home for years to come. So go ahead, embrace the world of wall tiling, and transform your living space into a stunning showcase of your creativity and style.
